How to Create a Gallery Wall (Without the Stress)
Gallery walls look effortlessly chic on Pinterest — but creating one without it turning into a nail-hole nightmare? That’s the real skill. This guide walks you through planning, hanging, and styling a gallery wall you’ll love, with zero stress.
Step 1: Choose Your Wall & Measure
Pick a wall with good visibility — above a sofa, along a staircase, in a hallway. Measure the total area you want to fill. Pro rule: your arrangement should span about 2/3 the width of furniture below it.
Step 2: Gather Your Pieces
Mix and match for visual interest:
- Art prints (abstract, botanical, typography)
- Photographs (family, travel, black-and-white)
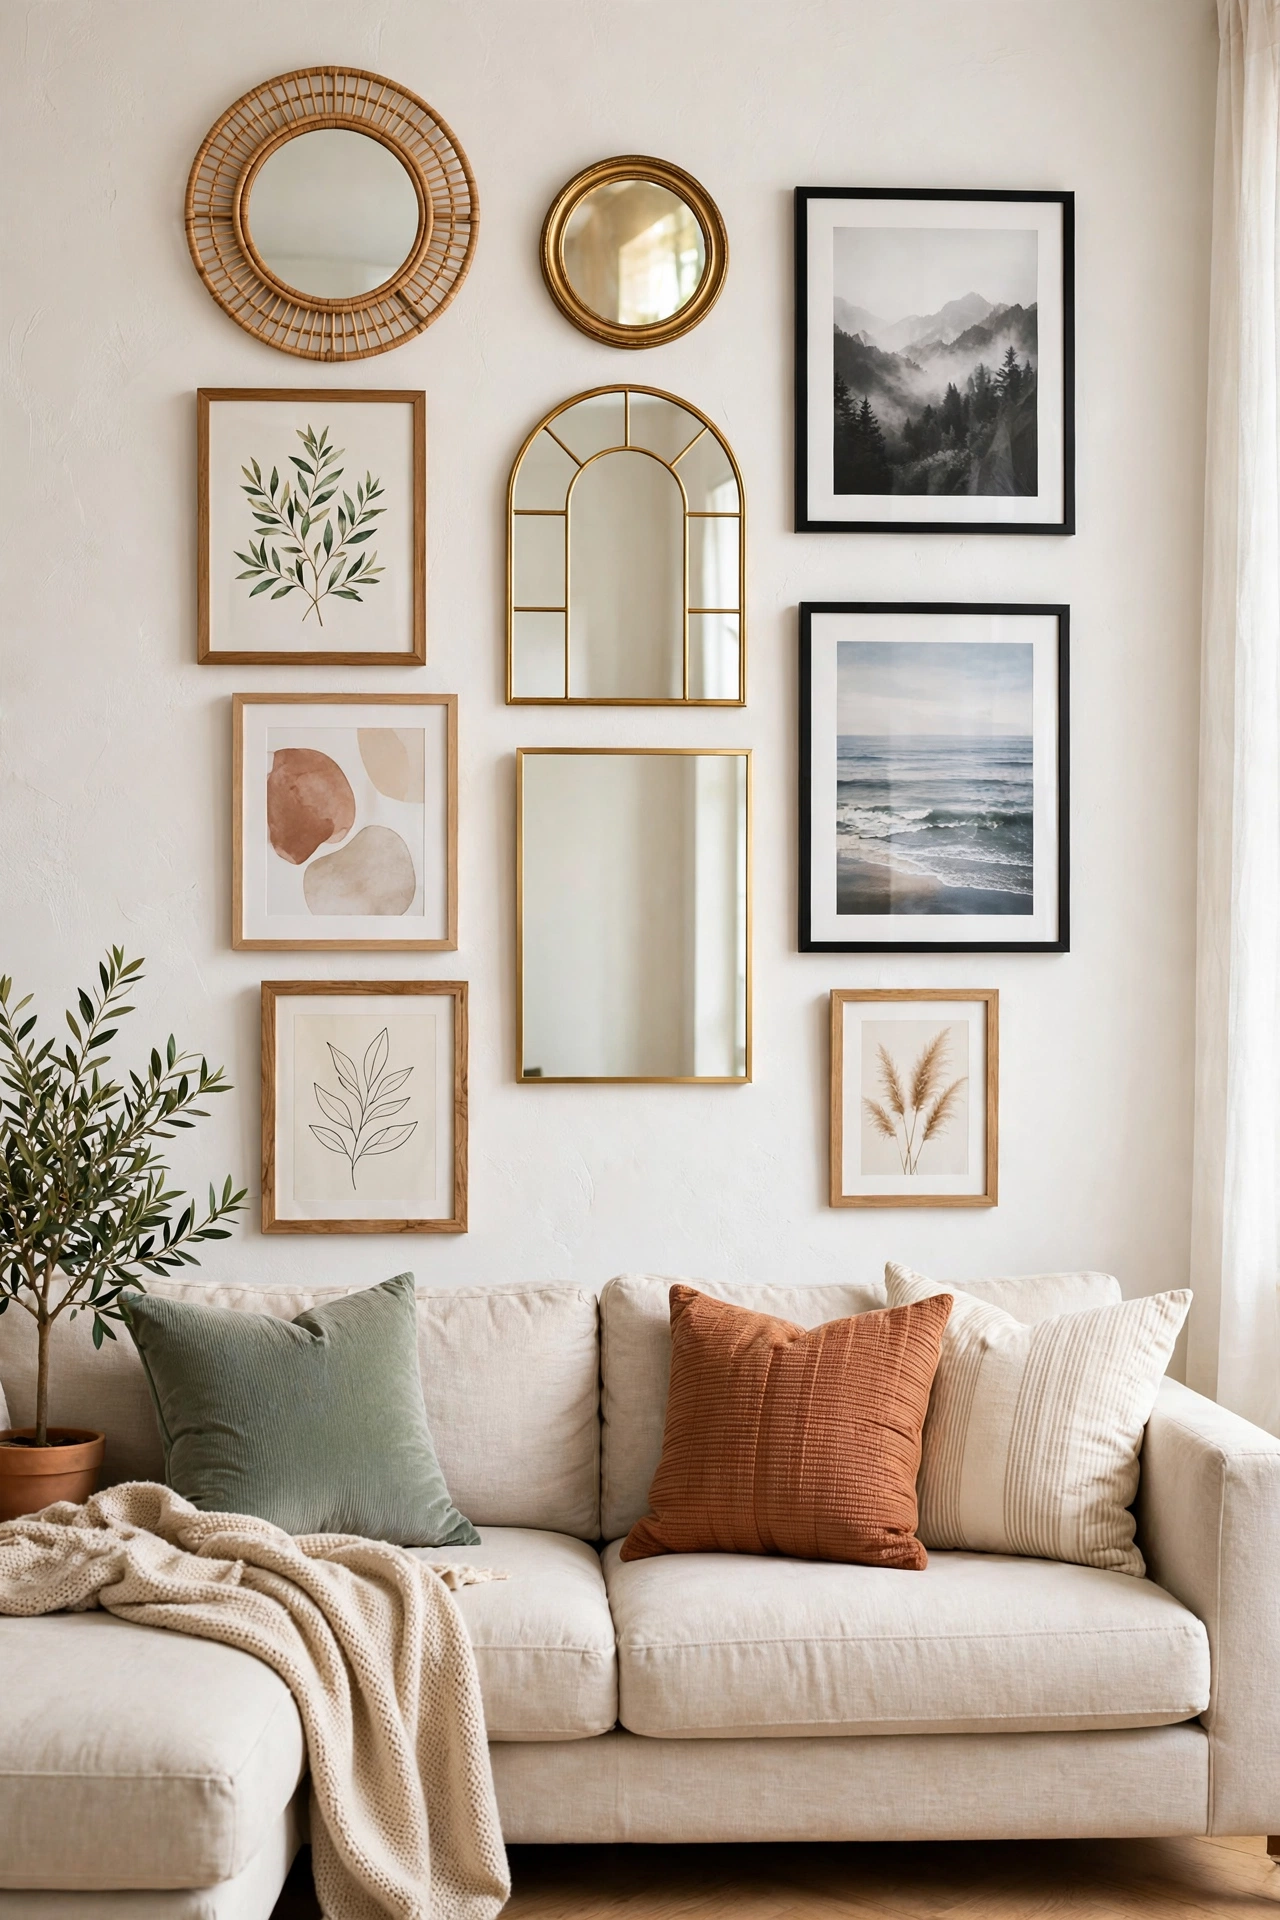
- Textural elements (woven pieces, small mirrors, wall sculptures)
- Vary sizes: one large anchor piece + medium + small fillers
Cohesion trick: Unify with a consistent frame color OR a consistent color palette in the art. You need one or the other — not necessarily both.
Step 3: Plan on the Floor First
Lay everything on the floor in your intended arrangement. Live with it for a day. Rearrange freely — this is the no-commitment phase.
Step 4: The Paper Template Method (No Regrets)
Trace each frame on kraft paper, cut out, and tape to the wall. Mark where nails go. Step back, adjust, then hammer with confidence. This eliminates 90% of gallery wall anxiety.
5 Layout Formulas That Always Work
1. The Grid
Same-size frames in perfect rows. Clean, modern, foolproof. Best for: hallways, offices.
2. The Salon Style
Eclectic mix filling the wall edge-to-edge. Start from the center and work outward. Best for: living rooms, creative spaces.
3. The Ledge
Picture ledges instead of nails — lean frames, layer them, swap easily. Best for: renters, commitment-phobes.
4. The Linear
Single row at eye level. Simple, elegant, great for narrow walls or above furniture.
5. The Anchor + Cluster
One large piece as the anchor, smaller pieces clustered around it asymmetrically. Best for: above sofas and beds.
Hanging Tips
- Eye level: Center of the arrangement at 57–60 inches from the floor (gallery standard).
- Spacing: 2–3 inches between frames for cohesion; more for airiness.
- Above furniture: Bottom of frames 6–8 inches above the furniture.
- Use proper hardware: Picture hanging strips for renters; anchors for heavy pieces.
- Level as you go: A small level (or phone app) prevents the slow slide into crookedness.
Common Mistakes
- Hanging too high (the #1 gallery wall sin).
- Too-small art on a big wall (go bigger than you think).
- Everything the same size (boring — vary it).
- No breathing room (not every inch needs filling).
Start with what you have — you don’t need to buy everything at once. A gallery wall can grow organically. The best ones tell your story.