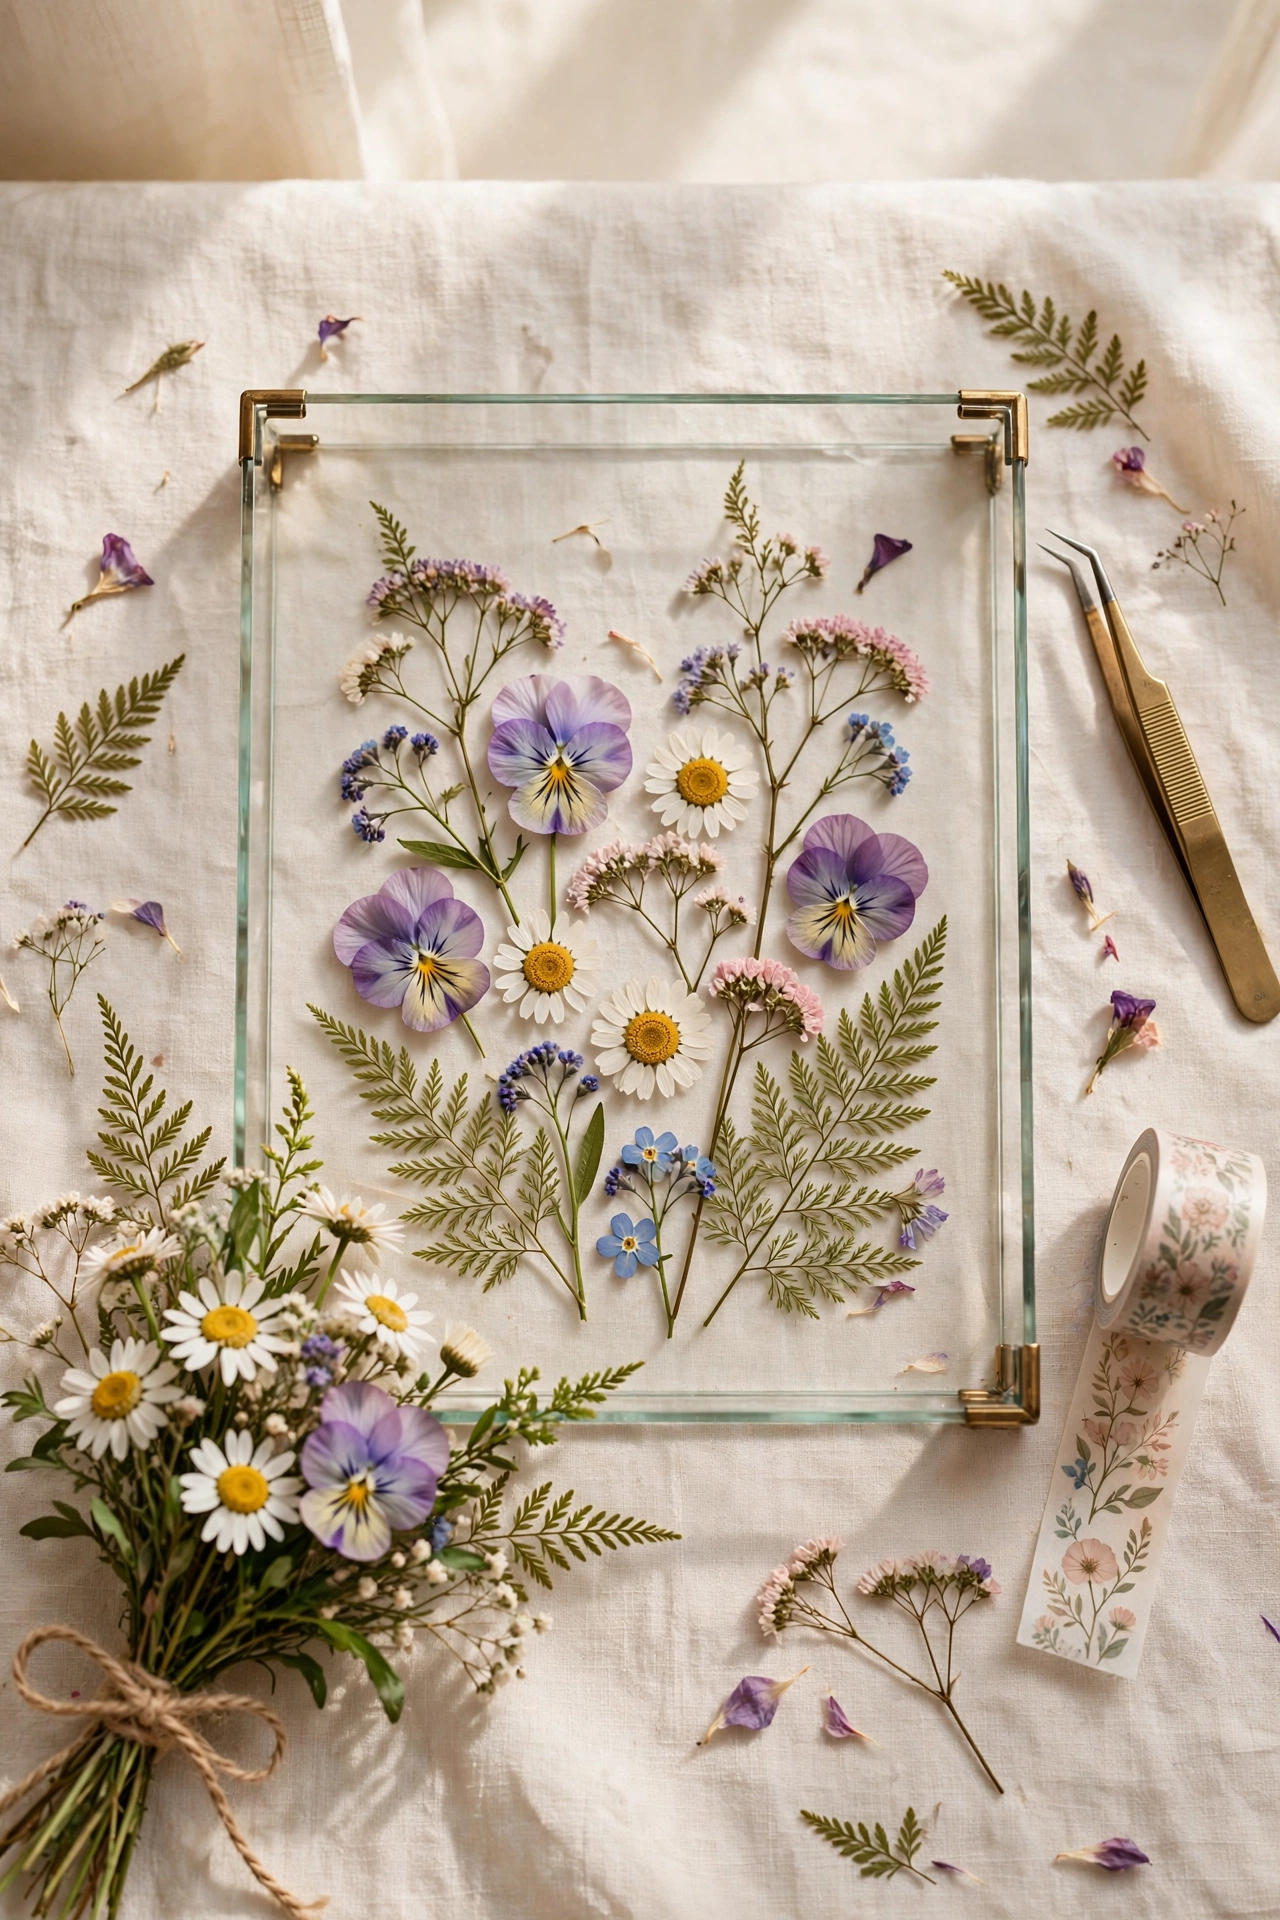
Pressed Flower Art: 10 Beautiful DIY Projects to Try
There is something quietly magical about opening a heavy book and finding a flower you pressed months ago, still holding its color like a little time capsule. Pressed flower art has been around for centuries, but it is having a well-deserved moment right now — part botanical science, part keepsake, part genuinely beautiful home decor. The best part? You can start with garden flowers, a grocery store bouquet, or even weeds from a walk.
Pressed flower art asks for almost nothing: paper, pressure, and patience. Below is a simple pressing method that works, plus ten projects for your dried blooms. Pin your favorites and make an afternoon of it. 🌸
Supplies You’ll Need
- Fresh flowers and leaves — pick them on a dry day, ideally mid-morning after dew evaporates
- Absorbent paper — plain newsprint, coffee filters, or parchment paper (avoid paper towels with texture)
- Heavy books or a wooden flower press — books work perfectly for beginners
- Tweezers — for placing delicate petals without crushing them
- Scissors — for trimming stems flat
- Acid-free cardstock or watercolor paper — for mounting your designs
- Mod Podge, clear glue, or UV-resin — depending on the project
- Frames with glass — floating frames show pressed flowers off best
How to Press Flowers in 5 Steps
Step 1: Choose and prep your blooms
Flat-faced flowers press best: pansies, violets, daisies, cosmos, larkspur, and buttercups are all stars. Trim stems close and, for chunky flowers like roses, slice the bloom in half vertically so one face lies flat. Gently blot any moisture with a paper towel.
Step 2: Arrange between paper
Lay a sheet of absorbent paper inside your book or press. Arrange flowers face-down (this preserves the prettiest side) with space between them so nothing overlaps. Ferns and leaves can go face-up. Cover with another sheet of paper.
Step 3: Add serious weight
Close the book and stack more books on top, or tighten your press. The goal is even, firm pressure — just enough that petals cannot curl.
Step 4: Change the paper after a few days
After 3–4 days, carefully swap the damp paper for fresh, dry sheets — trapped moisture is what causes browning, and this one step preserves color dramatically.
Step 5: Wait 2–4 weeks
Flowers are done when they feel papery and stiff with no dampness — usually two weeks, a full month for thick blooms. Handle with tweezers and store flat in an envelope away from light.
10 Beautiful Pressed Flower Art DIY Projects
1. Floating-frame botanical prints
Arrange pressed blooms on cream or sage cardstock and sandwich it in a glass floating frame so light passes through the petals. A trio of small frames makes a stunning hallway display alongside your other DIY wall art.
2. Pressed flower bookmarks
Arrange tiny flowers on a strip of watercolor paper, seal with clear packing tape or laminate, and punch a hole for a ribbon tassel. These take ten minutes and make the sweetest little gifts for readers.
3. Botanical greeting cards
Glue a small pressed arrangement to a blank card with tacky glue and write a message inside — homemade cards turn birthdays and thank-yous into keepsakes.
4. Flower-topped candles
Press dried flowers onto a plain pillar candle with a heated spoon, then seal with a quick dip in melted wax. The result looks like an expensive artisan candle — a lovely companion to our DIY candles.
5. Pressed flower phone case
Arrange flowers on a clear phone case and seal under a thin layer of sun-cured UV resin — a little jewelry box you carry everywhere.
6. Botanical coasters
Set pressed flowers into round resin molds or decoupage them onto wooden coaster blanks and seal with polyurethane. Practical, pretty, and a wonderful hostess gift.
7. Framed herbarium pages
Label each specimen with its Latin name and pressing date, then frame the pages in a grid — stunning in a home office or reading nook.
8. Pressed flower jewelry
Tiny blooms set in resin pendants or earring bezels become delicate floral jewelry. Start with small, sturdy flowers like forget-me-nots and alyssum, which survive resin beautifully.
9. Decorated gift tags and wrapping
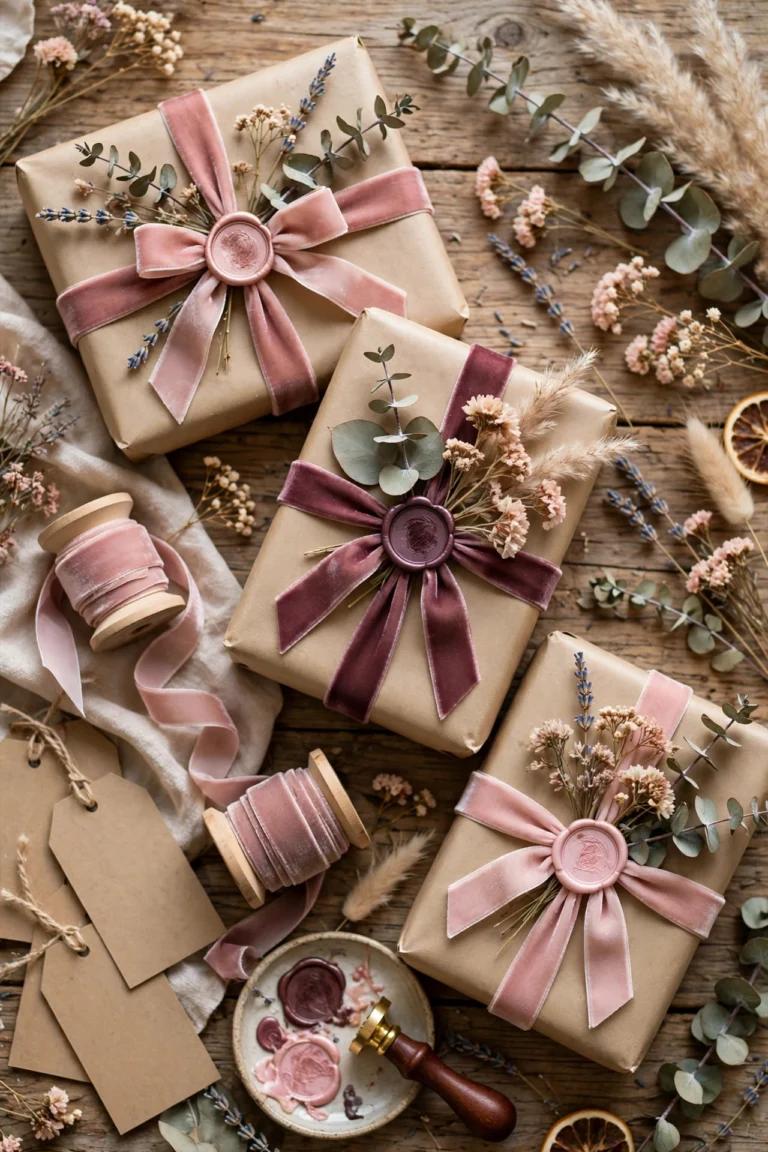
A single pressed pansy glued to a kraft gift tag elevates any present. This is one of the easiest ways to use up leftover petals — and it fits right in with thoughtful DIY gifts for her.
10. Pressed flower lanterns
Glue small pressed blooms around the outside of a glass jar with Mod Podge and place an LED candle inside. Light glowing through the petals is pure magic on a dark evening.
Pro Tips for Crisp, Color-Retaining Presses
Pick at peak, press fast. Press flowers within a few hours of picking for the brightest color.
Keep finished art out of direct sun. Even perfectly pressed flowers fade in strong sunlight. Hang framed pieces on shaded walls or use UV-protective glass.
Store extras properly. Layer finished pressings between sheets of tissue in a folder, stored flat in a cool, dark drawer. They keep for years.
Frequently Asked Questions
How long does it take to press flowers?
Most flowers take 2–4 weeks in a book press — thin petals like pansies may finish in two, while thick blooms like roses need a full month. Changing the paper mid-way speeds things up.
Which flowers press the best?
Naturally flat flowers are easiest: pansies, violets, daisies, cosmos, larkspur, buttercups, and Queen Anne’s lace. Ferns, eucalyptus, and most leaves press beautifully too. Avoid very fleshy flowers like tulips and succulents — they tend to brown.
Why did my pressed flowers turn brown?
Browning is almost always moisture: flowers picked while wet, paper never changed, or a humid room. Press on dry days, swap the paper after a few days, and keep your press somewhere airy.
How do I stop pressed flower art from fading?
Display pieces away from direct sunlight and seal arrangements with Mod Podge or resin; UV-protective glass helps framed art last for years.