How to Make Candles at Home (Beginner’s Guide)
There’s something deeply satisfying about lighting a candle you made yourself. And it’s easier than you think — no special skills, no expensive equipment. This beginner’s guide walks you through everything: supplies, safety, and your first perfect pour.
What You’ll Need
- Soy wax flakes (easiest for beginners, clean-burning)
- Candle wicks (cotton or wood — match size to your container)
- Heat-proof containers (mason jars, tins, ceramic cups)
- Pouring pitcher (or a Pyrex measuring cup)
- Thermometer (candy thermometer works)
- Fragrance oils (candle-safe, not just essential oils)
- Wick holders (clothespins or chopsticks work)
- Double boiler setup (pot + heat-safe bowl)
Starter kits with all of this run $25–40 and make 8–10 candles.
Step-by-Step: Your First Candle
Step 1: Prep Your Container
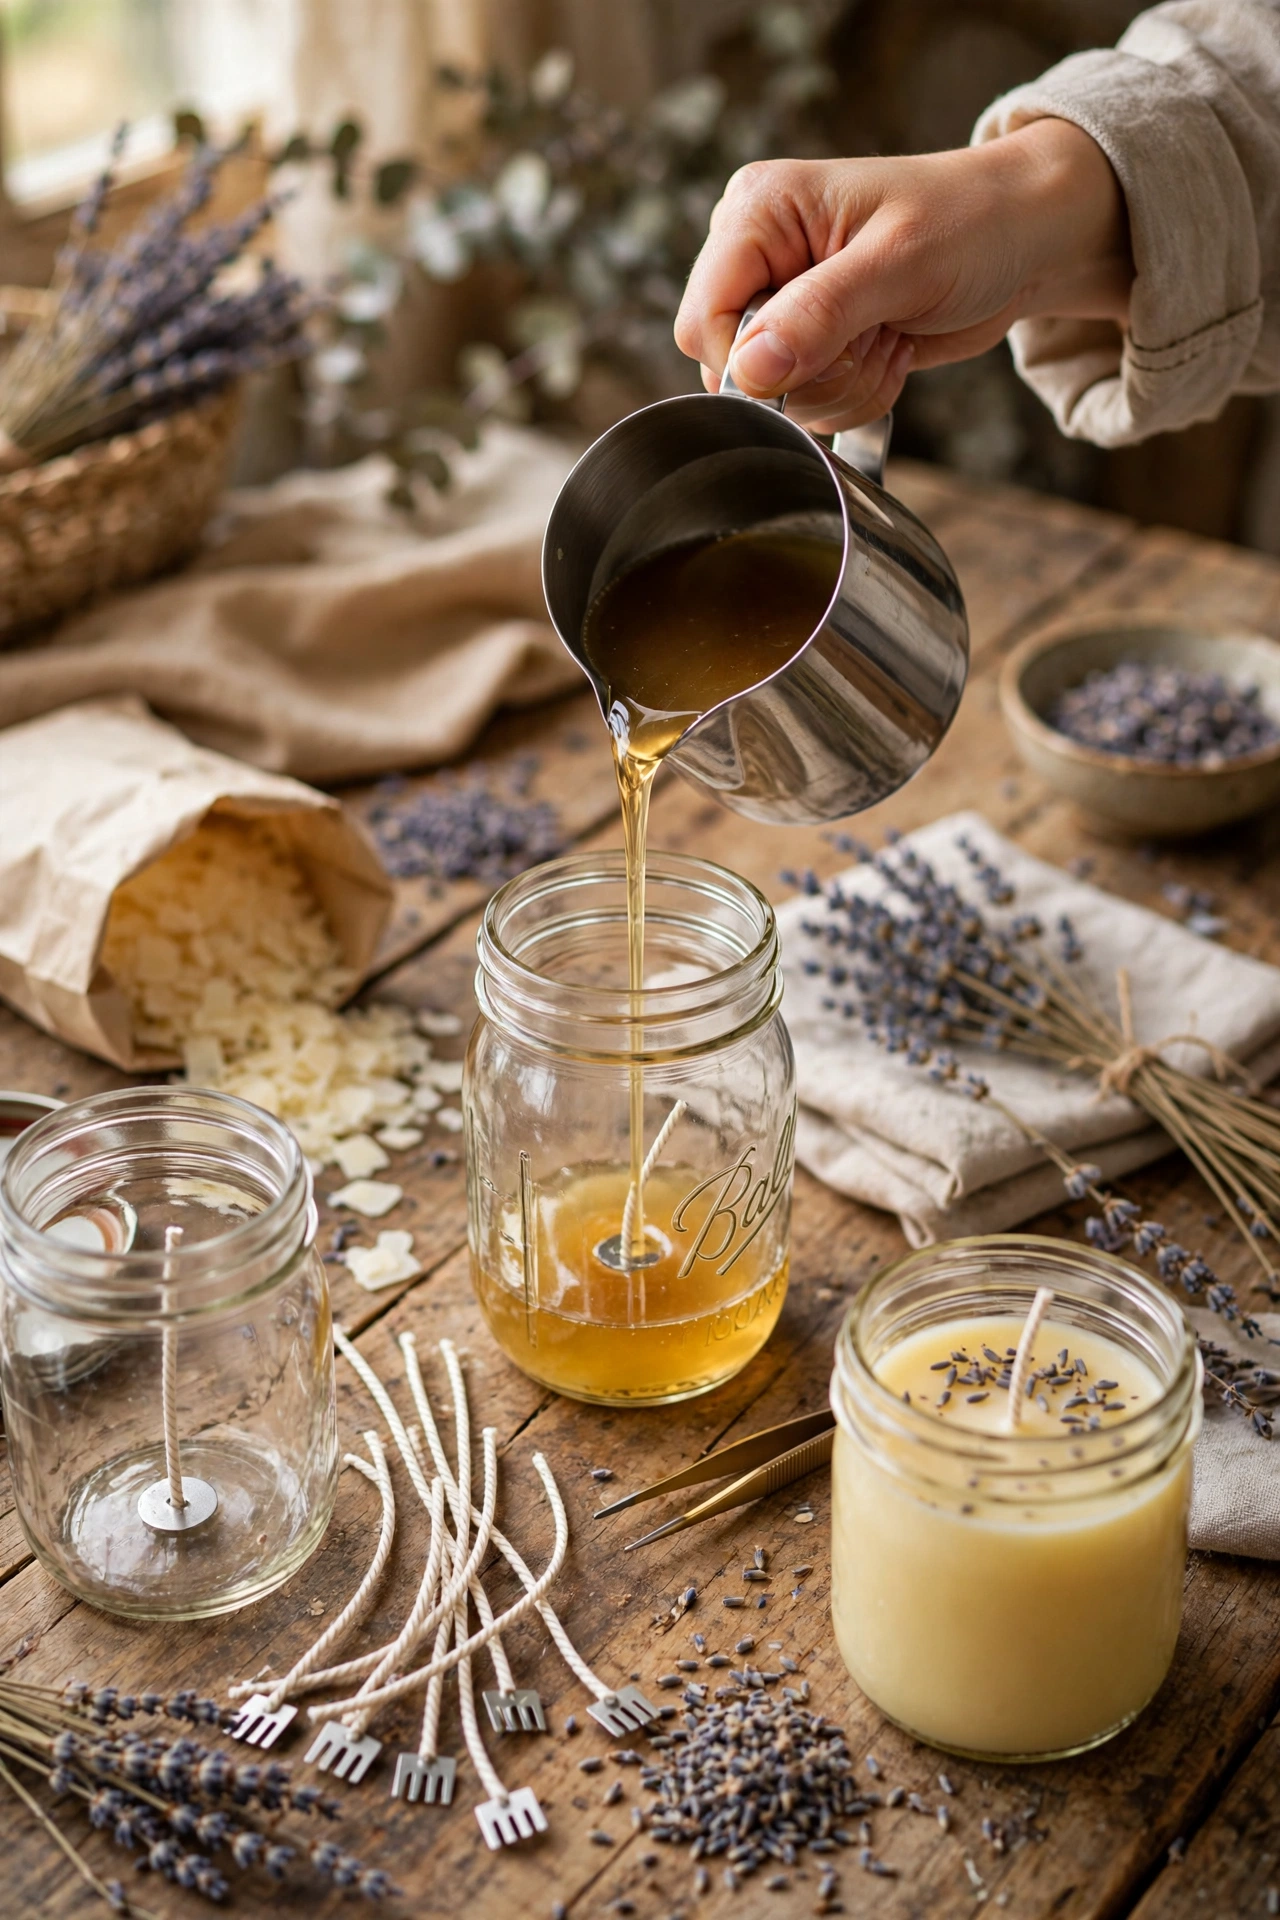
Clean and dry your jar. Secure the wick in the center with a wick sticker, then hold it upright with clothespins across the rim.
Step 2: Melt the Wax
Melt soy wax in a double boiler to 170–180°F (77–82°C). Stir gently. Never microwave wax, and never leave melting wax unattended.
Step 3: Add Fragrance
Remove from heat. Let cool to 150–160°F, then stir in fragrance oil (typically 1 oz per pound of wax — check your oil’s guidelines). Stir for a full 2 minutes.
Step 4: Pour
Cool to 130–140°F, then pour slowly into your container. Leave ½ inch at the top. Center the wick.
Step 5: Cool & Cure
Let cool undisturbed for 24 hours. Then cure for 7–14 days — this is the hardest step (waiting) but crucial for scent throw. Trim wick to ¼ inch before lighting.
Troubleshooting Common Issues
- Sinkholes: Normal! Do a second “relief pour” of leftover wax.
- Wet spots (wax pulling from glass): Cosmetic only, doesn’t affect burn.
- Weak scent: You likely need more fragrance oil, or longer cure time.
- Tunneling: Wick too small, or didn’t burn long enough on first light. Always let the melt pool reach the edges on the first burn.
- Frosting (white patches on soy): Natural for soy wax, purely cosmetic.
Safety Rules (Non-Negotiable)
- Never leave melting wax unattended.
- Keep a fire extinguisher nearby (never use water on a wax fire).
- Don’t pour wax down drains.
- Keep fragrance oils away from kids and pets.
- Cure candles out of direct sunlight.
Fun Variations to Try Next
- Layered colors: Pour in stages, letting each cool.
- Dried flowers: Press against the jar’s inside before pouring (keep away from wick).
- Wood wicks: They crackle like a fireplace. Trim shorter (⅛ inch).
- Teacup candles: Thrifted teacups make the cutest containers.
Your first candle won’t be perfect — and that’s the point. By candle #3, you’ll be pouring like a pro and wondering why you ever paid $30 for store-bought.