Makeup Brushes Guide: What Each Brush Is Really For
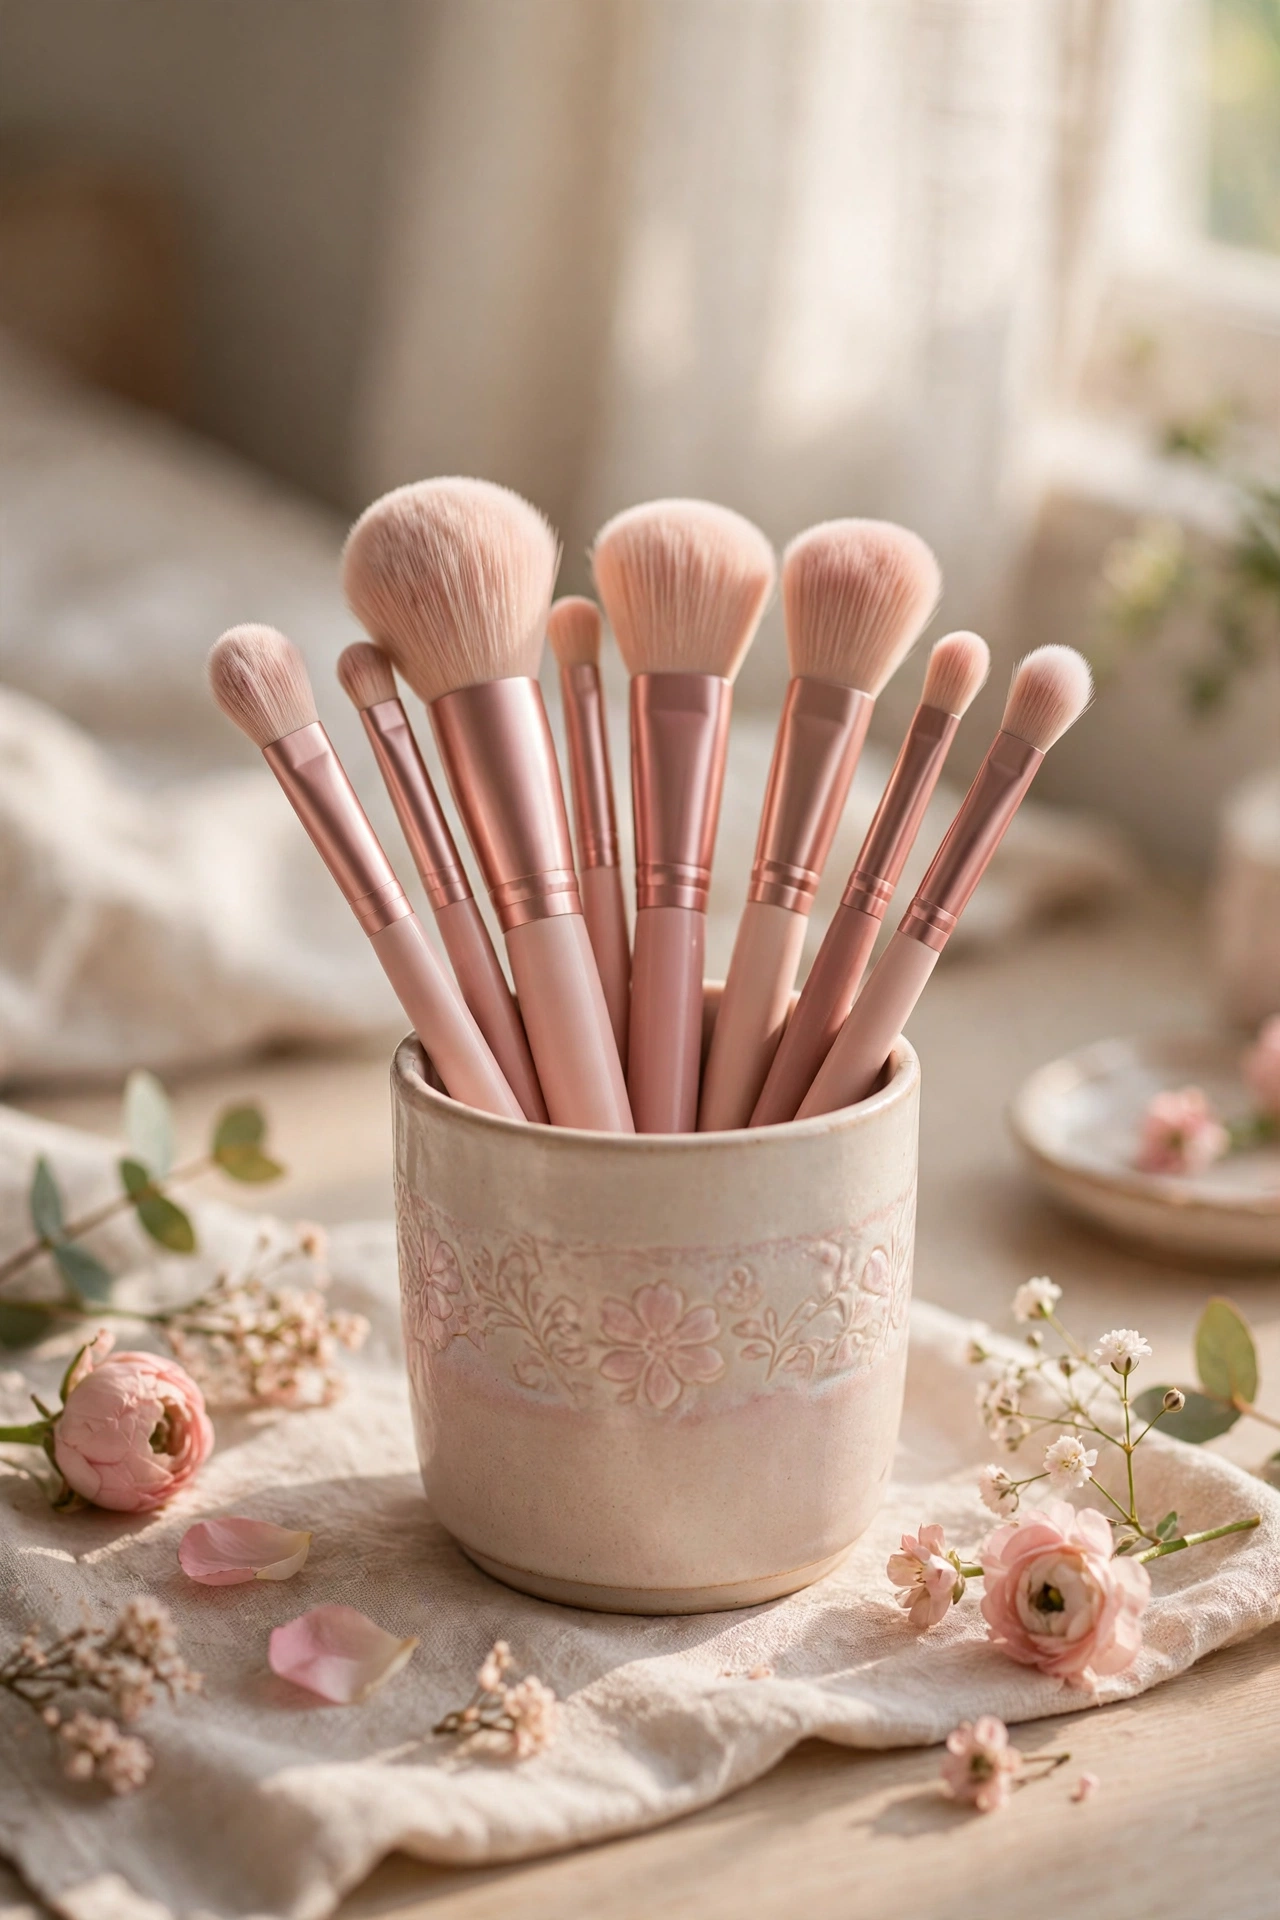
Open any makeup brush set and you will find twenty-odd brushes with mysterious names — and no clue which you actually need. Here is the truth: most people need about eight brushes, and half the brushes in big sets do nearly the same job. This guide covers every common brush, what it is really for, and whether it deserves a spot in your kit.
14 Makeup Brushes and What Each One Is Really For
1. Flat Foundation Brush
The classic paddle shape. Best for: applying liquid foundation in smooth, even strokes. Do you need it? Nice to have — fingers or a sponge often blend more seamlessly. Keep it for precise, full-coverage application.
2. Stippling (Duo-Fibre) Brush
Those two-length bristles are intentional. Best for: lightweight, airbrushed-looking foundation and cream blush. Do you need it? Yes for sheer, natural base makeup — over-application is nearly impossible. A staple for any natural everyday makeup look.
3. Concealer Brush
Small, flat, precise. Best for: patting concealer onto blemishes, under eyes, around the nose. Do you need it? Yes — fingers sheer concealer out too much; this keeps coverage exactly where you put it.
4. Powder Brush
Big, fluffy, and soft. Best for: dusting setting or finishing powder over the face. Do you need it? Absolutely — a true essential. Choose soft, loosely packed bristles that distribute powder without caking.
5. Blush Brush
Medium, slightly tapered or domed. Best for: blush on the apples of the cheeks with a diffused edge. Do you need it? Yes — the tapered shape prevents harsh stripes by blending for you.
6. Angled Contour Brush
Slanted to hug cheek hollows. Best for: bronzer and contour under cheekbones and along the jawline. Do you need it? Only for regular contouring — otherwise your blush brush doubles for light bronzer.
7. Fan Highlighter Brush
Thin, fanned-out bristles. Best for: a whisper of highlighter across cheekbones, brow bones, nose. Do you need it? Lovely but optional — it prevents the over-application that makes highlighter stripey. A light hand with any small brush works too.
8. Flat Eyeshadow Shader Brush
Short, dense, flat bristles. Best for: packing eyeshadow onto the lid with maximum pigment payoff. Do you need it? Yes if you wear more than a single wash of color — patting (not sweeping) is what makes lid color look rich.
9. Fluffy Blending Brush
Soft, dome-shaped, loosely packed. Best for: blending crease shadow and softening harsh edges. Do you need it? One hundred percent yes — this brush makes eyeshadow look professional. Windshield-wiper motions, light pressure, patience.
10. Angled Brow Brush
Stiff, slanted bristles. Best for: filling brows with powder or pomade in hair-like strokes. Do you need it? Yes if you fill your brows — pair it with our eyebrow shaping guide for a night-and-day difference versus a spoolie alone.
11. Precision Eyeliner Brush
Ultra-fine angled or pointed tip. Best for: gel eyeliner, tightlining, winged liner. Do you need it? Only for gel liner or wings — pencil and liquid-pen users can skip it.
12. Lip Brush
Small, firm, tapered. Best for: precise lipstick application, especially bold or dark shades. Do you need it? Nice for bold lips, overkill for everyday nudes.
13. Kabuki Brush
Short handle, dense dome. Best for: buffing powder or mineral foundation. Do you need it? Great for powder-foundation users; otherwise optional.
14. Beauty Sponge (Bonus — Not a Brush)
The egg-shaped sponge deserves an honorable mention. Best for: bouncing (never dragging) foundation and concealer into skin for a seamless finish. Do you need it? Honestly yes — damp, it gives the most natural base of any tool. In hot weather, pair a sponge-applied base with our sweatproof makeup guide techniques to lock everything in.
How to Clean Your Makeup Brushes (and How Often)
- Face brushes: weekly. Eye brushes: every few uses. Dirty brushes harbor bacteria, cause breakouts, and apply makeup patchily. A quick weekly clean extends their life enormously.
- Use gentle soap and lukewarm water. A drop of gentle shampoo works perfectly — swirl bristles in your palm, then rinse until water runs clear.
- Keep water away from the ferrule. The metal band loosens if water seeps in and dissolves the glue — hold brushes bristle-down and never soak them.
- Reshape and dry upside down or flat. Gently squeeze out water, reshape the bristles with your fingers, and lay brushes flat on a towel with bristles hanging over an edge — or use a brush drying rack. Never dry them standing upright; water runs down into the handle.
- Deep-clean sponges often. Sponges trap more product and bacteria than brushes — work cleanser through, squeeze (do not twist), rinse thoroughly, air-dry completely.
- Replace when bristles shed or lose shape. Good brushes last years with proper care. When bristles constantly shed, splay permanently, or feel scratchy, it is time to retire them.
Frequently Asked Questions
How many brushes do I actually need?
About eight: powder brush, blush brush, concealer brush, flat shader brush, fluffy blending brush, angled brow brush, one stippling brush or sponge for foundation, and a lip brush for bold lips. Start here and add only when you hit a specific need.
Synthetic or natural bristles — which is better?
For most people, synthetic. Modern synthetics work beautifully with cream and powder products, are cruelty-free, and are easier to clean. Natural bristles suit powders but absorb creams and need more maintenance. Unless you have a preference, go synthetic.
How often should I replace my brushes?
With weekly cleaning, quality brushes last three to five years or more. Replace brushes that shed constantly, lose shape, or feel rough. Beauty sponges wear out faster — replace every one to three months.
Can I just use my fingers instead of brushes?
For some things, absolutely — fingers are great for cream blush, concealer, and sheer foundation. But they cannot replicate a fluffy blending brush on eyeshadow or an angled brow brush on brows. Use fingers where they excel, brushes where precision matters. 🖌️