
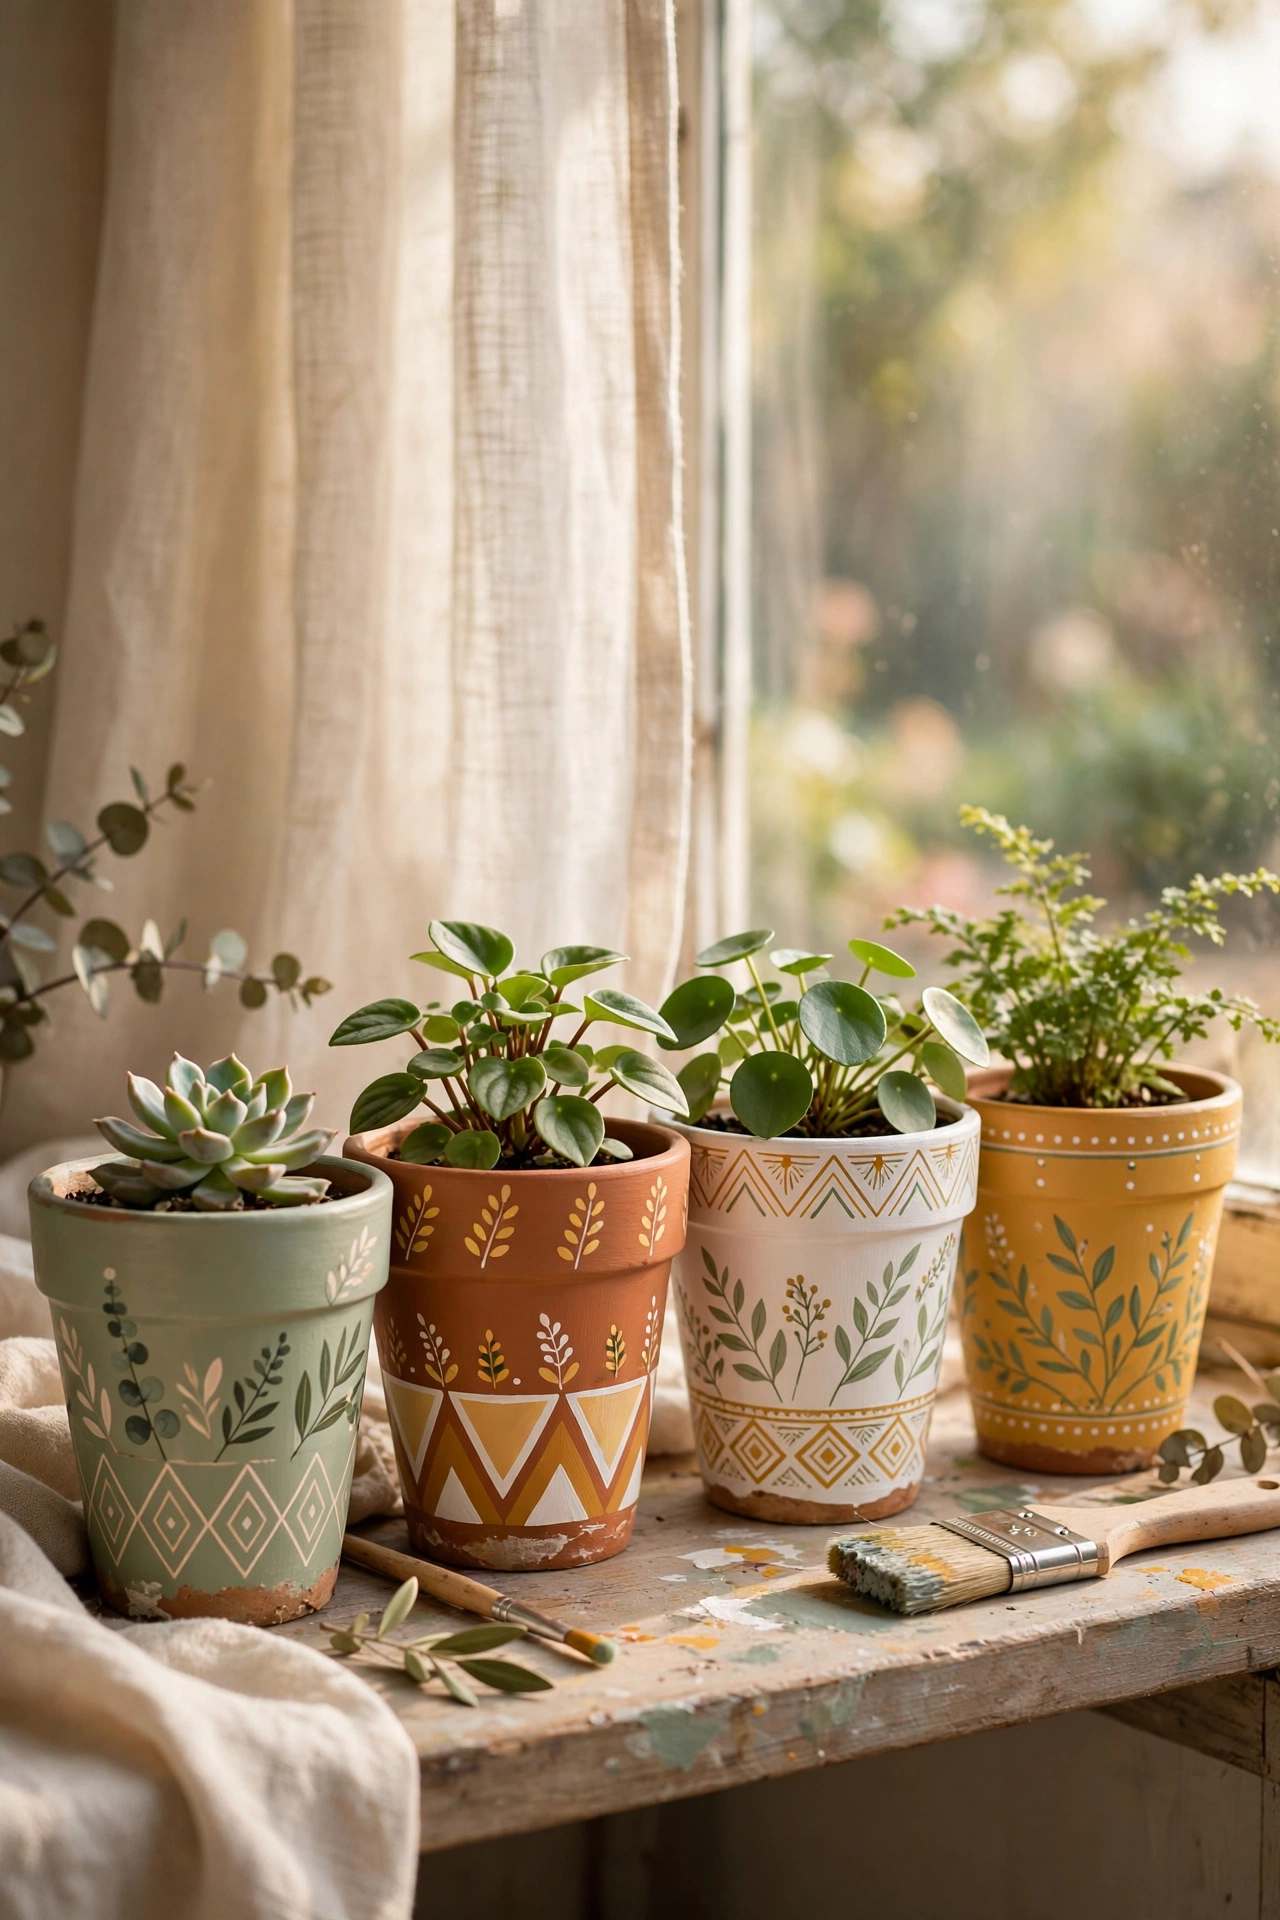
Painted Terracotta Pots: 12 Creative DIY Ideas
Terracotta pots are the unsung heroes of the plant world — cheap, breathable, and available everywhere. But let’s be honest: a row of identical orange pots is not exactly inspiring. A little paint transforms them completely. Painted terracotta pots are one of those rare crafts that are genuinely beginner-friendly, take under an hour, and end up looking like something from a garden boutique.
Terracotta is porous, so paint behaves differently on it than on wood or canvas — seal it right and your designs survive watering, sunshine, and seasons outdoors. Here are twelve designs, from five-minute dips to detailed botanical art. 🪴
Supplies You’ll Need
- Terracotta pots — new or cleaned secondhand ones
- Acrylic craft paint — multi-surface or outdoor acrylics last longest
- Paintbrushes — a flat brush for base coats, small rounds for details
- Painter’s tape — for crisp lines and color blocking
- Clear acrylic sealer (matte or satin) — non-negotiable for outdoor pots
- Sandpaper (fine grit) — optional, for smoothing rough spots
- Pencil and chalk — for sketching designs first
- Palette, water cup, paper towels — the usual painting setup
- Optional extras: paint pens, sponges, stencils, metallic paint
How to Paint Terracotta Pots (The Right Way)
Step 1: Clean and dry the pot
Scrub off dirt and mineral deposits with a stiff brush and let the pot dry completely — ideally overnight. Paint on a damp pot will bubble and peel.
Step 2: Seal the inside (optional but smart)
Brush a coat of sealer or waterproofing paint on the inside of the pot. This stops water from wicking through the clay and lifting your paint from beneath — the number one reason painted pots fail outdoors.
Step 3: Apply a base coat
Two thin coats of acrylic beat one thick coat every time. Let the first coat dry fully (about 30 minutes) before the second. White base coats make colors pop; leave the rim natural terracotta for a classic look.
Step 4: Paint your design
Sketch lightly in pencil or chalk first, then paint. Work from background to foreground, and let layers dry between colors to avoid muddying.
Step 5: Seal everything
Once the paint has cured for 24 hours, apply 2–3 thin coats of clear acrylic sealer, inside rim and out. This is what makes your pot survive rain and watering.
12 Creative Painted Terracotta Pot Ideas
1. Color-blocked modern pots
Tape off the top third and paint it white, sage, or black, leaving the bottom natural. Minimal effort, maximum style — these look incredible grouped in threes.
2. Dip-dyed ombré
Paint the pot in horizontal bands of one color getting progressively lighter toward the top. No tape needed if you blend while wet; tape gives you crisp bands.
3. Botanical illustrations
White pot, delicate green leaves and stems painted freehand or with a stencil. Timeless, and it makes even a grocery-store succulent look curated.
4. Terrazzo effect
Paint the pot a solid base color, then sponge on irregular chips of white, beige, and terracotta for an instant trendy terrazzo look.
5. Faces and characters
Simple painted faces turn pots into personalities — especially fun for kids’ rooms or as gifts. Add a trailing plant as “hair” for the full effect.
6. Geometric patterns
Triangles, half-moons, and stripes in a two-color palette with painter’s tape for crisp lines. Black and white is striking; terracotta and cream is softer.
7. Chalkboard pots
Chalkboard paint on the front panel lets you label herbs and change the message with the seasons. Practical and cute on a kitchen windowsill.
8. Metallic accents
Paint the pot matte black or navy, then add gold or copper details — a rim band, dots, or thin stripes. These look expensive enough for a styled shelfie, and they fit right in with easy DIY home decor projects.
9. Citrus and fruit motifs
Lemons, oranges, and strawberries painted on white pots bring instant sunshine. Adorable on a patio table in summer.
10. Speckled stoneware look
Paint the pot warm gray, then flick a toothbrush loaded with dark paint to create speckles. From two feet away, it reads as handmade ceramic.
11. Word pots
Single words — grow, bloom, hello — in a pretty script using paint pens. Lovely as gifts, especially paired with the plant already potted.
12. Autumn harvest pots
Deep rust, mustard, and plum with simple leaf motifs — beautiful for transitioning your porch into autumn. See our fall home decor ideas for more seasonal styling.
Pro Tips for Paint That Lasts
Thin coats, always. Thick paint cracks as terracotta expands and contracts with temperature. Two or three thin coats flex better and look smoother.
Do not skip the sealer. Unsealed acrylic will eventually peel outdoors, guaranteed. Sealer is the difference between a one-season pot and a five-year pot.
Leave drainage in mind. Do not paint over drainage holes, and avoid sealing the very bottom where water needs to escape.
Let paint cure fully. Paint feels dry in an hour but needs about 24 hours to cure hard. Seal too early and you trap softness underneath.
Frequently Asked Questions
What kind of paint works on terracotta pots?
Acrylic craft paint is the standard choice — it adheres well to porous clay and comes in endless colors. For outdoor pots, choose acrylics labeled for outdoor or multi-surface use, and always finish with a clear sealer.
Do I need to prime terracotta before painting?
Not strictly, but a primer or white base coat gives you truer colors and better coverage, especially with light shades over orange clay. Sealing the inside first also prevents moisture from ruining your work.
Will painted terracotta pots survive outside?
Yes, if sealed properly: use outdoor-rated paint, seal inside and out with clear acrylic sealer, and bring hand-painted pots under cover in freezing weather.
How do you clean painted pots?
Wipe with a damp cloth. Avoid scrubbing or pressure washers, which wear through the sealer. Reapply a fresh coat of sealer once a year to keep outdoor pots looking new.