
21 Chin Length Hairstyles for Thin, Fine Hair
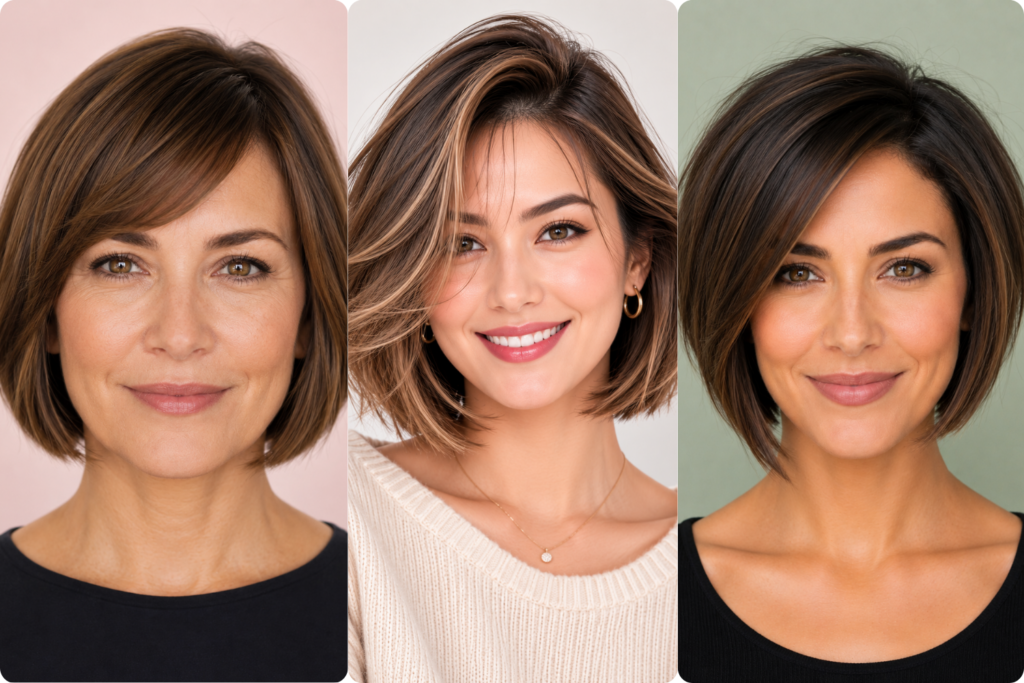
My hair has been fine and thin since I was a teenager, and for most of my twenties I blamed every flat, limp day on the wrong shampoo instead of the actual problem — too much length and not enough shape. The year I finally cut it to chin length and stopped fighting it, everything changed. Chin-length cuts are genuinely the sweet spot for thin hair: short enough to look dense, long enough to still style a few different ways depending on the day or the season.
Before you book anything, save a few references to your phone, ideally photos taken from the front and from the back, since chin-length cuts shift shape a lot once they’re dry. I bring two or three to every new stylist, never just one, because a bob that looks blunt and full from one angle can look thin and uneven from another. A round brush, a root-lifting spray, and a willingness to skip a wash day or two are basically the only tools fine hair actually needs.
1. Classic Blunt Chin-Length Bob
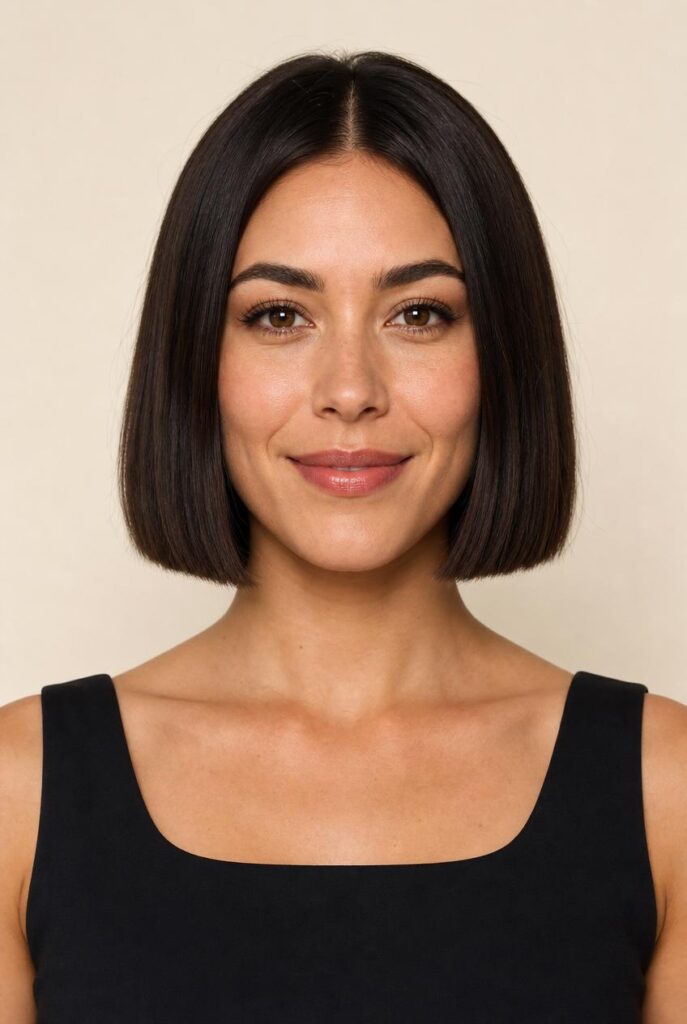
A blunt, one-length bob right at the chin is genuinely the best cut I’ve found for fine hair, because that solid bottom line tricks the eye into reading more density than actually exists. For years I kept asking for layers everywhere, and my ends just looked wispy and see-through. Ask your stylist to cut it dry, one length, and keep the thinning shears completely far away from it.
2. Textured Choppy Bob
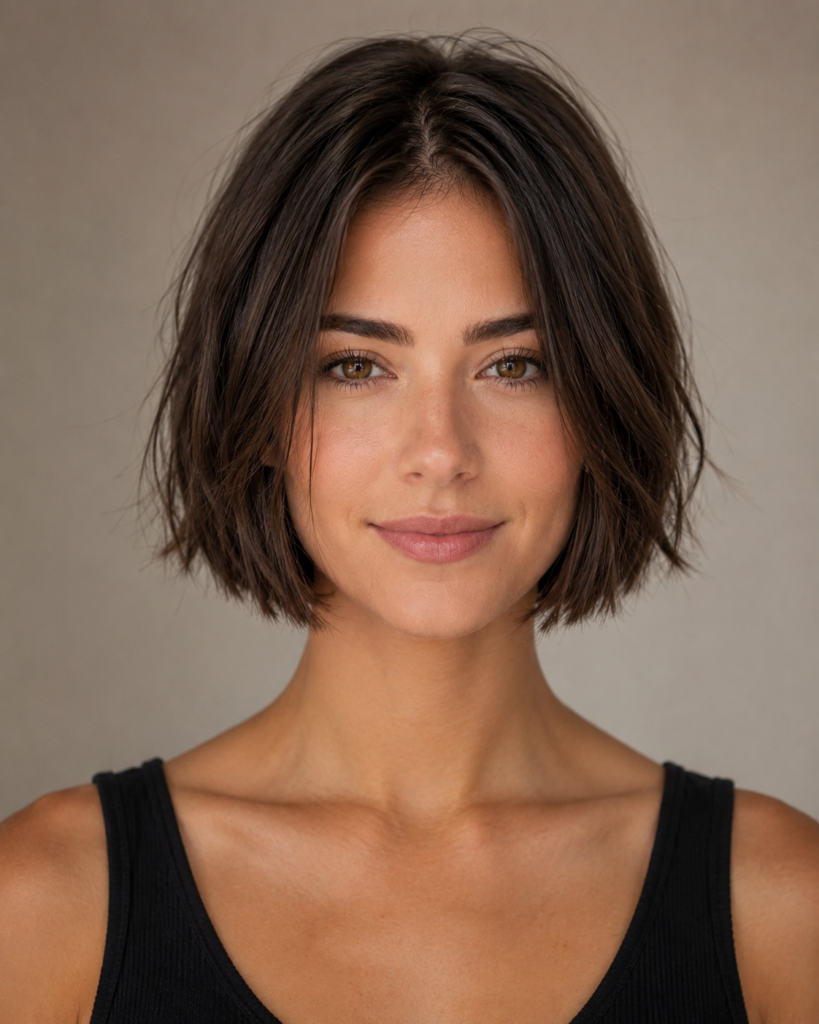
This one looks careless but isn’t — the ends are point-cut just enough to remove blunt heaviness without thinning the overall shape, which matters a lot when you don’t have hair to spare. I finish mine with a small amount of texturizing spray scrunched into damp hair before blow-drying, never combed smooth afterwards, or all the texture disappears by lunchtime.
3. Side-Swept Fringe Bob
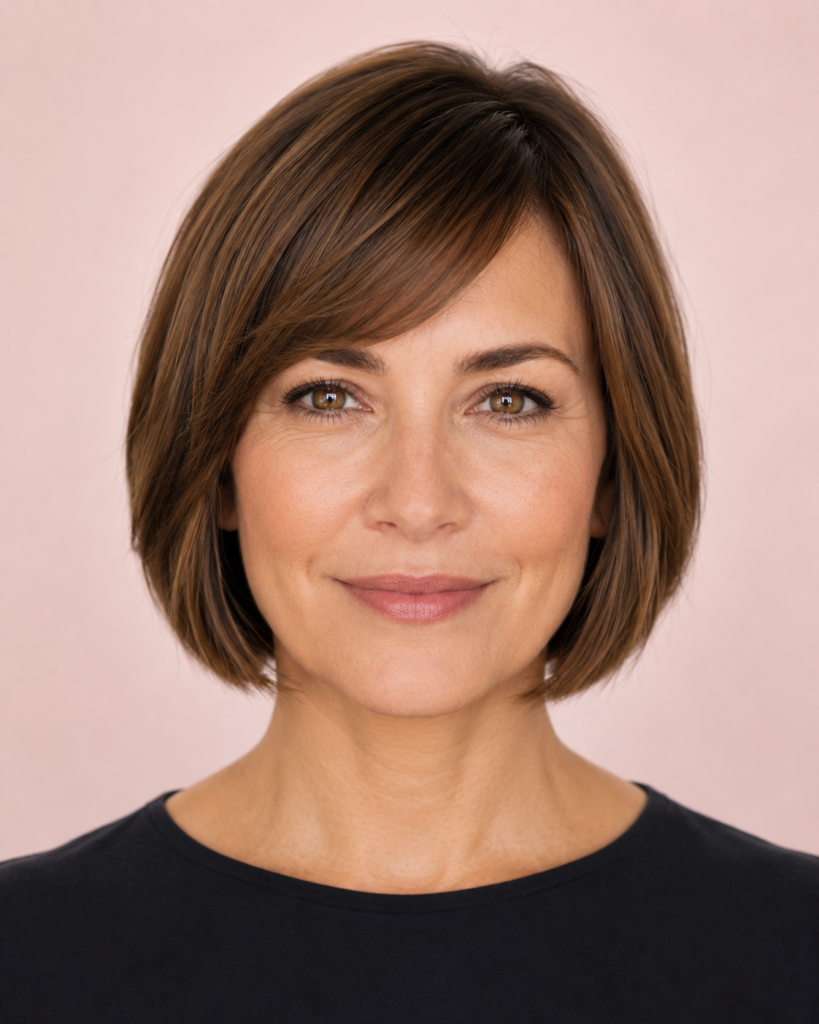
Adding a side-swept fringe to a chin bob gives fine hair an extra section of visible volume right at the front, which is usually the first area that goes flat on me. I part the fringe diagonally with a fine-tooth comb while damp, then blow-dry it forward over a small round brush. A bang cut straight across just lays flat on thin hair within hours.
4. Layered Chin-Length Bob

Layers can absolutely work on fine hair, but only if they’re long and soft, concentrated underneath rather than short and cut all over the surface. My first heavily layered bob left the top looking thin and patchy within two weeks. Ask for face-framing layers only, with everything underneath left longer to support the shape instead of being cut away from it.
5. A-Line Bob (Longer in Front, Shorter in Back)
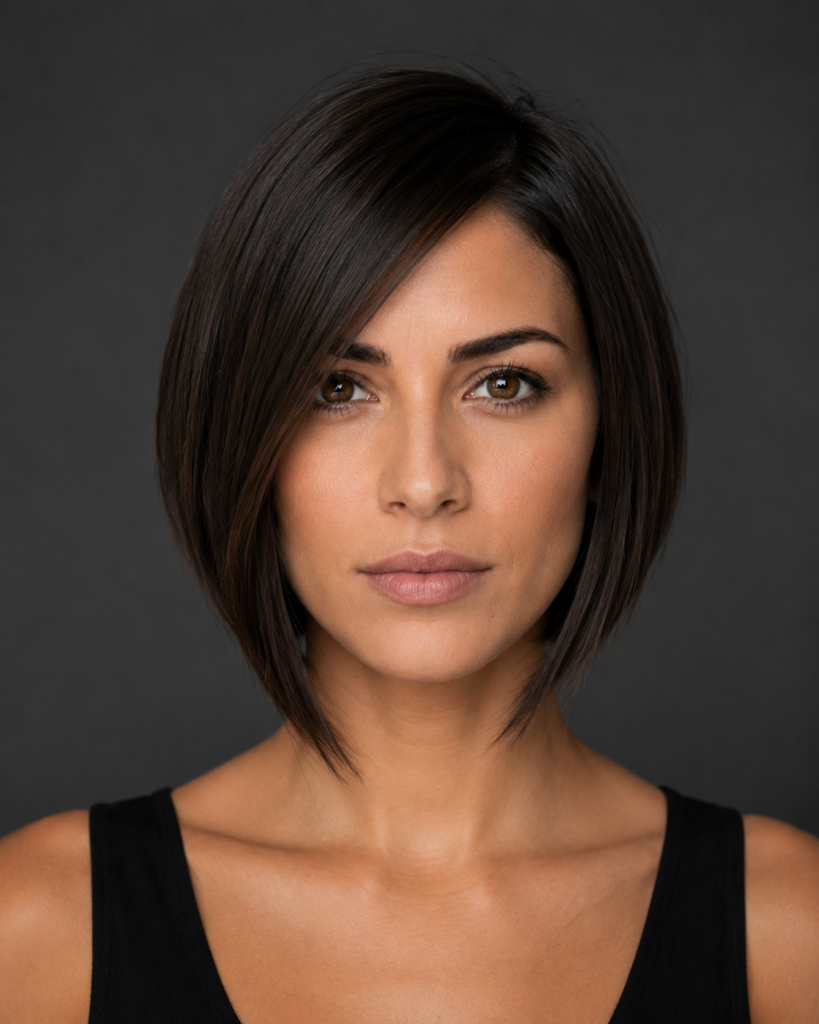
The A-line bob, shorter at the back and angling longer toward the chin in front, adds a sharp, graphic shape that reads as intentional rather than just short. It also lifts the back section slightly off the neck, which helps fine hair at the nape look fuller instead of pancake-flat. I ask for a clean, defined angle instead of a soft, blended one.
6. Wavy Beachy Chin Bob

A loose beachy wave on a chin bob gives fine hair the appearance of more texture and body without actually adding any weight. I use a one-inch curling wand, alternate the curl direction section by section, then shake it out with my fingers instead of a brush, which keeps the wave from falling into one flat curtain by mid-afternoon.
7. Curly Chin-Length Bob

Curly hair at chin length needs to be cut dry, curl by curl, the same rule that applies at any length, but it matters even more on fine, lower-density curls where one wrong snip leaves a visible gap. My stylist checked between sections as it diffuser-dried so we could both see how each curl was actually behaving before cutting anything further.
8. Bob with Curtain Bangs

Curtain bangs split down the middle and swept to each side add width at the forehead, which balances a fine-hair bob nicely if your face reads narrower up top. I blow-dry mine over a large round brush, rolling the ends under and away from my face. Air-drying without that round brush step always leaves mine looking stringy instead of soft.
9. French Bob with Bangs

A shorter, rounder French bob paired with a blunt fringe is dramatic on fine hair because the density is concentrated into one compact shape instead of spread out and thinning toward longer ends. I was nervous about how blunt the fringe looked at first, but it genuinely reads fuller than a softer, wispier fringe would on that same amount of hair.
10. Stacked Bob (Volume at the Crown)
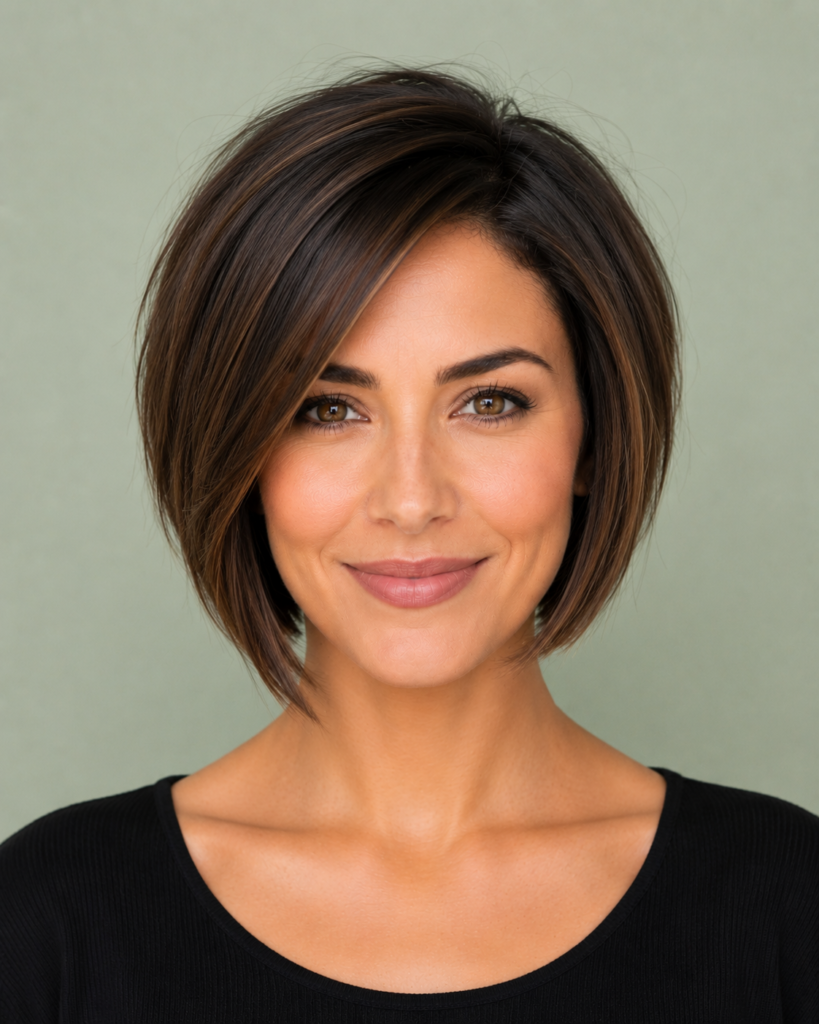
Stacking adds short, graduated layers underneath at the back while keeping the top length longer, which builds real volume right where fine hair usually falls flattest. My stylist also recommended a root-lifting mousse on wet hair before blow-drying, and that combination genuinely changed how my whole head looked from the side, not just from straight on.
11. Inverted Bob (Shorter Nape, Longer Front)
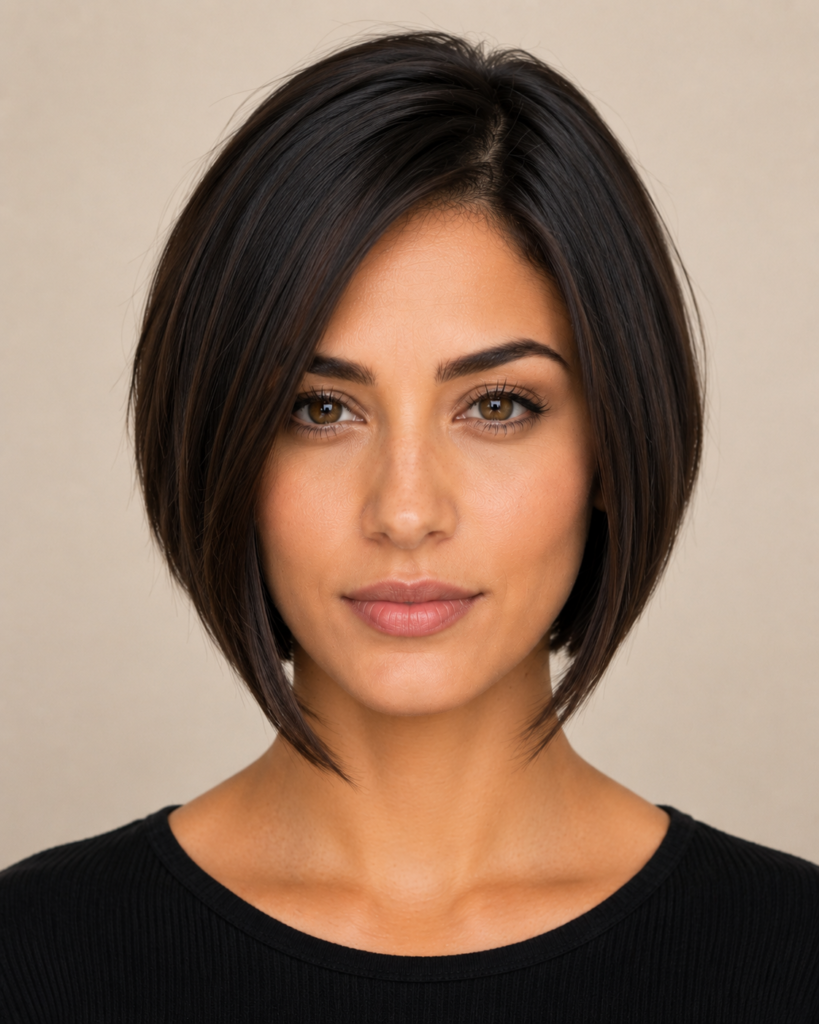
An inverted bob is dramatically shorter at the nape and noticeably longer toward the front, creating a built-in angle that adds shape without needing extra layers cut into already-thin hair. The first time I asked for this, my stylist warned the back would feel very short, and it genuinely was, but it grew into one of my favourite shapes by week four.
12. Slicked-Back Chin Bob
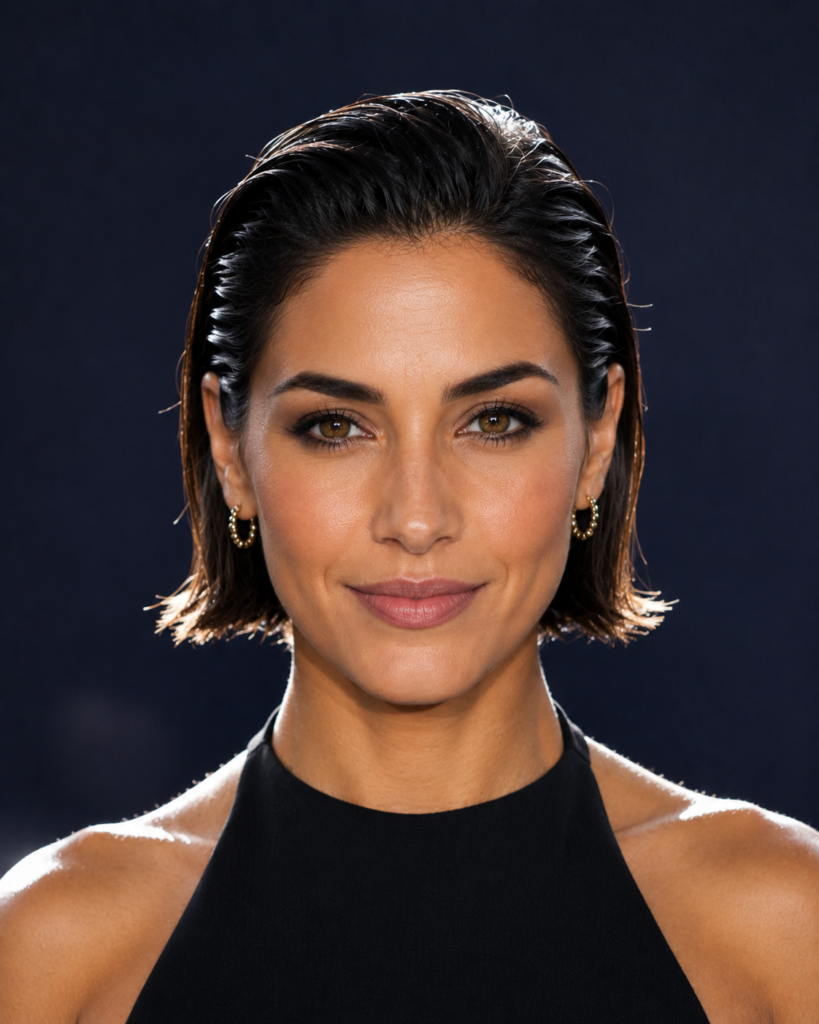
Working a lightweight gel through damp hair and combing it straight back with no part gives a chin bob a sleek, almost expensive-looking finish, and it’s deceptively easy on fine hair since there’s no volume to fight against. I use barely a pump, since too much product on thin hair looks instantly greasy instead of polished and glossy.
13. Bob with a Deep Side Part

Switching from a centre part to a deep side part is the single fastest volume trick I know for fine hair, because it forces the roots to lift away from the scalp on the heavier side. On a chin bob specifically, it also makes the whole cut look slightly more dynamic without actually trimming anything unevenly.
14. Wispy Fine-Hair Bob (Soft Ends, Not Thinned Ends)

This is a bob cut with very light point-cutting only at the very ends, just enough to soften a blunt line without removing real density underneath. I once made the mistake of asking a new stylist for “wispy” and ended up with heavily thinned ends, which is the opposite of what fine hair needs. Be specific: soft ends, never thinned ends.
15. Bob with Balayage Highlights
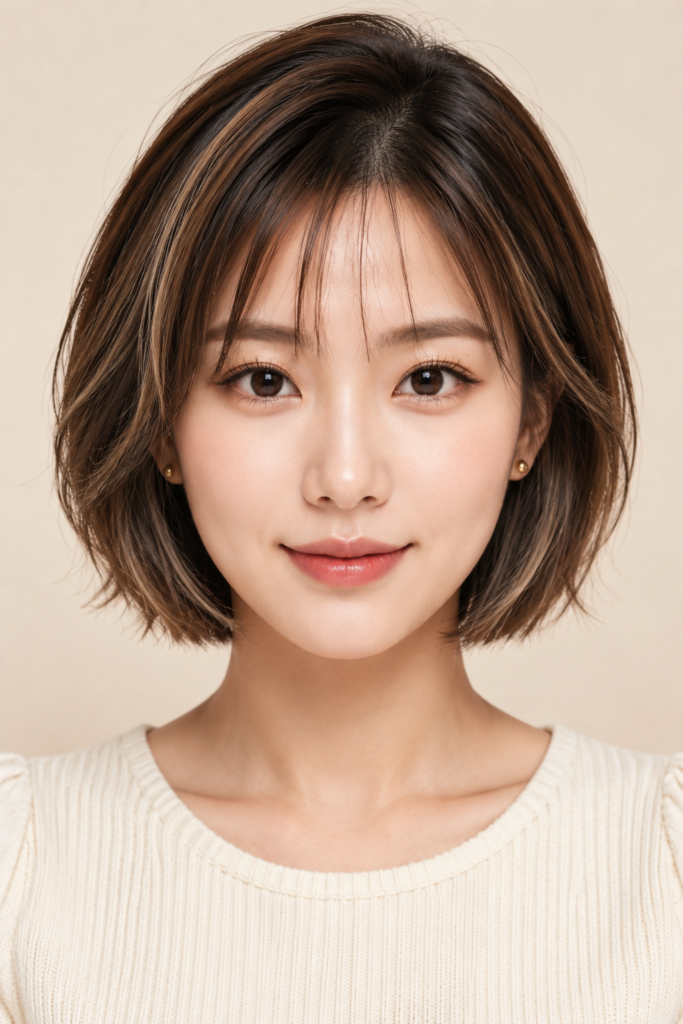
Hand-painted highlights on a chin bob add dimension that reads as movement and texture, which disguises flatness in a way flat, single-process color never quite manages. My stylist kept the highlights away from my roots and concentrated them toward the ends and around my face, and it made the cut look fuller and noticeably more expensive overall.
16. Platinum Blonde Chin Bob
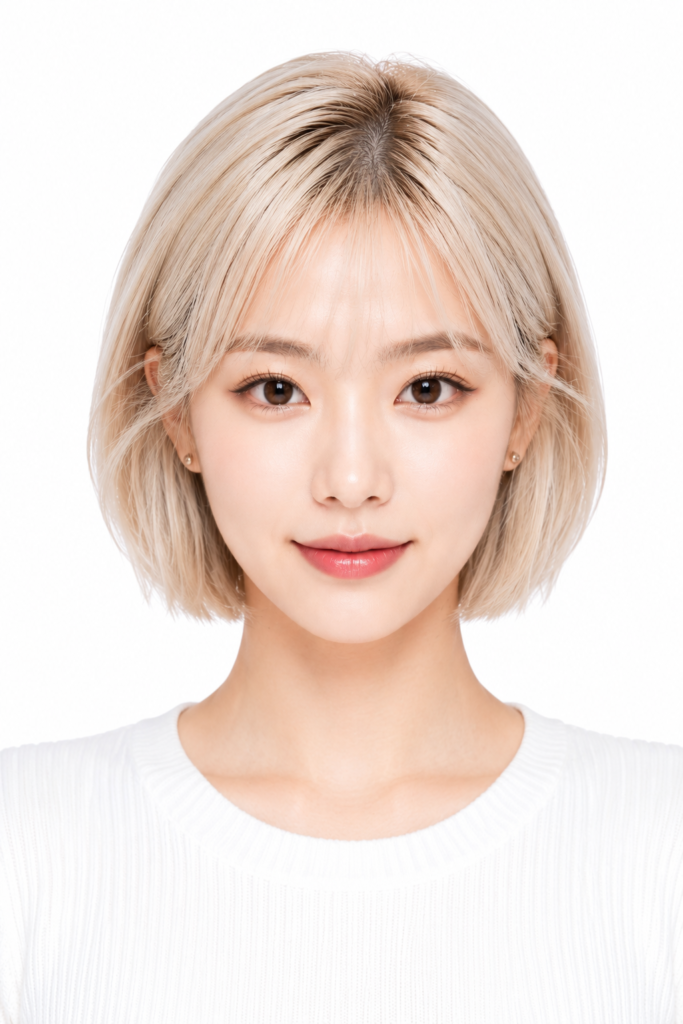
Platinum on fine hair needs real caution, since over-processed thin strands break far more easily than thicker hair under the same bleach. I switched to a bond-building treatment at every color appointment after my first platinum bob left my ends noticeably weaker within a month. It’s a luxurious, high-impact look, just budget extra for repair treatments alongside the color itself.
17. Auburn or Copper Chin Bob (Seasonal Fall Look)

A warm copper or auburn tone on a chin bob feels especially right through autumn, and it photographs beautifully against changing leaves or warm indoor lighting. I switch to this color every September, and a color-depositing conditioner between salon visits keeps the tone from fading toward a dull, brassy orange before the six-week mark.
18. Volumizing Blow-Dry Bob (Root-Lift Technique)
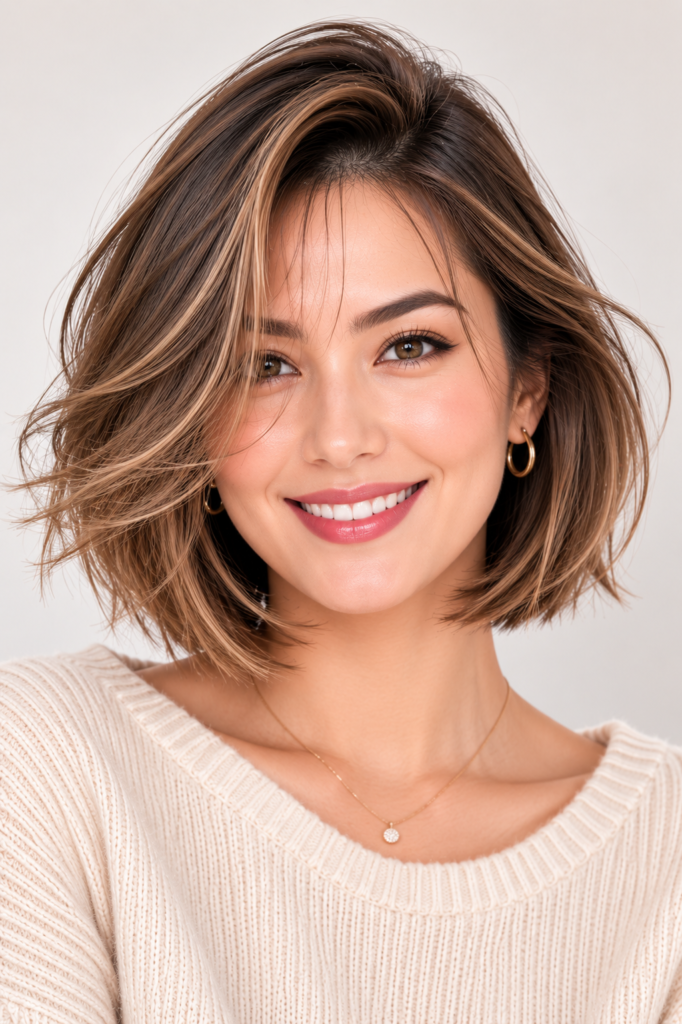
This isn’t a different cut so much as a completely different way of drying the same chin bob — root-lifting spray at the base, sectioned blow-drying with a round brush pulling straight up and away from the scalp, then a quick blast of cool air to set it. It single-handedly changed how voluminous my regular bob looks every single morning.
19. Textured Pixie-Bob Hybrid

Sitting right at the shortest end of chin length, this hybrid blends pixie-style texture on top with a slightly longer bob shape around the jaw. It’s the boldest option on this list, and I’ll admit I needed nearly two weeks to stop second-guessing it in the mirror before I actually loved how it looked from every single angle.
20. Bob with a Micro Fringe
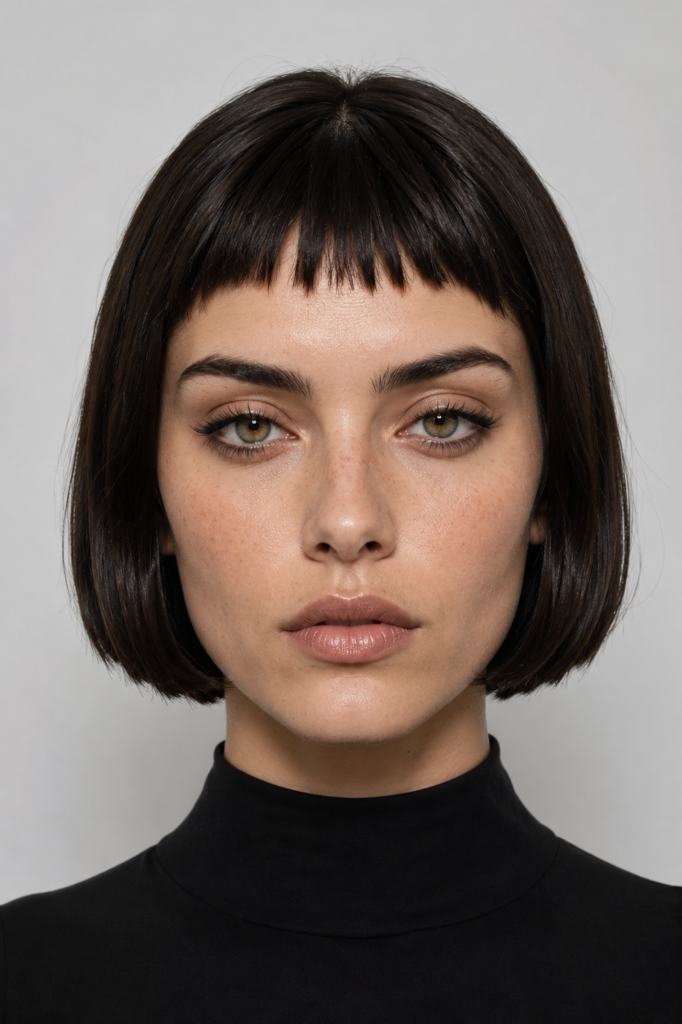
A very short, blunt micro fringe paired with a chin bob is a bigger commitment than a longer side-swept version, but it adds serious visual density right at the forehead, genuinely one of the flattest areas on fine hair. I trim mine myself every ten days with small grooming scissors, just barely above the brow, to keep the line crisp.
21. Glam Holiday Bob

For colder months and parties, I push my regular chin bob into something glossier — a shine serum smoothed over the top, ends curled under with a small-barrel iron, maybe a thin metallic headband pushed slightly back. It takes the same everyday cut from ordinary to photo-ready in under ten minutes, which matters most during a busy holiday season.
My Actual Blow-Dry Routine for Fine Hair
- Use a lightweight, volumising shampoo and keep conditioner off the roots entirely, applying it from mid-shaft down only, or fine hair goes flat within an hour.
- Apply a root-lifting spray or mousse at the roots on damp hair before any heat tool touches it.
- Blow-dry upside down for the first couple of minutes, then flip back up and finish each section over a round brush, pulling the roots straight up and away from the scalp.
- Finish each section with a quick blast of cool air to set the shape before moving to the next one.
- Apply any shine product or oil starting an inch up from the ends only, never near the roots, or it weighs the whole style down by midday.
Whichever One You Pick
Twenty-one options is genuinely a lot, but fine hair has so many quiet rules — where the weight sits, how layers behave, which products help versus which ones flatten everything by noon — that one single “best bob” photo was never going to cover it. Bring your reference photos, say the words “fine” and “no thinning shears” out loud, and give the cut a full two or three weeks before deciding. Most of these settle into their best version once you’ve actually learned how to dry them, not on day one.

Sarah Williams
Hi, I’m Sarah Williams — the founder of HerStyleNest, where beauty meets modern style. I share trendy hairstyles, chic nail designs, and fashion inspiration for women who love staying stylish every season. From everyday elegance to viral beauty trends, HerStyleNest is your go-to destination for effortless fashion and beauty ideas.



Pingback: 23 Mother Of The Bride Hairstyles For Thin, Fine Hair
Pingback: Almond Nail Designs For Fall