
21 Aura Nails Ideas and Designs That Actually Look Luxurious in 2026
Aura nails are the one trend this year that actually looks as good in person as it does on a Pinterest board, which honestly doesn’t happen often. I’ve sponged, smudged, and redone these gradients more times than I can count while building reference sets for HerStyleNest, and the soft halo effect is genuinely simple once you understand what’s happening under the color — it’s blending, not painting.
People searching “aura nail bar” or “aura nail salon” near them are usually just trying to see the look in person before committing, and that’s smart. But almost everything below is doable at home with a basic gel kit, a cheap makeup sponge, and more patience than skill. These 21 versions are the ones that have actually held up through real wear, not just a single photoshoot.
1. Classic Pink Aura Nails
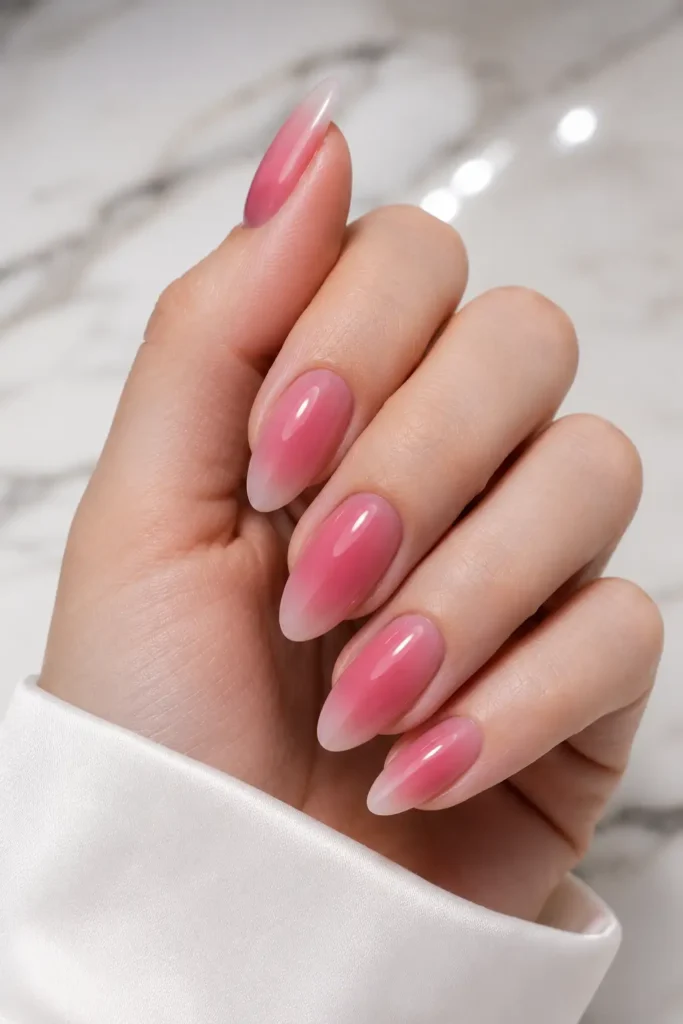
Pink aura nails were the first version I tried, and they’re still the easiest entry point if you’ve never blended color this way before. I press a soft pink gel polish onto a clean makeup sponge, then tap it around a small white or nude center dot before it sets. My first attempt looked muddy because I used too much polish at once — less product, more light tapping, gives the soft halo people actually want.
2. Blue (Cool-Toned)
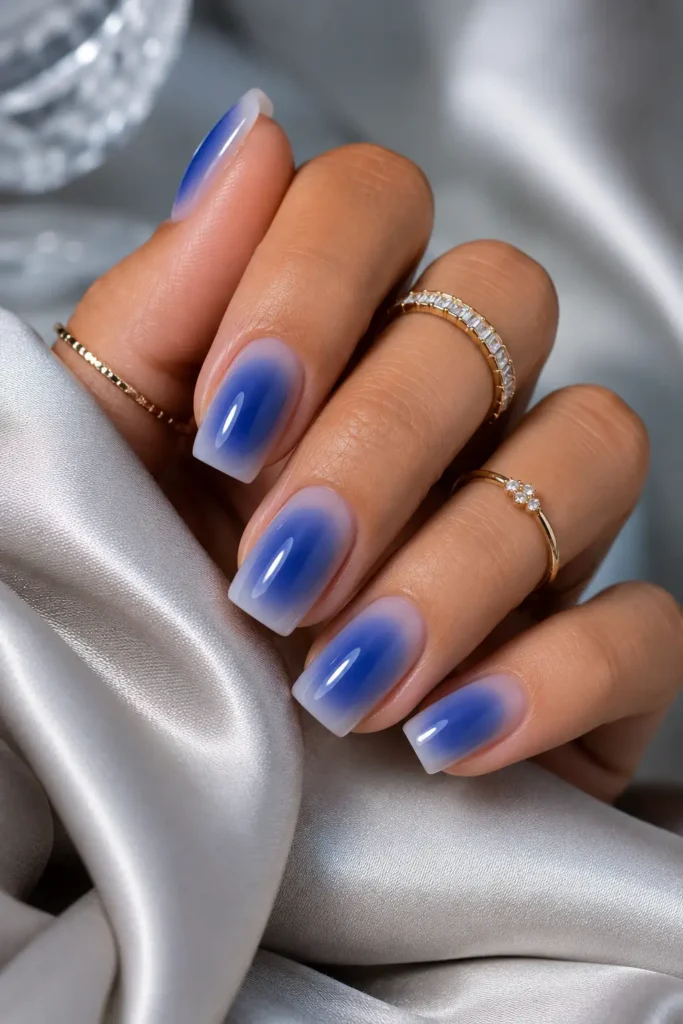
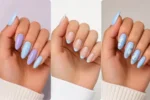
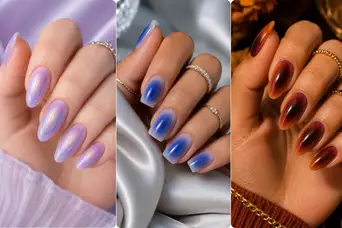
Blue aura nails photograph beautifully because the cool tone contrasts so cleanly against most skin tones. I usually pair a dusty periwinkle with a white center for the cleanest gradient, sealing each layer with a glossy top coat before moving to the next nail. The mistake I see most often is rushing the cure time under the UV lamp — blurred edges almost always trace back to that.
3. Pastel for Spring
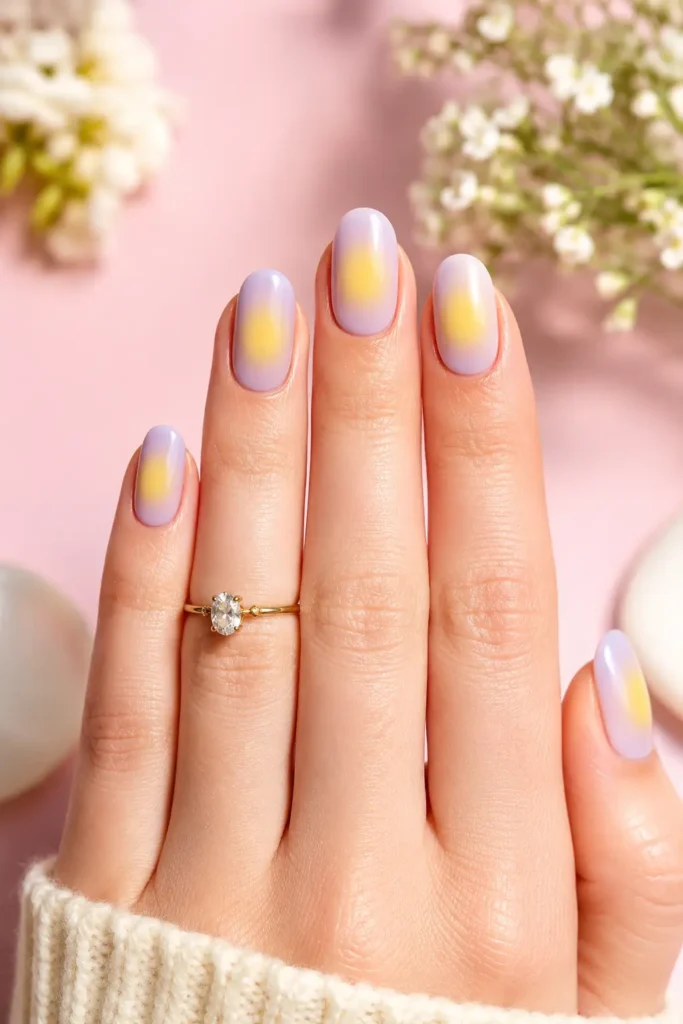
This is the set I redo every spring without fail, swapping in lilac, butter yellow, or baby blue depending on my mood that week. Pastels need a sheer, almost milky base coat first, or the aura color goes patchy against bare nail. A small detail brush, not the sponge, handles touch-ups around the cuticle line once the main gradient has fully dried.
4. Colorful Multi-Aura Nails
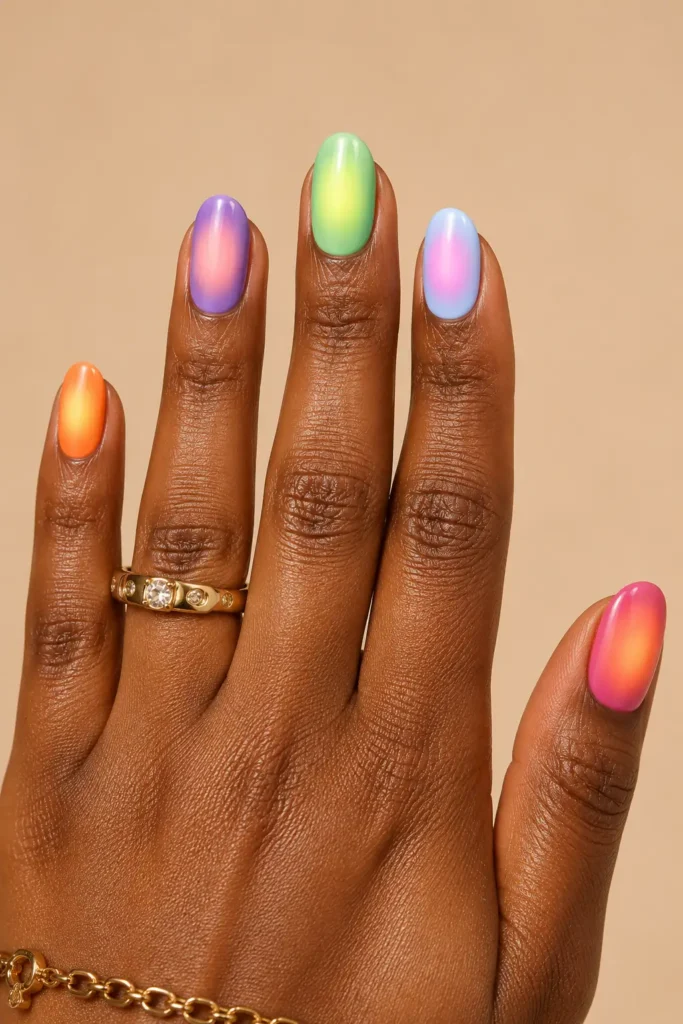
Running three or four colors across one hand sounds chaotic, but assigning each nail its own aura color actually reads as intentional rather than random. I keep one finger neutral as a visual break so the whole hand doesn’t compete with itself. Sponge one nail completely before moving to the next colour, or you’ll end up blending shades you never intended to mix.
5. Chrome
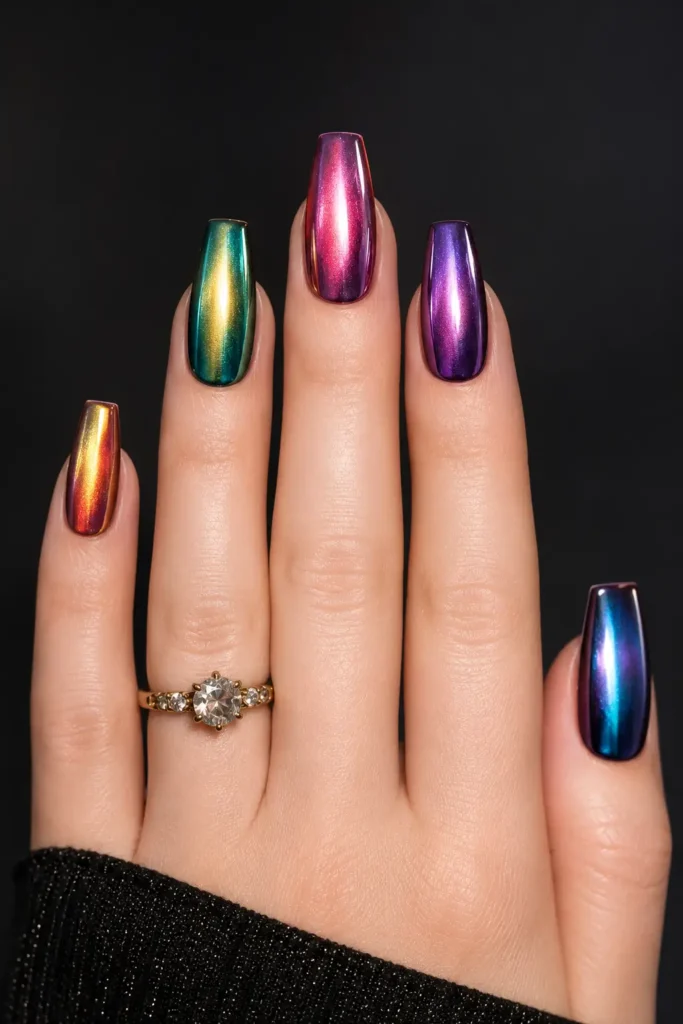
Adding chrome powder over a soft aura base turns a pretty manicure into something genuinely luxurious, almost liquid-metal under direct light. I apply the chrome only to the very centre dot, never to the full gradient, which keeps the soft aura effect visible rather than erasing it completely. A latex-free sponge applicator, sold specifically for chrome powder, gives the smoothest finish.
6. Simple (Minimalist)
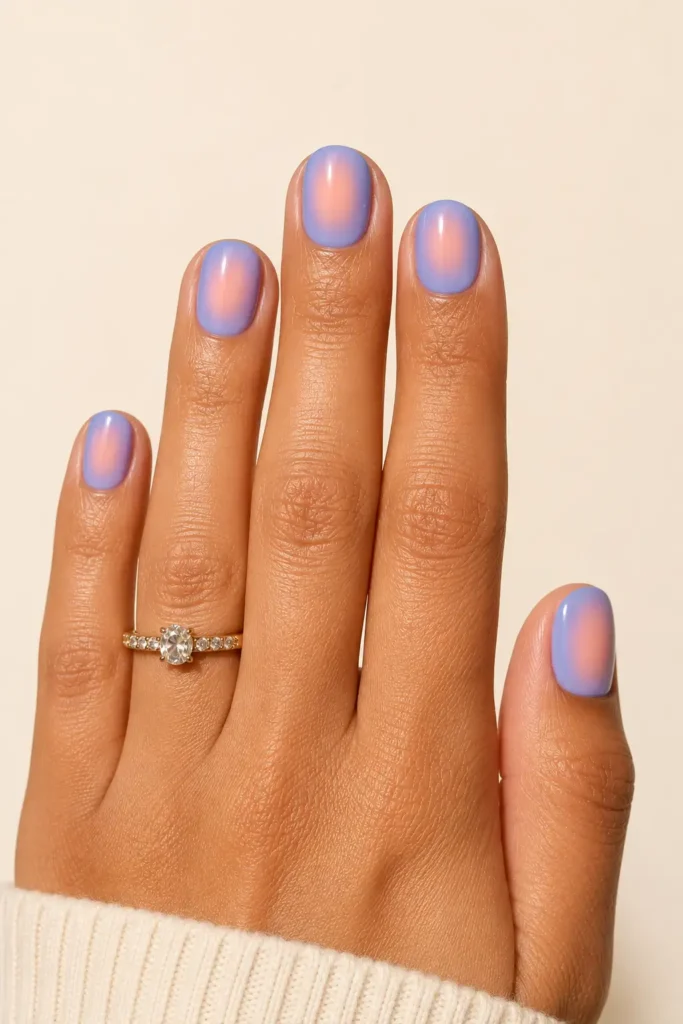
Not every aura needs three colors and a chrome finish — some of my most-saved sets are just one soft color blended into a bare, glossy nail with nothing else added. This version is also the most forgiving for beginners, since there’s no second color to keep clean. A single shade, sponged twice for opacity, then a high-shine top coat, is genuinely the whole process.
7. Short Nails
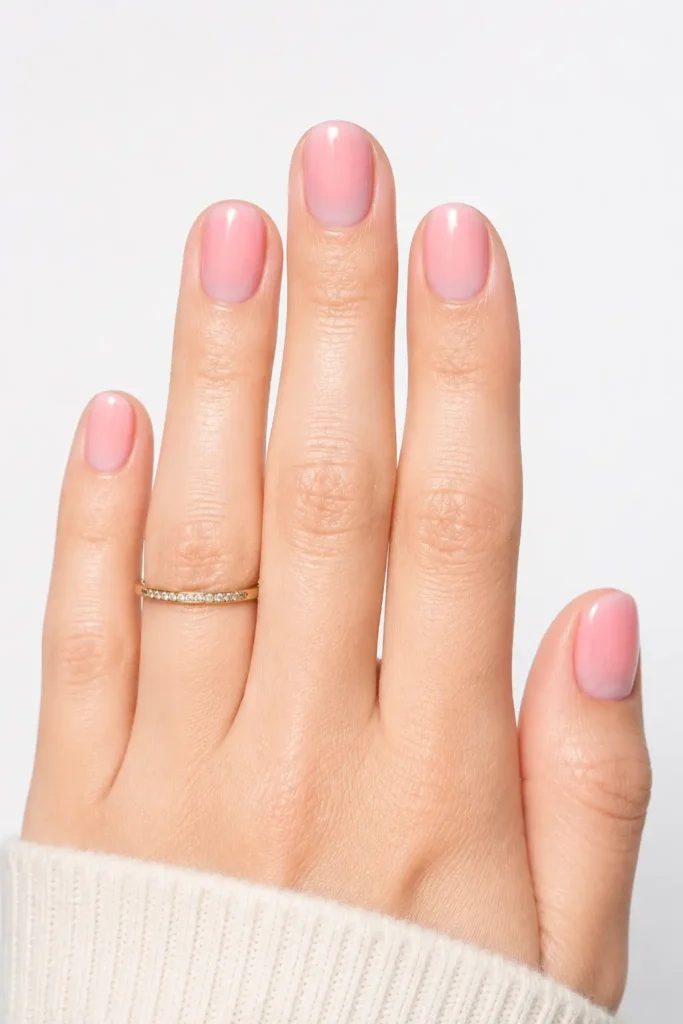
People assume aura designs need length to look good, but a tight, small gradient on short nails actually looks cleaner and more wearable for daily life. I scale the centre dot down significantly and use a smaller sponge corner for more control on the reduced surface area. This is the set I recommend most to first-timers, since mistakes are easier to fix at this size.
8. Almond Nails
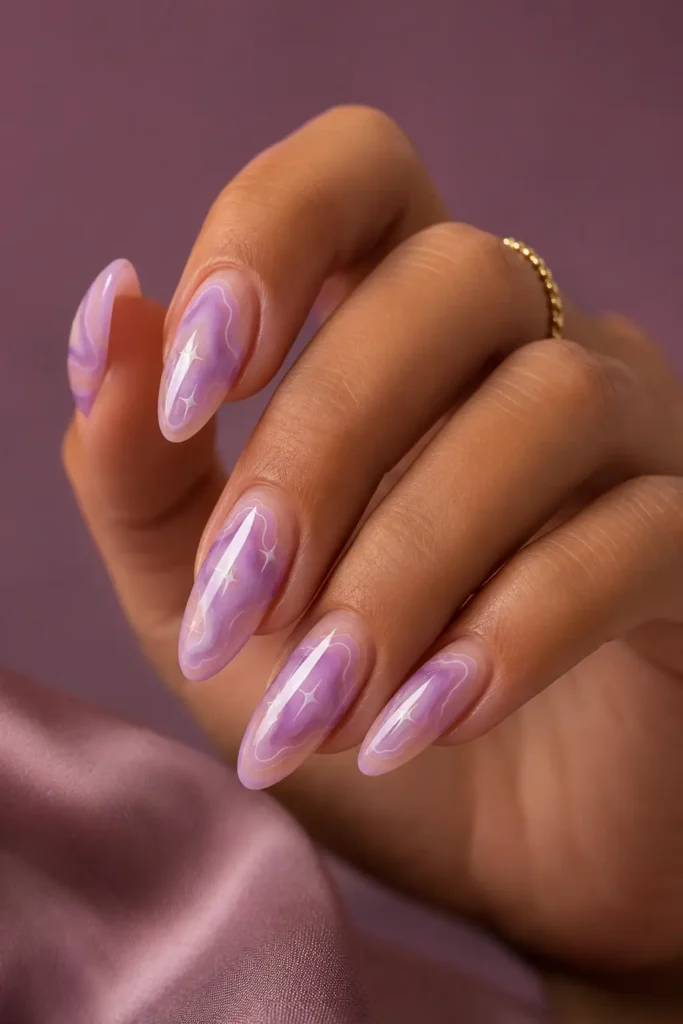
The tapered almond shape elongates the gradient naturally, since the aura color has more room to fade along the curved sides. I follow the natural shape of the nail when sponging instead of going straight across, which keeps the color flowing instead of looking cut off. This pairing shows up constantly in salon reference photos for a reason — it genuinely photographs better than most shapes.
9. French Aura Hybrid Nails
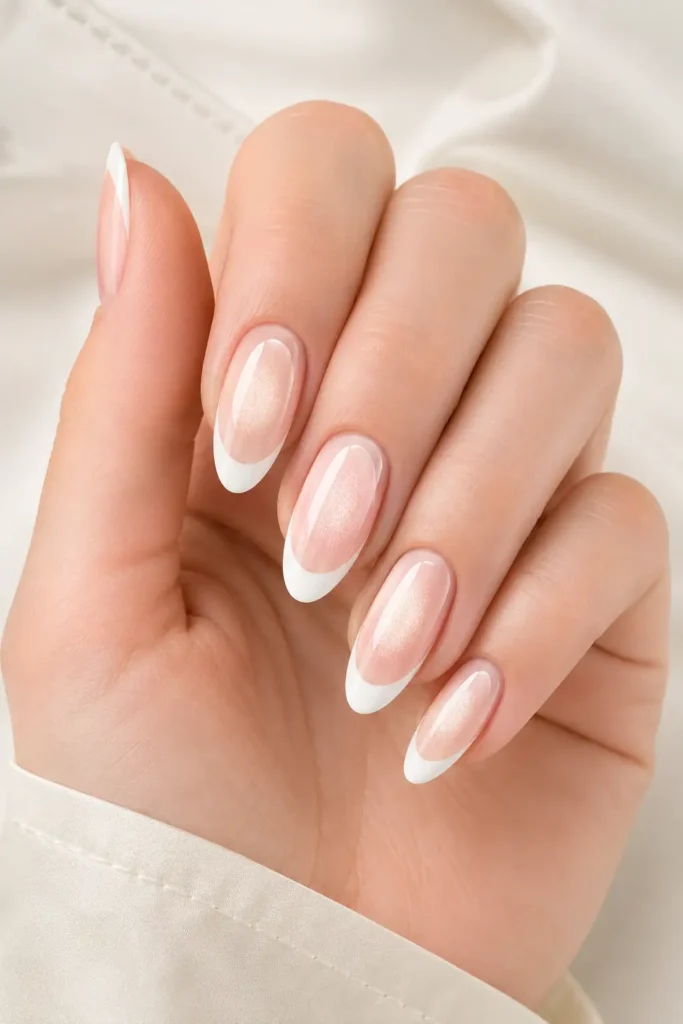
Combining a classic French tip with a soft aura base underneath gives you both trends without picking one over the other. I do the aura gradient first, let it fully cure, then tape off a clean tip line on top. My early attempts smudged the tip line because I didn’t wait long enough between steps — patience here genuinely matters more than skill ever does.
10. Summer Sunset
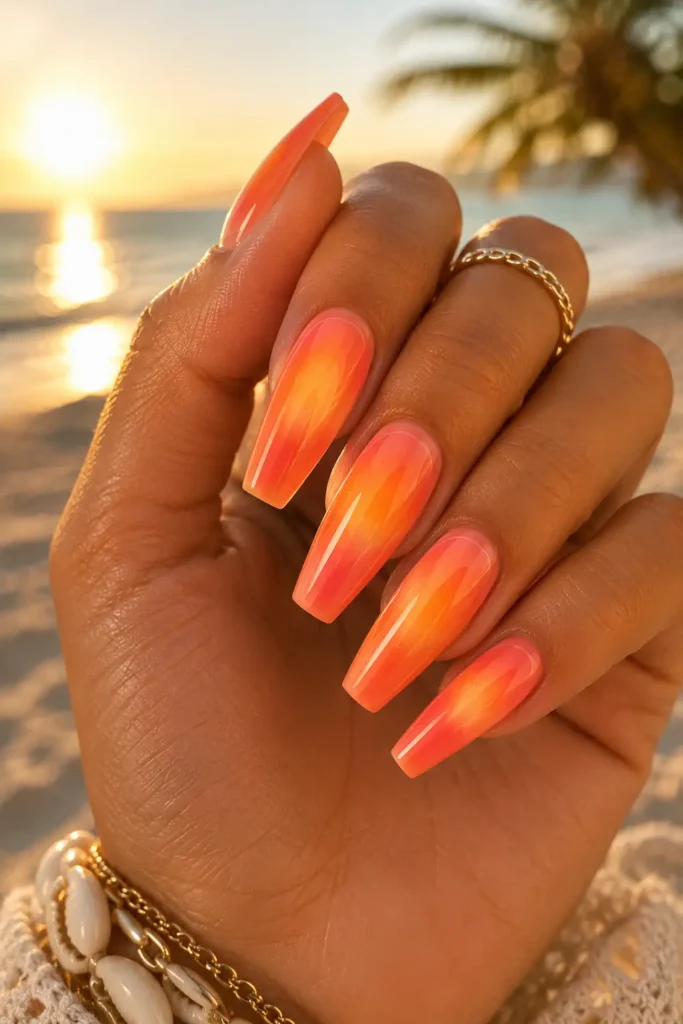
Warm oranges blending into soft pink or coral feel exactly like summer without being literal about it, which is why this combination outsells almost every other warm-tone set I make. I always test the two colors on a swatch stick first, since some oranges turn muddy rather than warm when they overlap with pink. A glossy, not matte, top coat keeps it looking sun-kissed instead of dusty.
11. Cherry Red
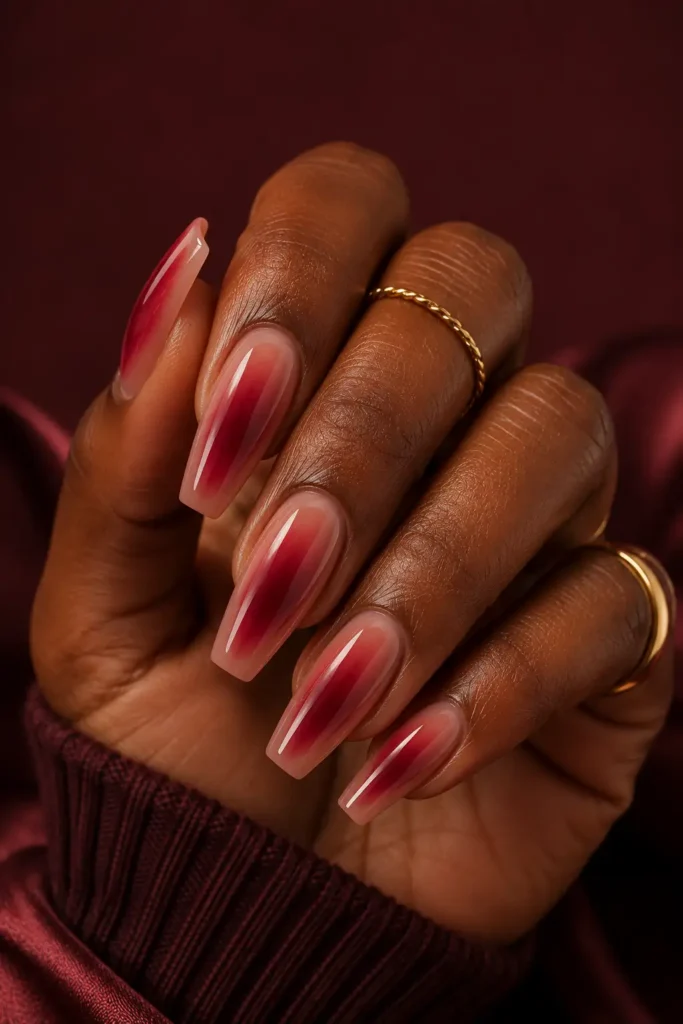
A deep cherry-red aura, faded into a warm nude base, reads more sophisticated than a full cherry-red manicure while still scratching that same craving. I sponge the red starting from the cuticle and fade it about halfway up the nail, leaving the tip mostly bare. This one gets requested constantly once the colder months roll around and bold red returns to rotation.
12. Lavender
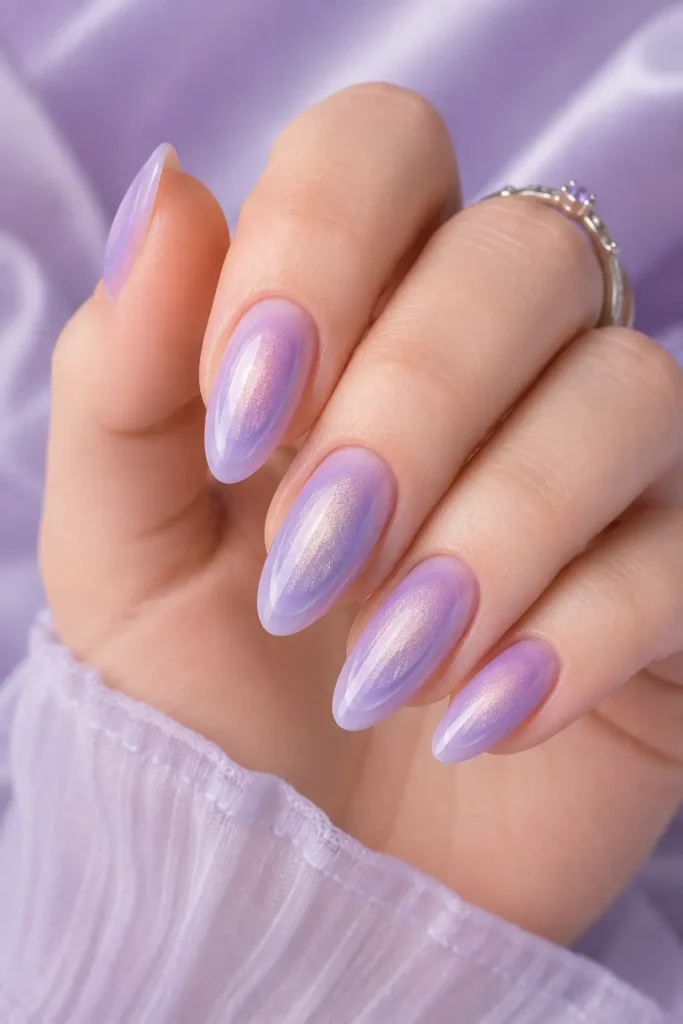
Lavender aura nails sit in this nice in-between zone — soft enough for daily wear, dimensional enough that people actually stop and ask about them. I pair it with a barely-there silver shimmer at the very center for a little extra dimension without going full glitter. This combination has become one of my most repeated requests from clients who say they “don’t usually do nail art.”
13. Double (Two-Tone Halo)
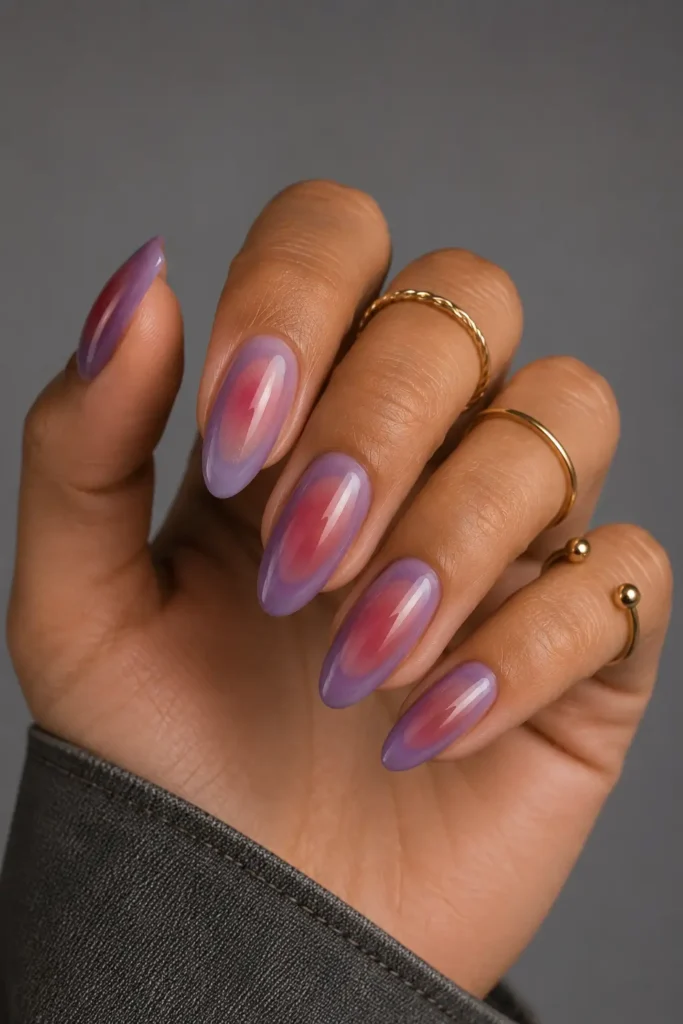
Layering two different aura colors on a single nail, one fading into the other from opposite corners, takes more patience but creates real depth that most single-color aura sets don’t have. I always work with the lighter color first, letting it dry completely before sponging the second shade from the opposite direction. Skipping that drying step is the single most common reason this technique turns muddy.
14. Black and White
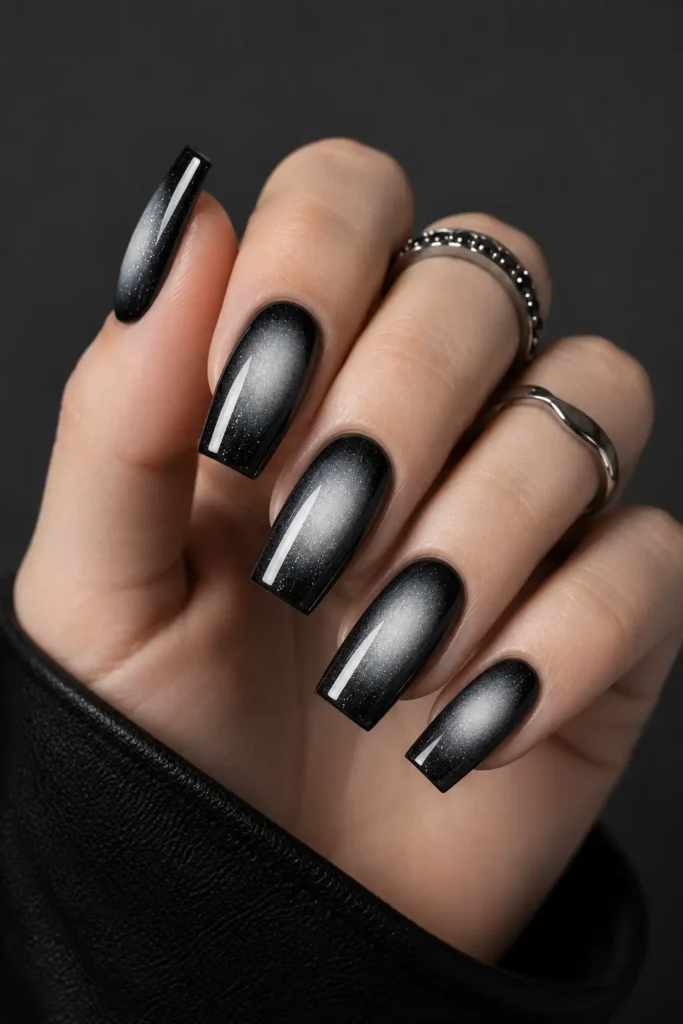
This high-contrast combination looks far more dramatic in photos than the soft pastel versions, and it’s become a genuine favourite for anyone wanting something a little edgier. White goes down first as the center, with black sponged carefully around the edges only — going too heavy with the black turns the whole nail dark instead of leaving that soft smoky transition everyone actually wants.
15. Holographic
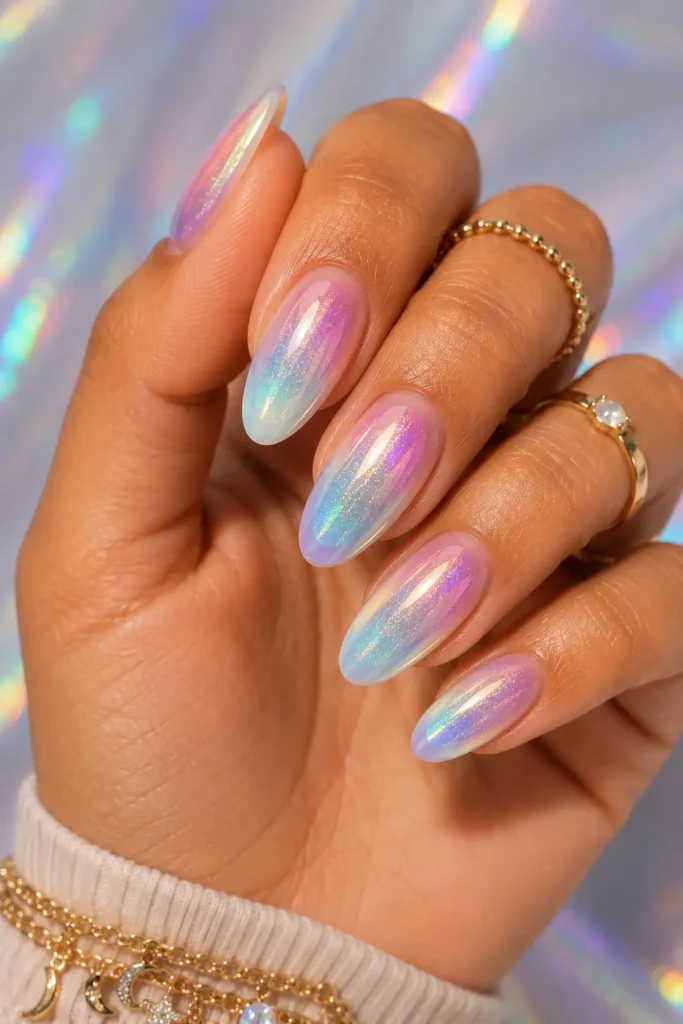
A holographic top coat seals over a soft pastel aura, catching rainbow flecks of light that shift with the angle, making this set genuinely one of the most click-worthy options for photos. I apply the holographic layer only after the gradient has fully cured under the lamp, never before, or the shimmer particles drag through the wet color instead of sitting cleanly on top.
16. Milky White
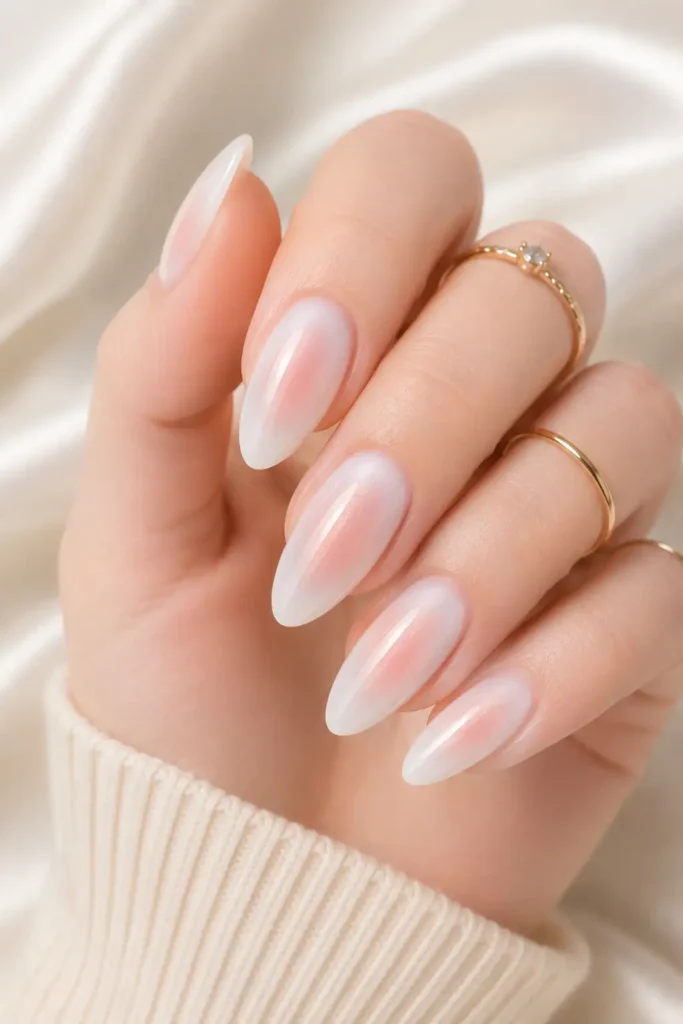
A barely-there milky base with just a whisper of color faded into the center has become one of the most requested “quiet luxury” looks I do, especially for clients heading to events. The trick is sheer layers, never opaque ones — two thin coats look more expensive than one thick one ever will. It’s subtle enough to wear to work and still photograph beautifully.
17. Neon
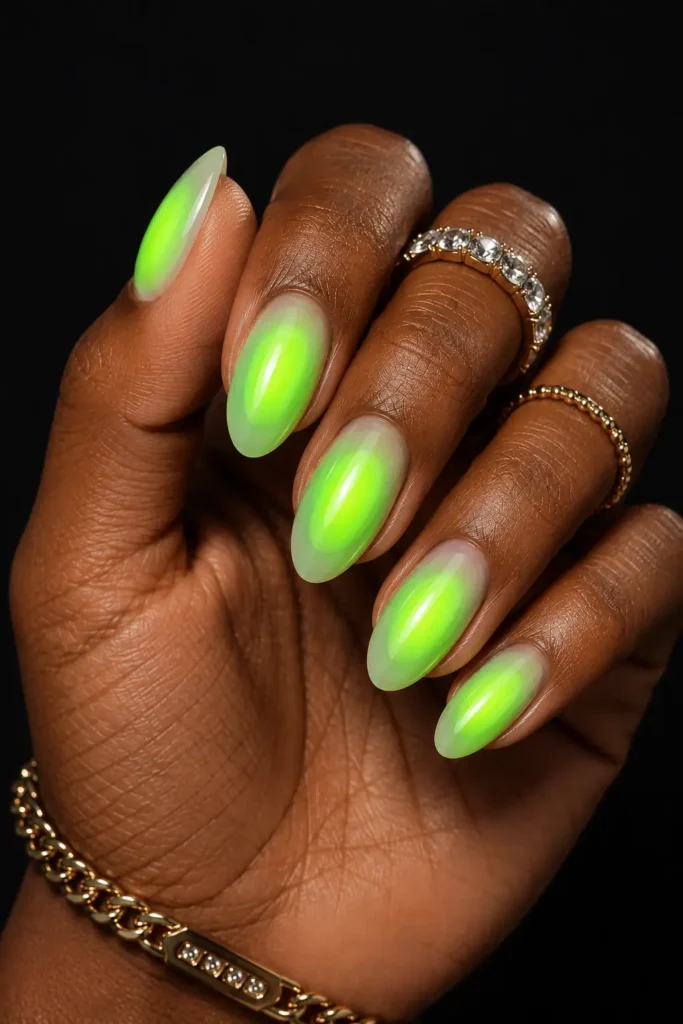
Neon aura colors need a white base coat first, or the bright pigment goes dull and translucent against bare nail instead of popping the way it should. I learned this after a neon green set looked disappointingly pale until I added that hidden base layer underneath. Once it’s there, the color genuinely glows, especially under direct sunlight or a camera flash.
18. Negative Space
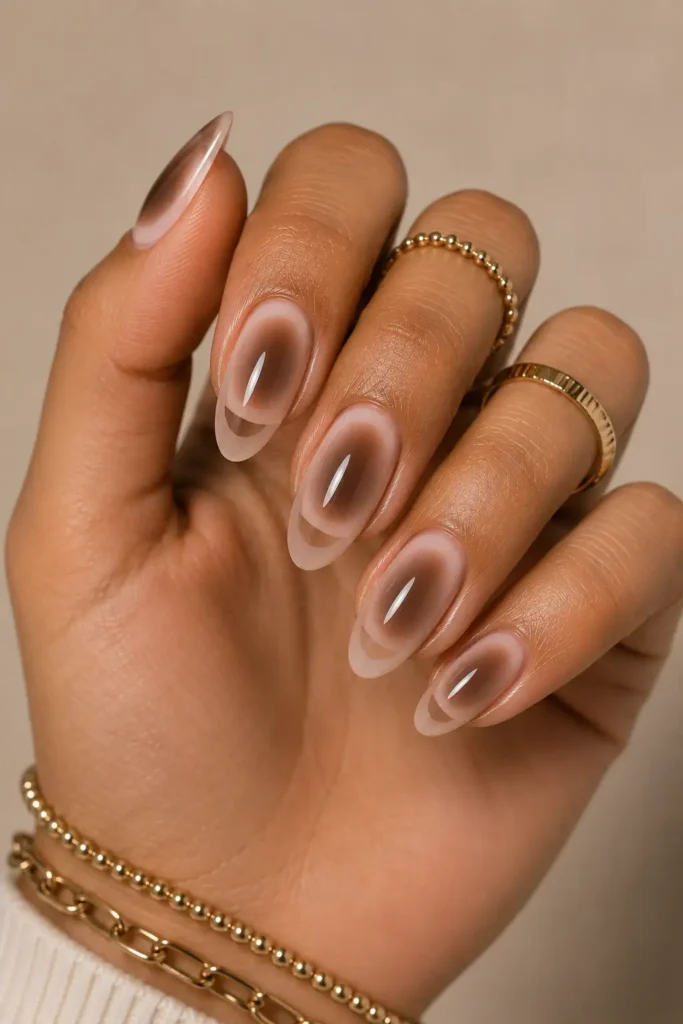
Leaving a deliberate gap of bare nail between the aura gradient and the tip gives this design a more modern, architectural feel than a full edge-to-edge fade. I tape off the section I want left bare before sponging, peeling the tape away only once the color has fully set. It looks far more complicated than it actually is once you’ve done it twice.
19. Glitter-Edge
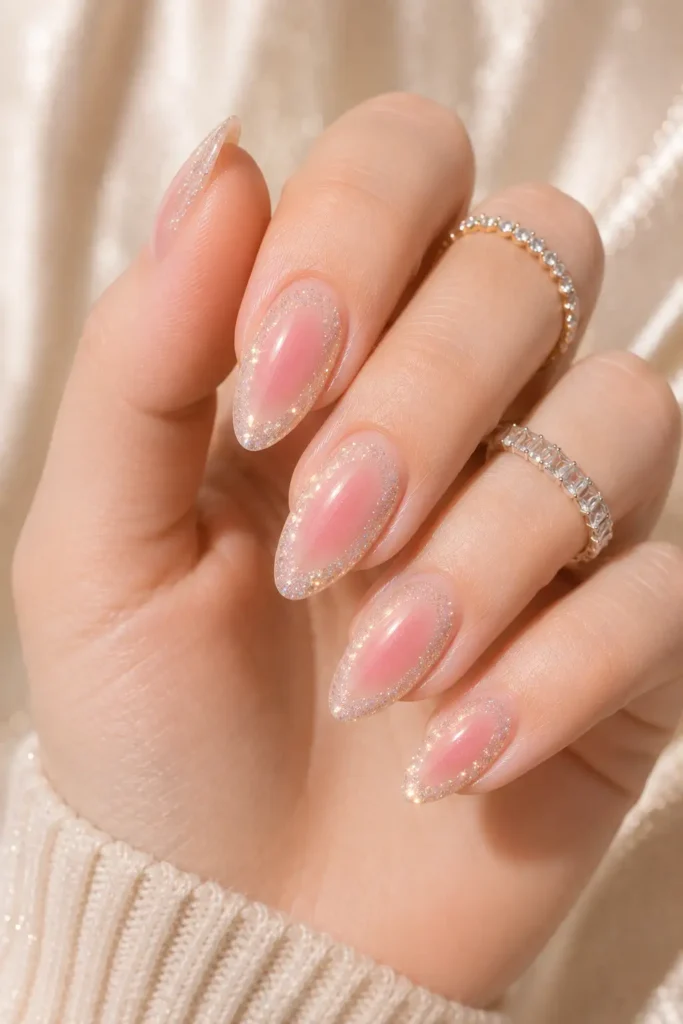
A fine glitter dusted only along the outer edge of the aura gradient adds sparkle without turning the whole nail glittery and hard to remove later. I press the glitter on with a clean sponge while the top coat is still slightly tacky, then seal it in immediately with a second glossy layer. This detail alone tends to get the most comments out of any set I post.
20. Warm Fall
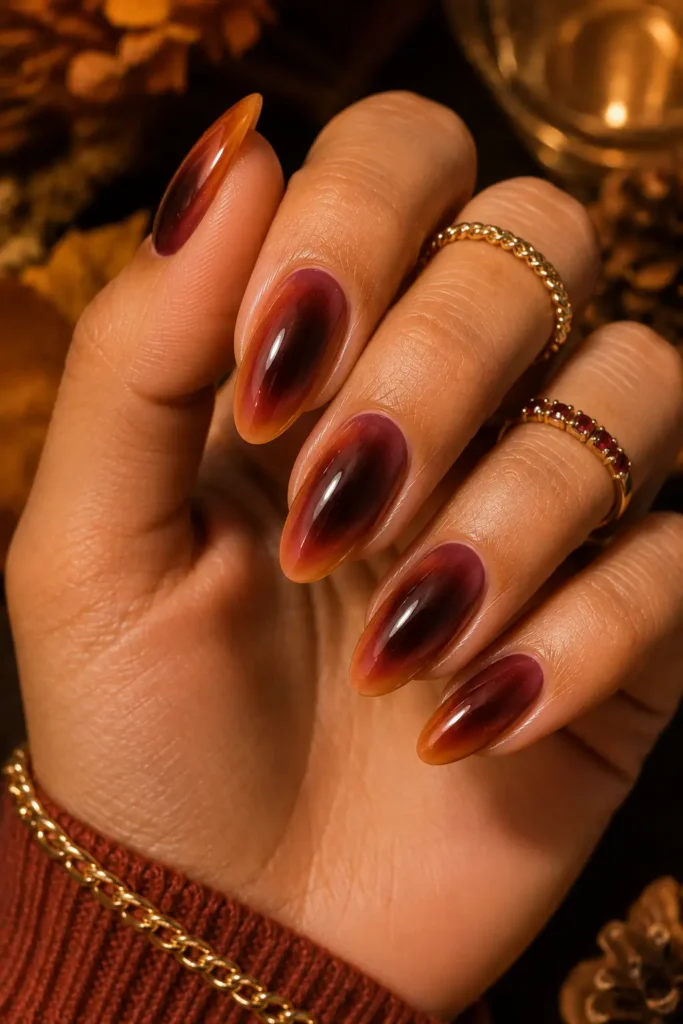
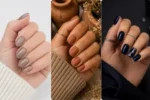
Burgundy, rust, and warm caramel blended into a soft aura base feel distinctly autumn without leaning into anything literal like leaves or plaid. I always deepen the color slightly toward the cuticle and lighten it toward the tip, which mimics how natural light fades outdoors in October. This is consistently one of my best-performing seasonal sets every single year.
21. Icy Winter
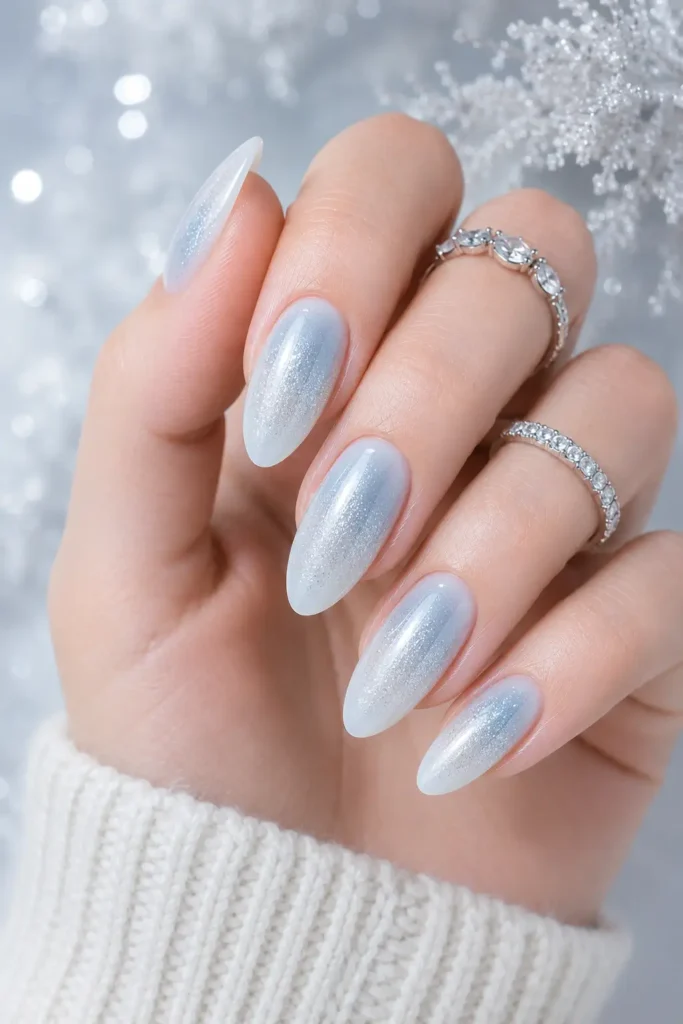
Cool silvers and pale blues blended into a frosty white base genuinely look like they’re catching winter light, even under ordinary indoor lighting. I add a touch of fine shimmer powder at the very center for extra dimension, which catches light differently than the matte versions I make for warmer months. It’s become the set I personally request every December without fail.
Getting Your First Set Right
How long this actually lasts depends entirely on the base — gel polish aura sets hold their gradient for two to three weeks easily, while regular polish versions start fading and chipping within a few days no matter how careful you are. If you’re trying this for the first time, start with gel, even if it means a little extra patience while it cures under the lamp.
I still keep a few old, slightly lumpy practice nails in a drawer from my first month learning this technique, mostly as a reminder of how much better a little patience makes the result. Whichever design from this list you try first, do one full hand before judging the technique — the second hand is always noticeably better than the first, every single time.

Sarah Williams
Hi, I’m Sarah Williams — the founder of HerStyleNest, where beauty meets modern style. I share trendy hairstyles, chic nail designs, and fashion inspiration for women who love staying stylish every season. From everyday elegance to viral beauty trends, HerStyleNest is your go-to destination for effortless fashion and beauty ideas.