Macrame for Beginners: 8 Easy First Projects
Macrame looks intimidating, but the entire craft is built on about five basic knots you can learn in an afternoon. Once you know the square knot and the lark’s head, you can make plant hangers, wall art, coasters, and keychains that look far more advanced than they are.
This guide walks you through the absolute basics — the knots, the cord, and the setup — then gives you eight beginner projects ordered from easiest to most impressive. You do not need any special tools beyond cord, scissors, and something to hang your work from. Let’s tie some knots. 🧶
Supplies You’ll Need
- Macrame cord — 3mm single-twist cotton cord is the best beginner choice (soft, easy to unravel for fringe)
- A wooden dowel, branch, or metal ring — to hang your work from
- Sharp scissors — cord dulls cheap scissors fast
- Measuring tape — cord length matters more than you think
- Masking tape or a clipboard — to secure small projects while you knot
- A comb or pet brush — for brushing out fringe
- Optional: wooden beads, S-hooks, a clothing rack or wall hook for your workspace
The 5 Beginner Knots You Need
1. Lark’s head knot
Fold a cord in half, place the loop over your dowel, pull the two loose ends through the loop, and tighten. This is how nearly every project starts — you will use it to attach cords to your dowel or ring.
2. Square knot
The workhorse of macrame. Using four cords, cross the left cord over the middle two and under the right cord, then bring the right cord under the middle two and up through the left loop. Tighten, then repeat mirrored — a row of these creates the classic woven band.
3. Half hitch (spiral) knot
Repeat the first half of a square knot without mirroring, and the cords naturally spiral. This gives you those gorgeous twisted ropes you see in plant hangers.
4. Gathering knot
Wrap a separate cord tightly around a bundle of cords several times, then tuck the end through. This is how you finish the bottom of plant hangers and tassels.
5. Overhand knot
Just a simple knot in the end of a cord — used to stop beads from sliding off and to finish fringe ends.
Cord length rule of thumb: cut cords 4–5 times the finished length you want. It always feels like too much cord, and it is almost never enough.
8 Easy Macrame Projects for Beginners
1. Simple keychain
Attach two cords to a keyring with lark’s head knots, tie six square knots, add a wooden bead, and finish with a gathering knot. Fifteen minutes, instant gratification, and a perfect first project.
2. Mini wall hanging on a stick
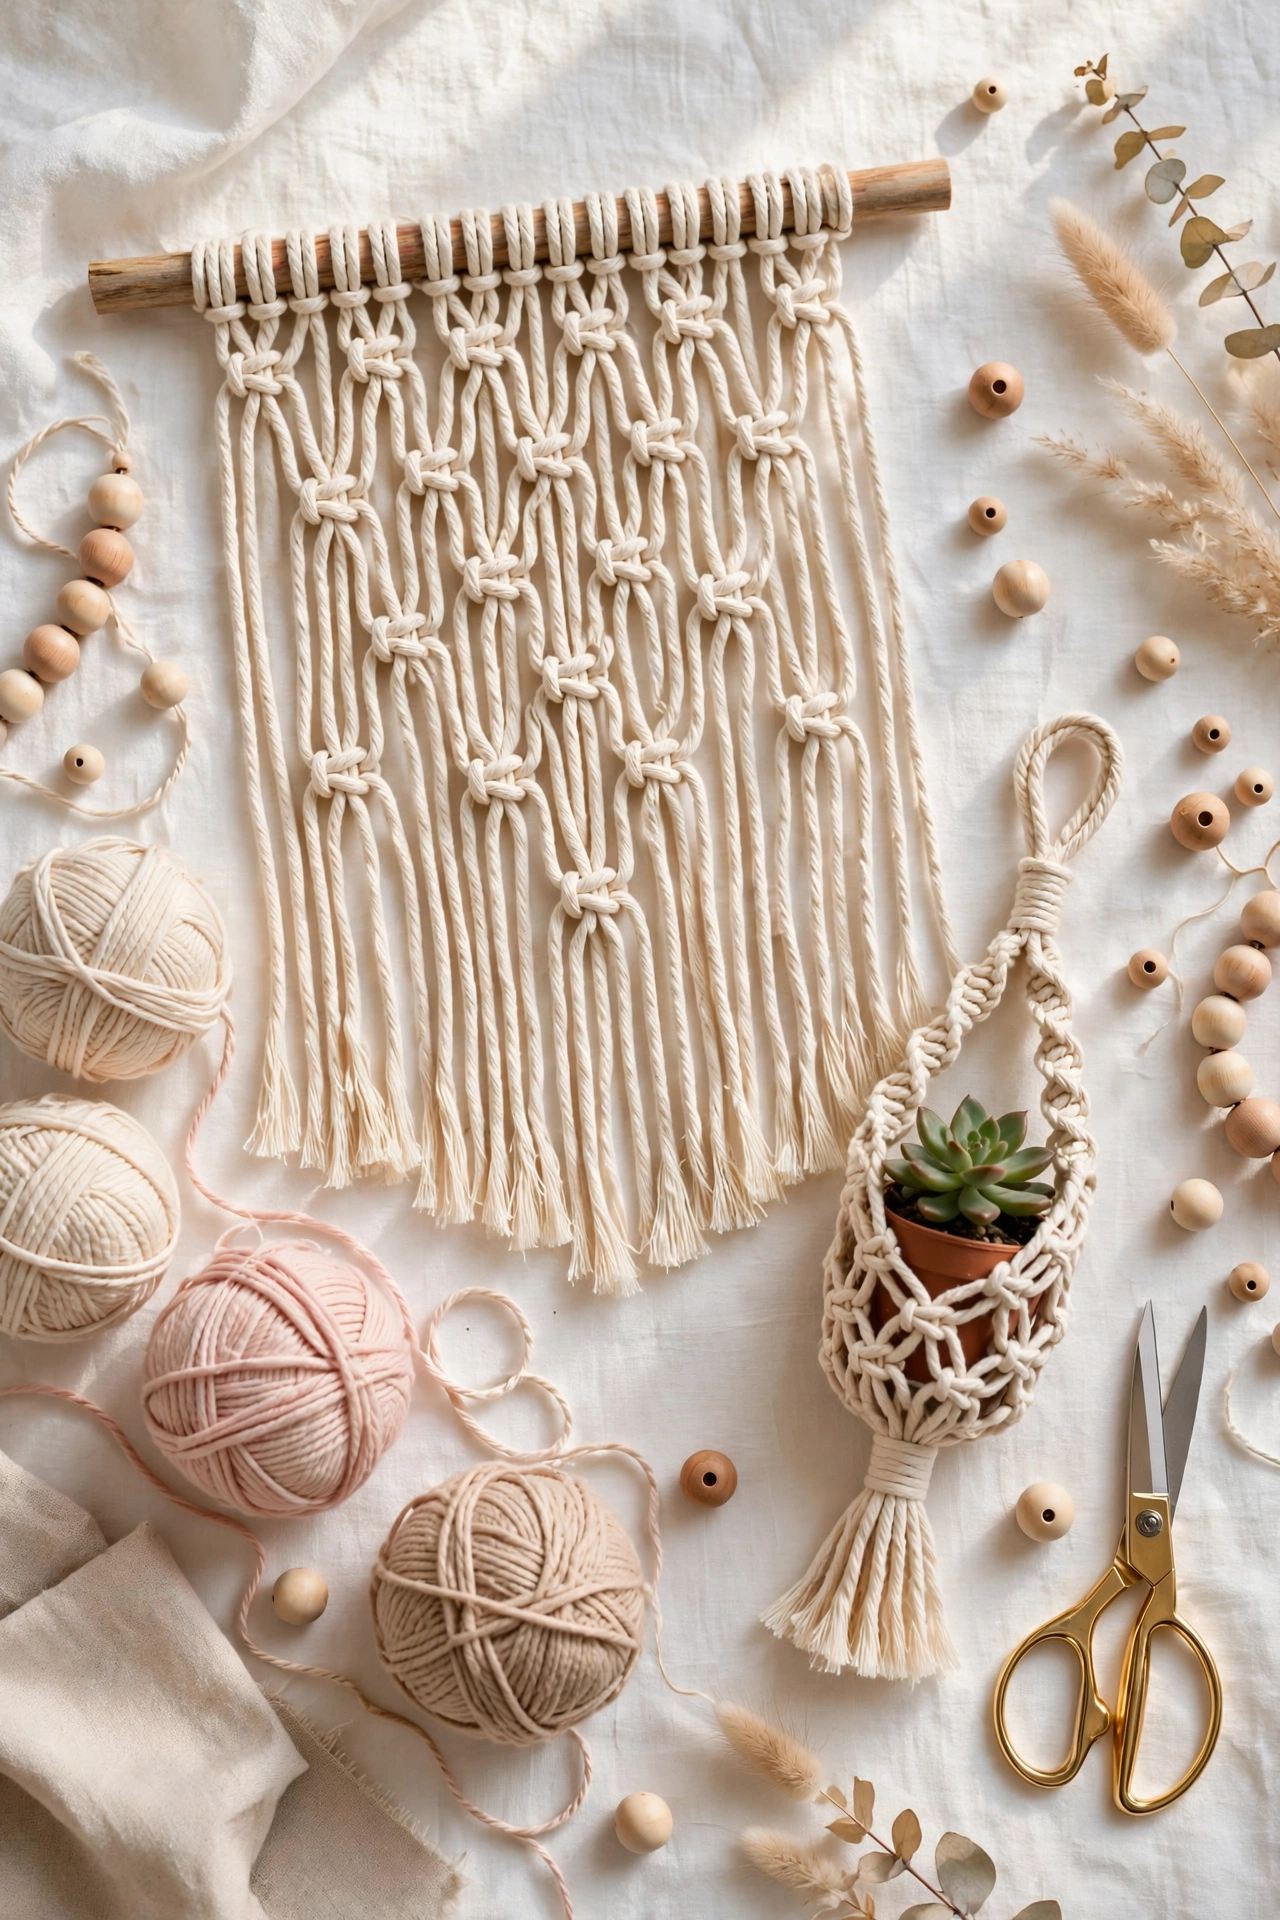
Find a pretty branch on a walk. Attach 8–10 cords with lark’s head knots, tie two rows of alternating square knots, then cut the ends into a V or straight fringe. Hang it with a piece of cord. You just made wall decor — if you are on a DIY wall art kick, this is a perfect addition.
3. Classic plant hanger
The project that hooks most people. Start with a metal ring, attach 8 cords, work down with square knots and spiral half-hitches, then use a gathering knot at the bottom to cradle the pot. Measure your pot first — the hanger should hold it snugly at the rim.
4. Macrame coasters
Small, quick, and great for practicing tension. Tie a flat spiral of half-hitch knots around a center cord to form a circle, or make simple square-knot squares. A set of four makes a lovely housewarming gift.
5. Hanging shelf
Two wooden boards and square knots at the four corners make a floating shelf with serious boho charm. Hang it from a ceiling anchor rated for the weight.
6. Curtain tie-backs
A short length of spiral knots with beads and loops at each end. They dress up plain curtains in an afternoon and use up cord scraps.
7. Layered wall hanging
Once the mini hanging feels easy, scale up: longer cords on a wider dowel, alternating square-knot rows in a diamond pattern, and long brushed fringe at the bottom. The statement piece that looks store-bought — see our easy DIY home decor projects for styling ideas.
8. Macrame tote or market bag
A net of square knots forms the body; two braided handles finish it. The biggest time commitment here, but you will carry it everywhere.
Pro Tips for Neat, Even Knots
Keep your tension consistent. Pull each knot with the same firmness and step back every few rows to check your work.
Work at eye level. Hang your dowel from a hook or clothing rack so you are not hunching over a table. Your shoulders will thank you, and your knots will be straighter.
Do not cut fringe until the end. Leave ends long while you work, then trim once everything is knotted. You can always cut more off — you cannot add it back.
Brush fringe gently. Use a fine comb or pet brush and work from the bottom up in small sections. Single-twist cord unravels into the softest, cloudiest fringe.
Frequently Asked Questions
What is the best cord for macrame beginners?
3mm single-twist cotton cord: soft on your hands, good knot grip, and it unravels into beautiful fringe. Avoid stiff braided cord until you are more experienced.
How much cord do I need?
As a rule, cut each working cord 4–5 times your desired finished length. For a 3-foot wall hanging, cut cords 12–15 feet long. It feels excessive, but knots eat cord quickly.
Why does my macrame look lopsided?
Usually uneven tension or uneven cord lengths. Measure carefully, tighten each knot the same amount, and check symmetry as you go.
Can I wash macrame?
Spot-clean with a damp cloth and mild soap. Full washing can distort knots and tangle fringe, so avoid it unless the piece is small and sturdy — and always air-dry flat.