Painted Tote Bag DIY: 10 Designs You’ll Love to Carry
A plain canvas tote costs a few dollars. A hand-painted canvas tote? That is a personal statement, a grocery-run companion, and — if you are gifting it — one of those presents people actually use every single day. Painted tote bags are the perfect beginner craft: the “canvas” is literally canvas, mistakes add charm, and you end up with something genuinely useful.
Fabric paint is forgiving, designs can be as simple as a single sprig of lavender, and the whole project takes an afternoon including drying time. Below are ten designs to inspire you, plus the exact method for paint that survives the washing machine. 👜
Supplies You’ll Need
- Plain cotton canvas tote bags — natural, unbleached canvas takes paint best
- Fabric paint or acrylic paint + fabric medium — fabric paint is simplest for beginners
- Paintbrushes — flats for backgrounds, small rounds and liners for details
- Pencil and chalk — for sketching your design first
- Cardboard insert — slipped inside the tote to prevent bleed-through
- Iron — for heat-setting the paint so it survives washing
- Optional: fabric paint pens, stencils, sponges, freezer paper for stenciling
How to Paint a Tote Bag (Wash-Proof Method)
Step 1: Pre-wash and iron the tote
Wash the tote once to remove sizing (the factory coating that repels paint), then iron it flat. A smooth, clean surface takes paint far more evenly.
Step 2: Insert cardboard and sketch
Slide cardboard inside so paint cannot bleed to the back. Lightly sketch your design in pencil — or in white chalk on darker designs. Keep the design at least an inch from seams.
Step 3: Paint in thin layers
Apply fabric paint in thin coats, letting each dry before adding the next. Thick globs crack; thin layers stay flexible. For crisp edges, paint up to (not over) your sketch lines, then tidy with a liner brush.
Step 4: Add details and let it cure
Once base shapes are dry, add outlines, dots, and highlights. Then let the tote cure for 24–72 hours (check your paint’s instructions) before heat-setting.
Step 5: Heat-set with an iron
Place a thin cloth over the design and iron on medium heat for 3–5 minutes, keeping the iron moving. This bonds the paint to the fibers — the step that makes your tote washable. Wait a week before the first wash, then wash inside-out on gentle.
10 Painted Tote Bag Designs You’ll Love
1. Wildflower bouquet
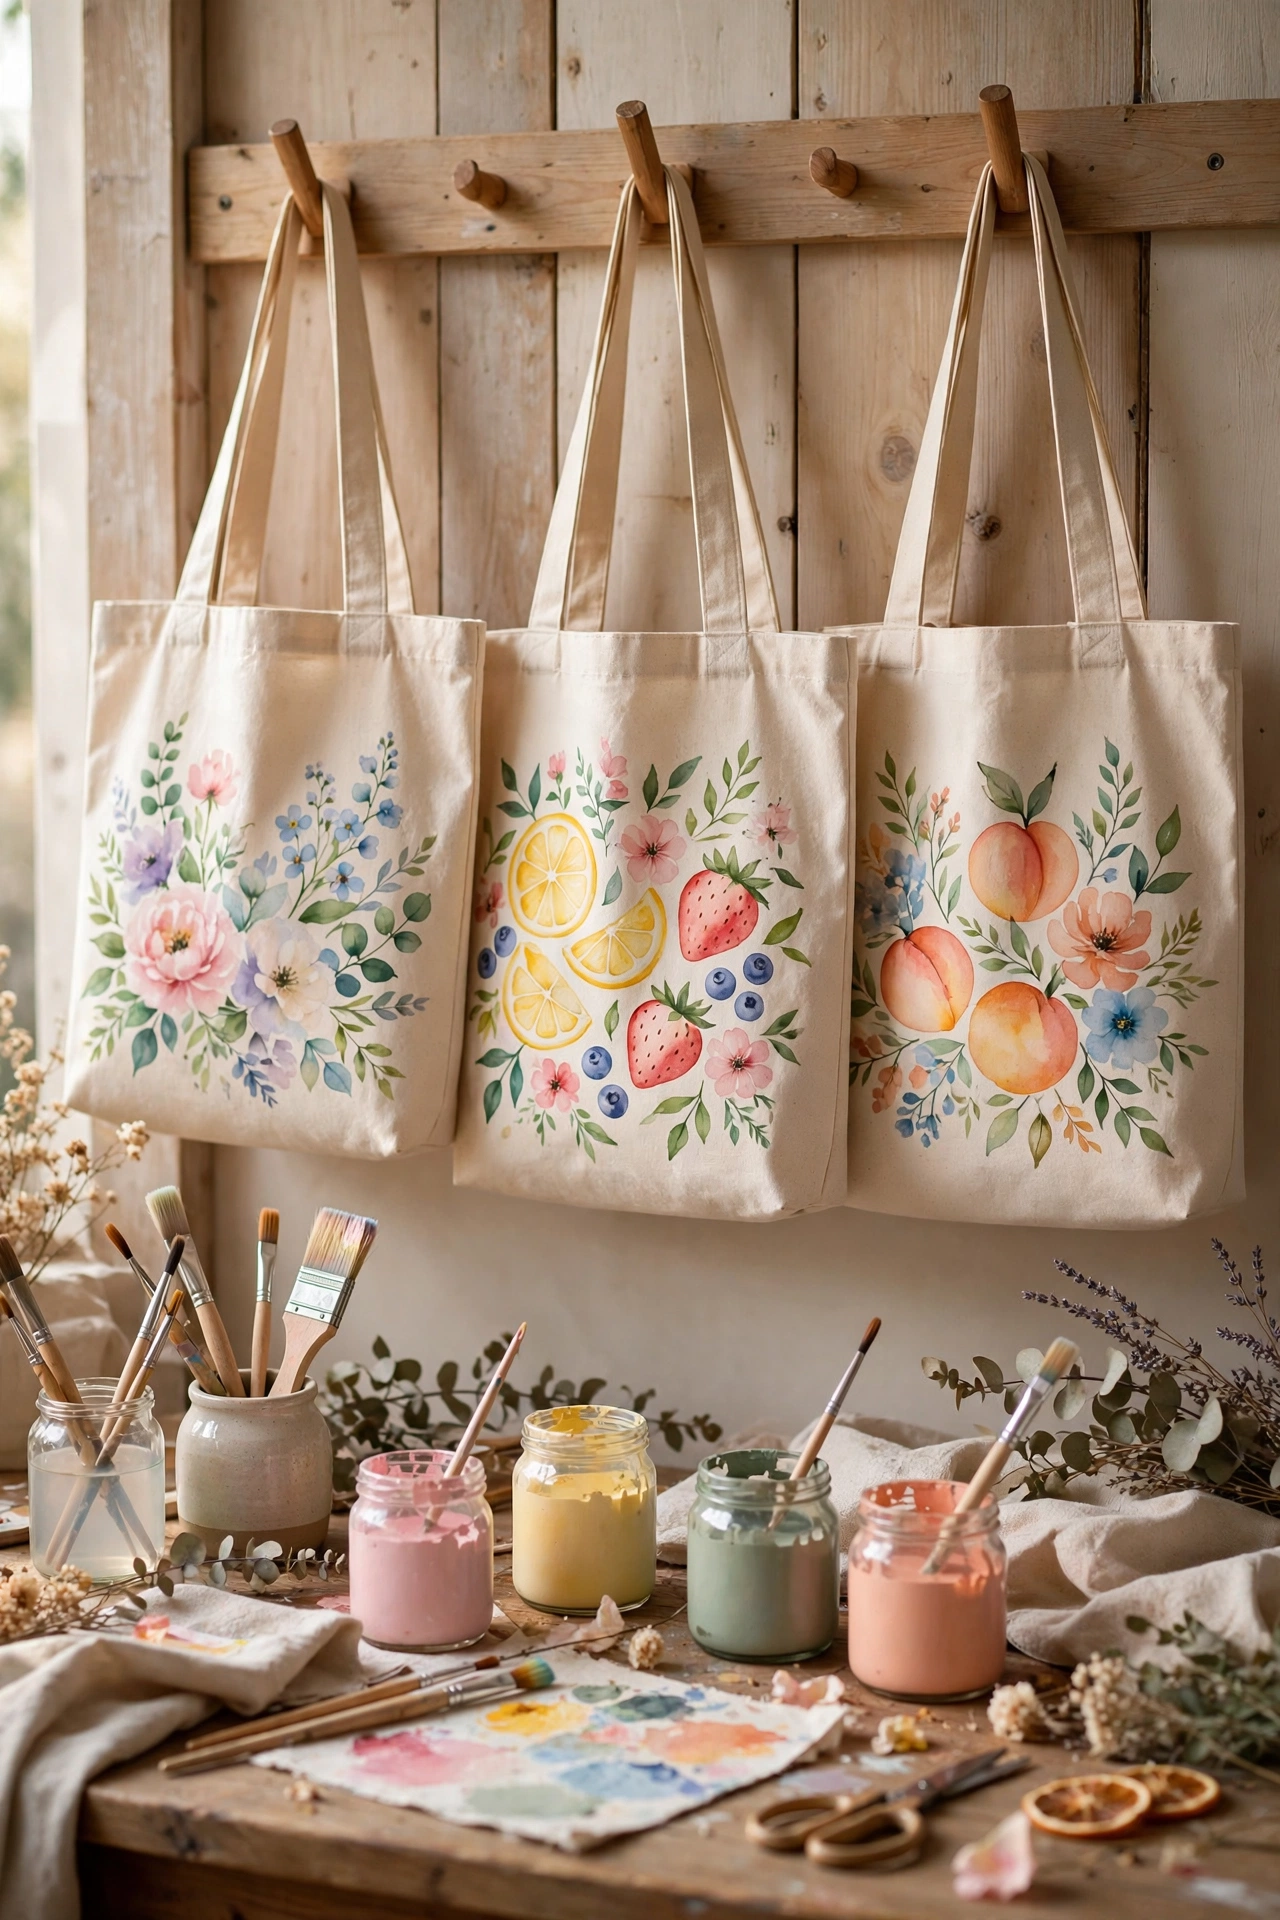
A loose bunch of wildflowers in a jar or tied with a bow. Impressionistic dabs of color read as charming, not sloppy — perfect for a first attempt.
2. Citrus slices
Halved lemons and oranges in bright, simple shapes. Cheerful, summery, and nearly impossible to mess up.
3. Minimalist line face
One continuous black line forming an abstract face, à la modern art prints. Striking, sophisticated, and genuinely easy with a paint pen.
4. Botanical sprigs
Eucalyptus, lavender, or olive branches in sage and green. Timeless and elegant — the tote equivalent of a white shirt.
5. Rainbow arches
Terracotta, mustard, and sage arches in a retro boho pattern. Use painter’s tape or a steady hand; either way it looks fantastic.
6. Your pet’s portrait (simplified)
A simple silhouette or cartoon version of your dog or cat. Personal, conversation-starting, and an unbeatable gift for a fellow pet lover.
7. Fruit and veggie market print
Strawberries, tomatoes, and leafy greens scattered across the tote — made for farmers’ market runs. This is also a sweet handmade gift idea in the spirit of our thoughtful DIY gifts for her.
8. Inspirational quote
One favorite phrase in hand-lettered style, maybe with small doodles around it. Use a pencil guide and paint pens for the cleanest lettering.
9. Celestial moons and stars
Phases of the moon in gold on a navy-painted tote. Dreamy, a little witchy, and gorgeous against dark fabric.
10. Abstract color blocks
Bold organic shapes in 3–4 colors, Matisse-style. No drawing skill needed — just confidence with a brush and a good palette.
Pro Tips for Totes That Last
Do not skip heat-setting. It is the difference between a tote that survives fifty washes and one that flakes after two. Iron through a cloth, keep it moving, and be patient.
Fabric medium is a game-changer. If you only have regular acrylics, mix in fabric medium (about 1:1). It keeps paint flexible so it does not crack when the tote folds.
Paint pens for details. Outlines, lettering, and tiny dots are ten times easier with fabric paint pens than a brush. Worth the small investment.
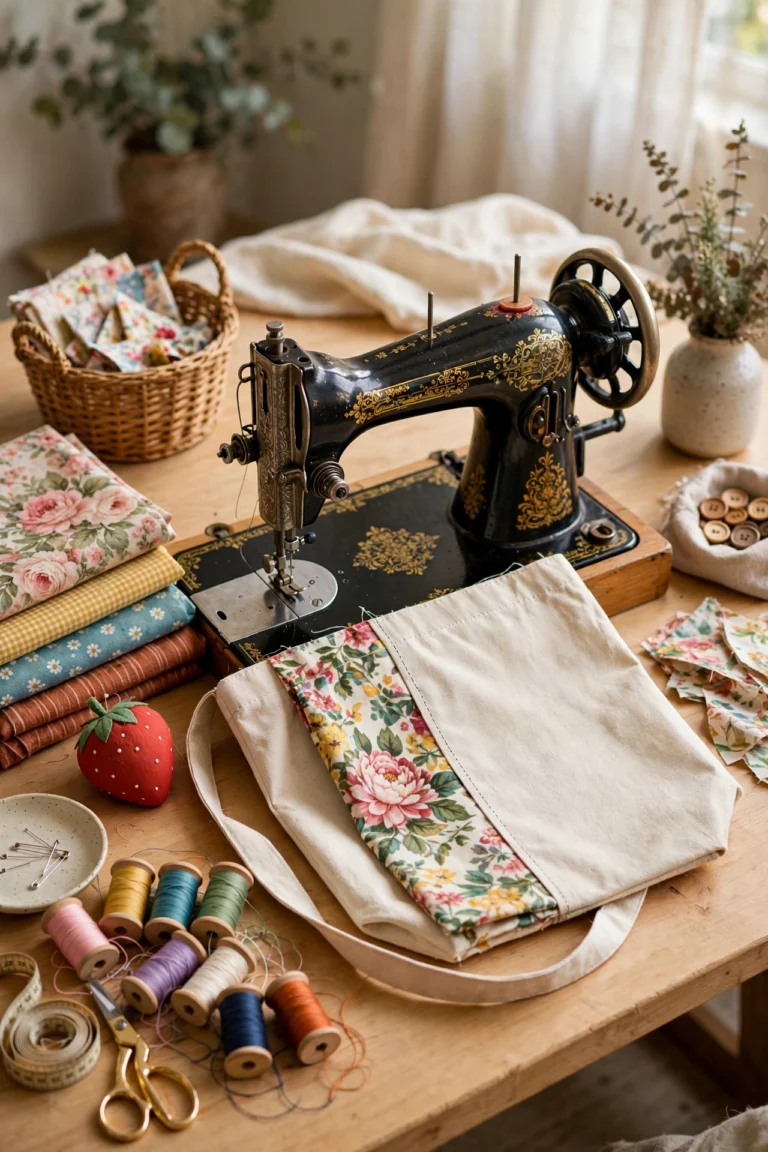
Practice on paper first. Sketch your design at actual size on paper, then transfer the confident version to the tote. If you enjoy making your own bags from scratch too, our easy sewing projects include simple tote patterns to sew before you paint.
Frequently Asked Questions
What paint works best on canvas tote bags?
Fabric paint made for textiles is the easiest and most durable choice. Alternatively, mix regular acrylic paint with fabric medium. Avoid plain acrylics alone — they dry stiff and crack with folding.
How do you keep painted tote bags from cracking?
Apply paint in thin layers, use fabric paint or fabric medium for flexibility, heat-set with an iron after curing, and wash inside-out on gentle with cold water. Air-dry rather than machine-drying.
Can you wash a hand-painted tote bag?
Yes, once the paint is fully cured and heat-set. Turn it inside out, wash cold on gentle, and air dry. Hand-washing is gentlest and will extend the design’s life significantly.
How do you transfer a design onto a tote bag?
Sketch lightly in pencil directly on the fabric, use chalk for dark designs, or print your design and trace it with transfer paper. For precise repeats like patterns, make a freezer-paper stencil and iron it on before painting.