
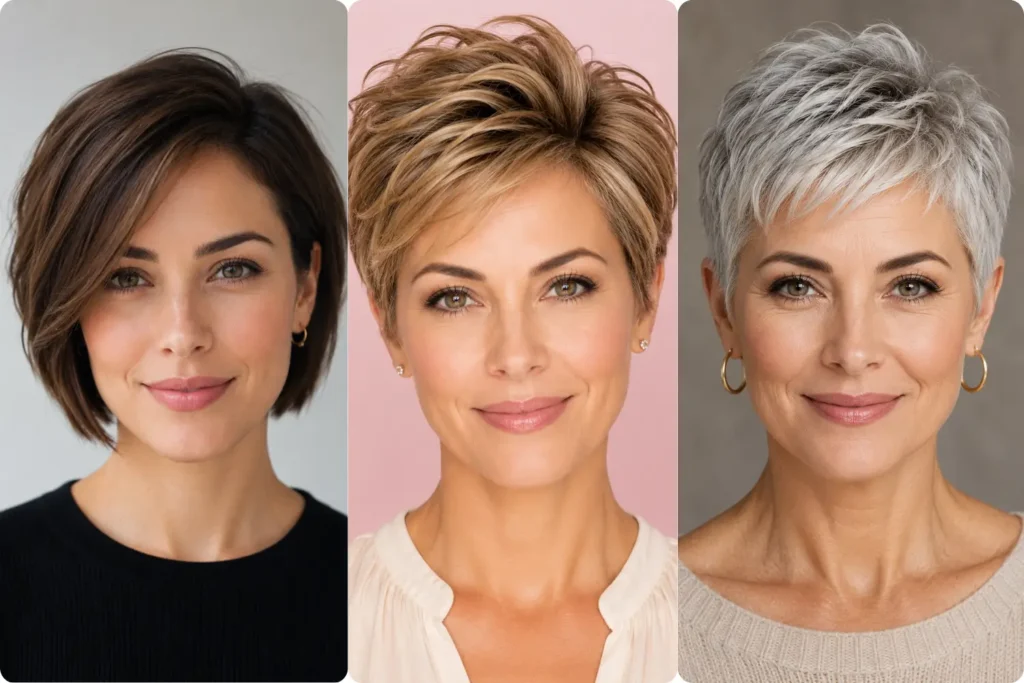

21 Short Pixie Cut Ideas That Actually Hold Up (Trendy, Luxurious, and Easy to Style)
I’ve shaved my head twice in the last several years, and both times I panicked in the chair around minute four. That’s the secret nobody tells you about short pixie cuts: the fear hits right when the first big chunk falls, then it’s over before you’ve finished freaking out. After going short on and off, I’ve tried way more versions of this cut than I can count, and I finally narrowed it down to the 21 that actually hold up between salon visits, photograph well, and look genuinely trendy and luxurious without demanding a full glam routine every morning.
Before you book anything, save a folder of references on Pinterest or screenshot a few from Instagram Reels. I always bring three photos to a new stylist, not one, because what looks like a clean undercut from one angle can look like an awkward triangle from the front. A flat iron, a good matte paste, and patience for the first two weeks of “is this a mistake” growing-out anxiety are basically the only things you actually need.
1. Classic Textured Pixie
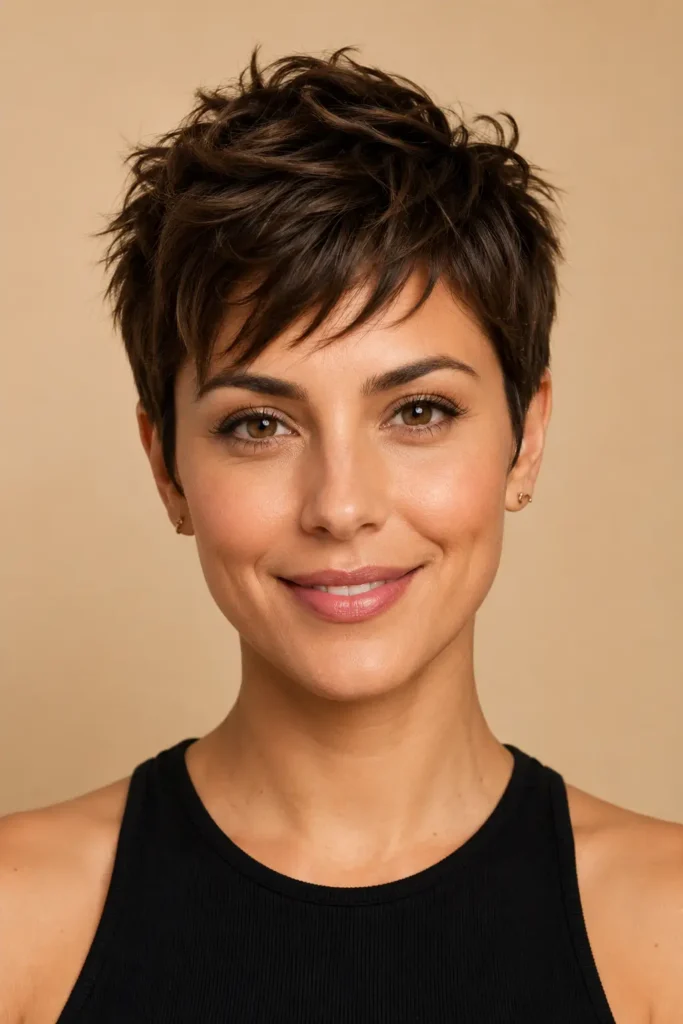
This is the one I always come back to. Short on the sides, choppy texture on top, finished with a small amount of Oribe Dry Texturising Spray scrunched in by hand. My first attempt years ago came out too smooth and looked more like a swim cap than a haircut — texture is what actually makes this style work. Ask for point-cutting on top instead of blunt scissor lines.
2. Long Pixie Bob
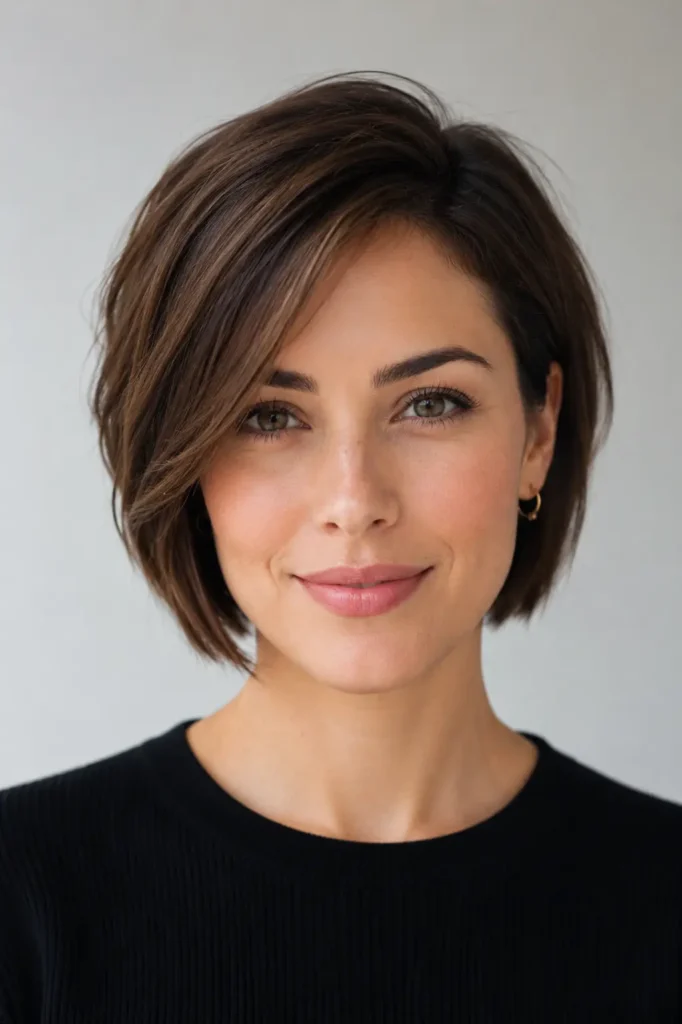
A pixie bob sits between a true bob and a true pixie, longer in the back and around the ears, which makes it the easiest transition if you’re nervous about going short for the first time. I styled mine with a small round brush and medium heat, tucking the ends under slightly. It’s also the most forgiving length if you push a salon appointment back a few weeks.
3. Side-Swept Fringe
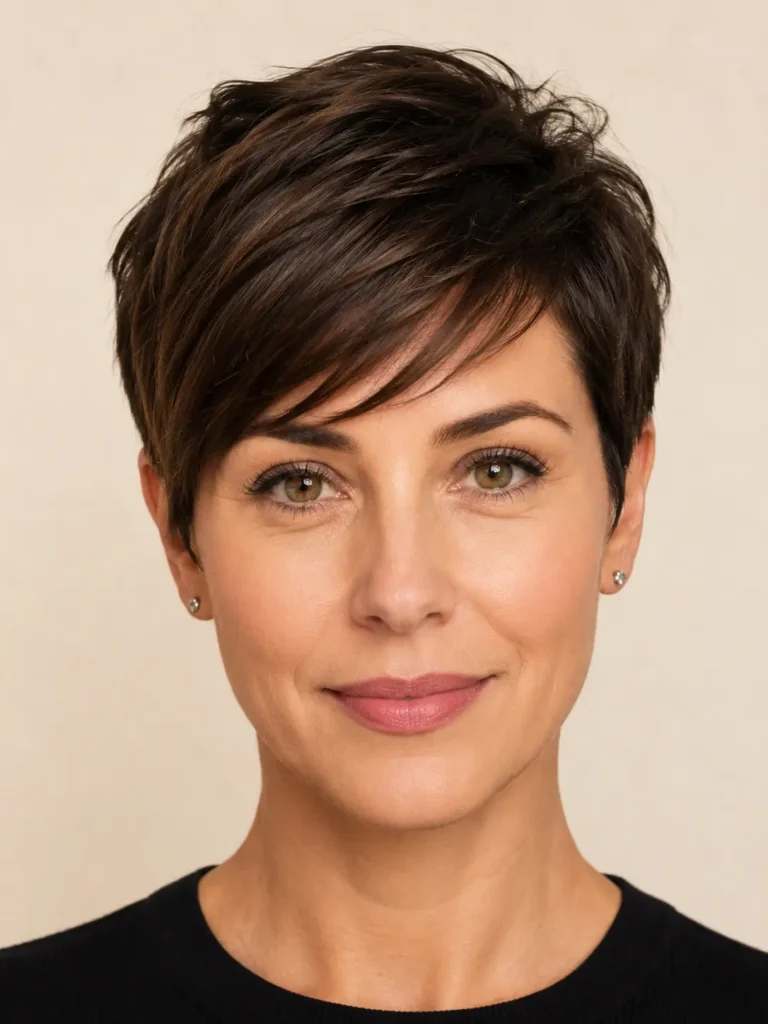
A longer, side-swept fringe softens a pixie instantly and works especially well on rounder or fuller face shapes, which mine is. My mistake the first time was asking for bangs cut straight across — far too harsh paired with short sides. A diagonal, swept fringe styled with a paddle brush and a light hairspray gets the same softness without the severity.
4. Undercut Pixie with Shaved Sides
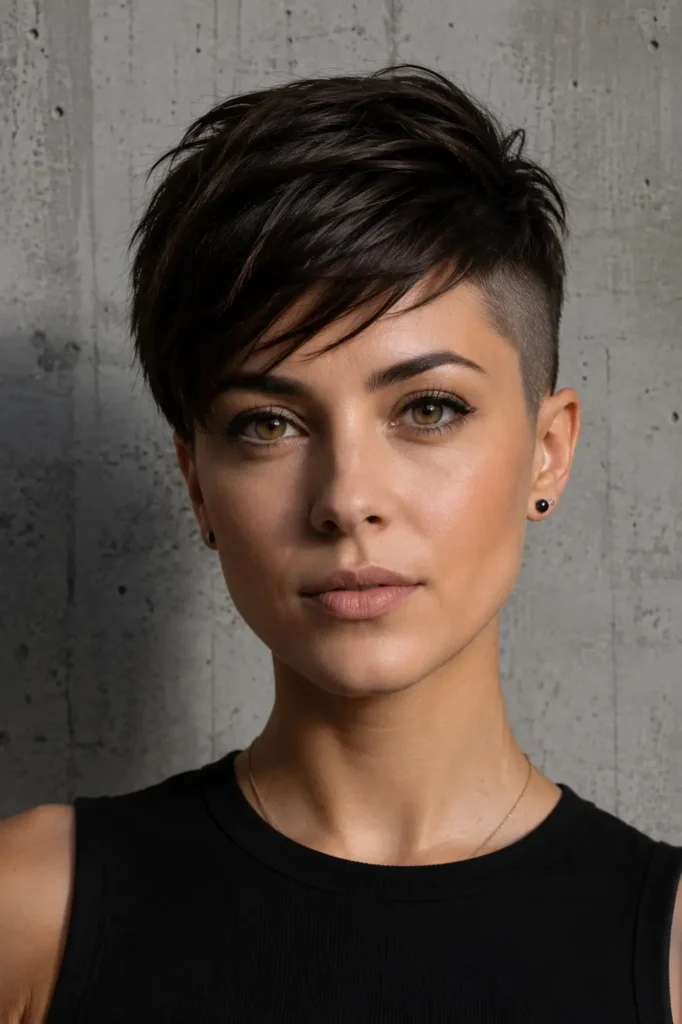
This is the boldest version on this list, with clippers taking the sides down to a number 1 or 2 while the top stays long enough, actually to style. I went too aggressive once and asked for a number 0, which grew out unevenly and looked patchy within three weeks. A number 2 grows out far more gracefully while still giving that sharp silhouette people notice first.
5. Curly Pixie Cut
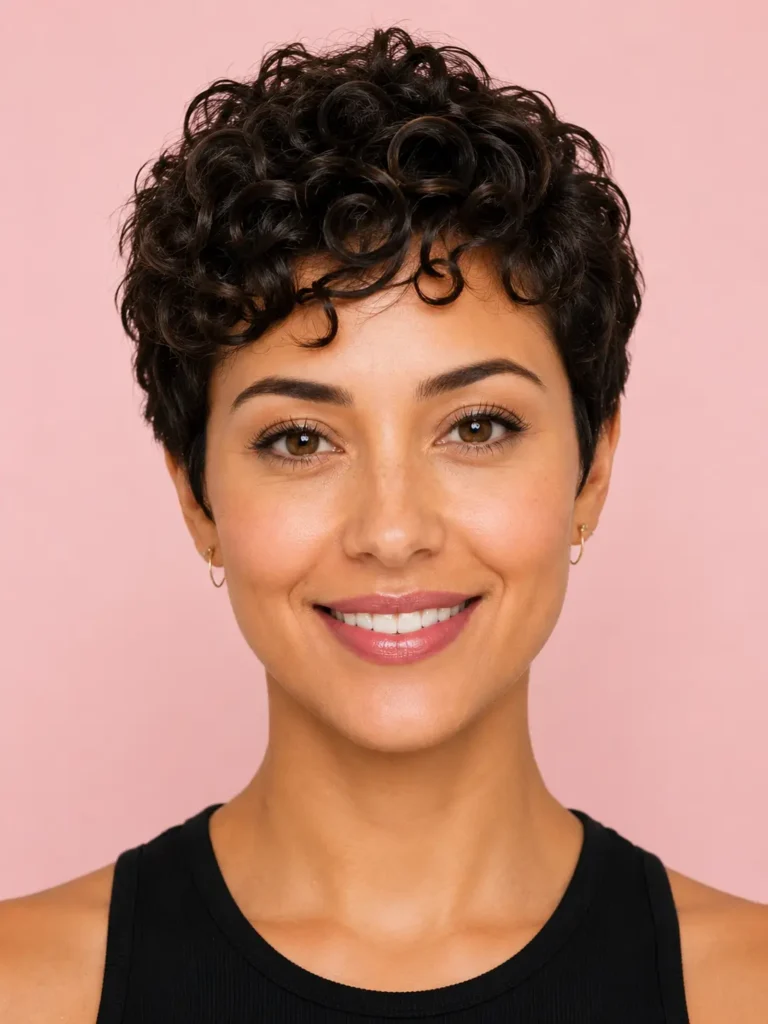
Curly hair needs a completely different cutting approach than a straight pixie — dry, curl by curl, so each piece falls where it actually wants to sit. My stylist used a dry-cutting method, and it made a noticeable difference compared to an earlier wet cut that left one side visibly shorter once it dried and sprang back up.
6. Summer Beach Wavy
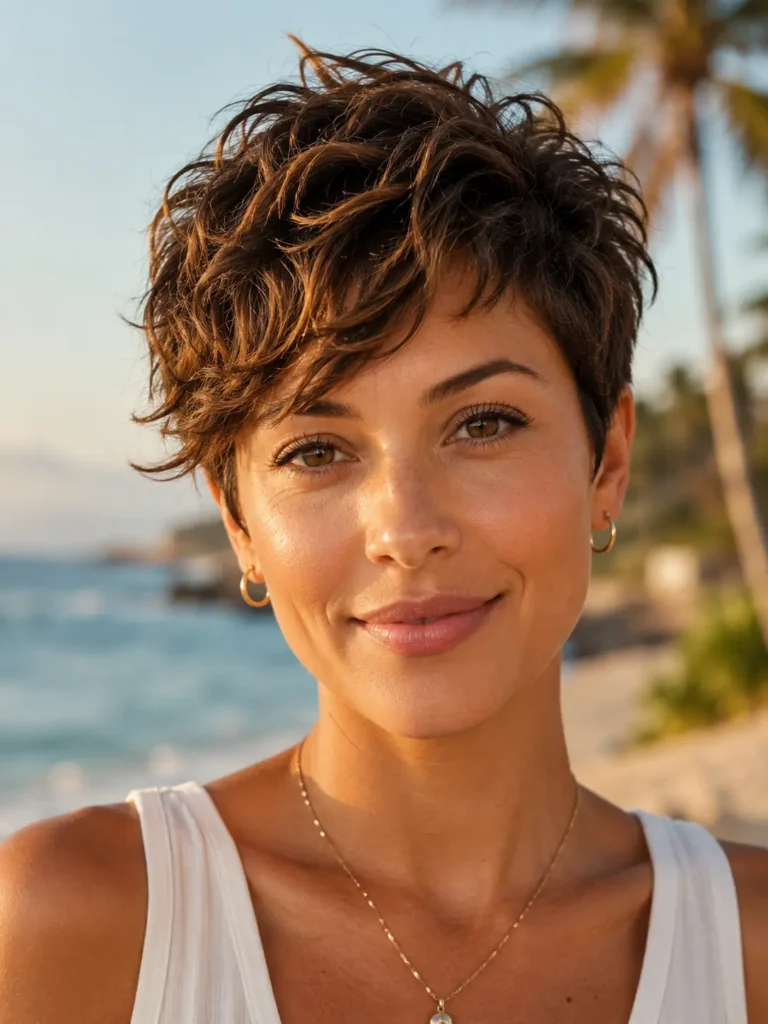
For warmer months, a wavy textured pixie finished with a salt spray reads effortless instead of overworked. I keep a travel-size Bumble and bumble Surf Spray in my bag from June through August, scrunch it through damp hair, and let it air-dry on the way to work. It’s the lowest-maintenance version here and holds up far better in humidity than anything smoothed flat.
7. Asymmetrical Edgy
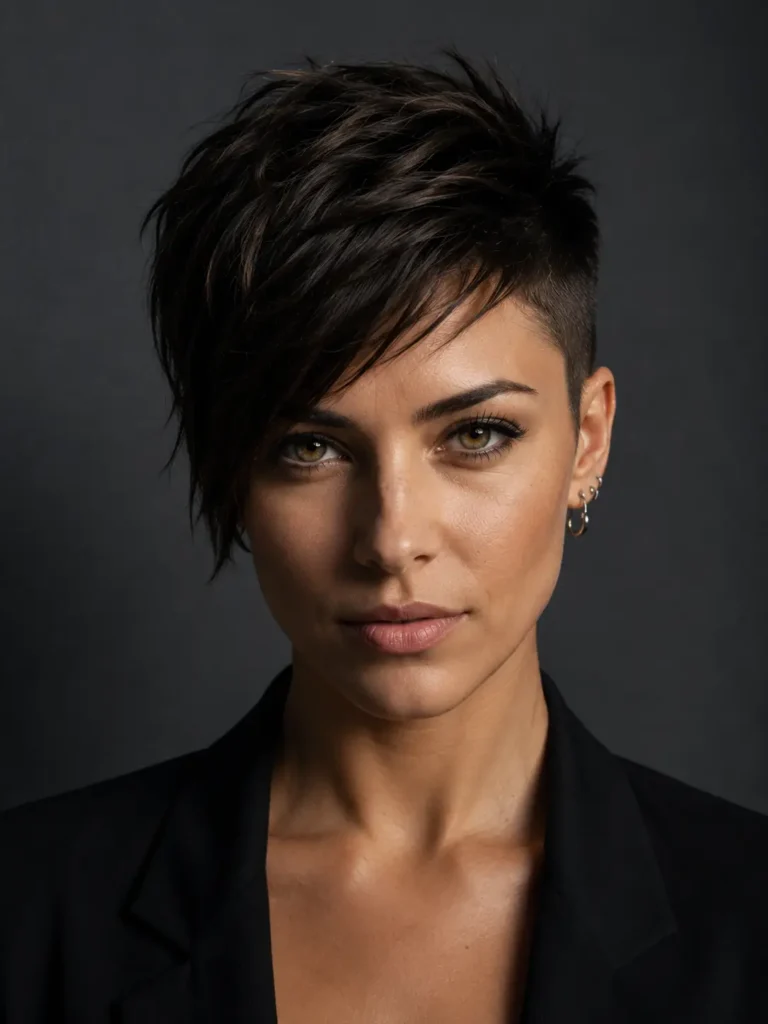
One side cut noticeably shorter than the other gives a pixie a sharper, more architectural feel, and it photographs beautifully from a three-quarter angle. The trade-off is everyone assuming it’s a mistake — friends kept asking if my stylist messed up before I explained it was intentional. Worth it if you want something that doesn’t look like everyone else’s shortcut.
8. Pixie with Long Bangs
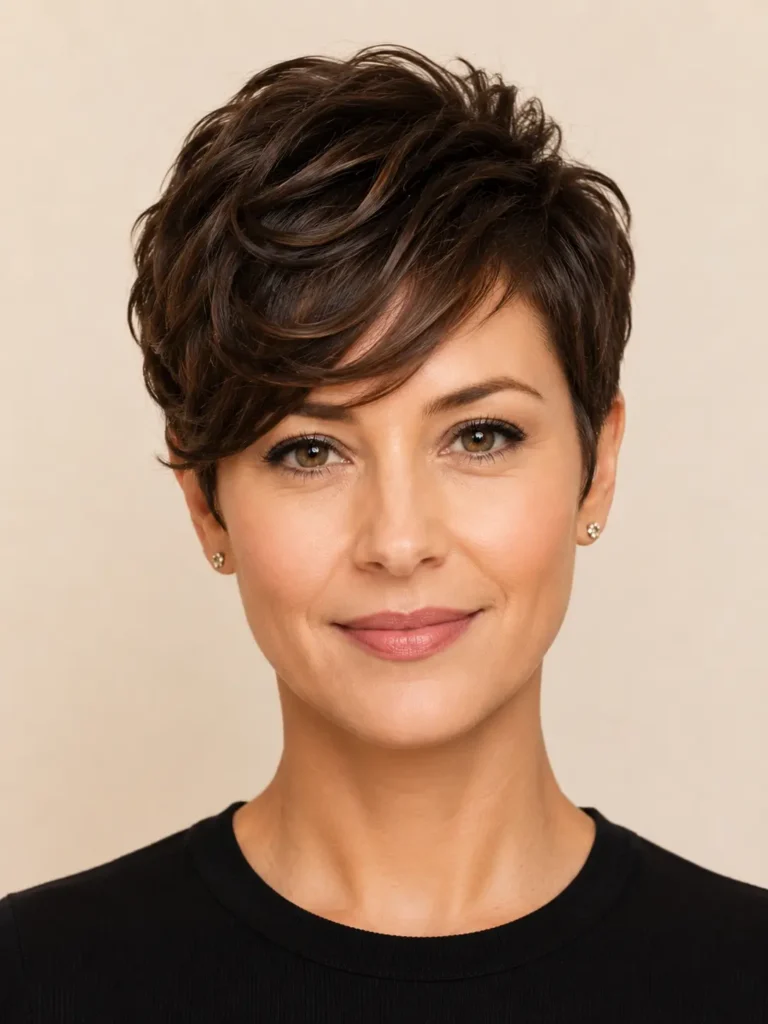
Keeping the front section several inches longer than the rest gives you something to actually do on a rough hair day — clip it back, sweep it over, or curl just that one piece. I run a small curling wand through the fringe alone most mornings, which takes under two minutes and changes the entire look without touching anything else.
9. Slicked-Back Wet-Look
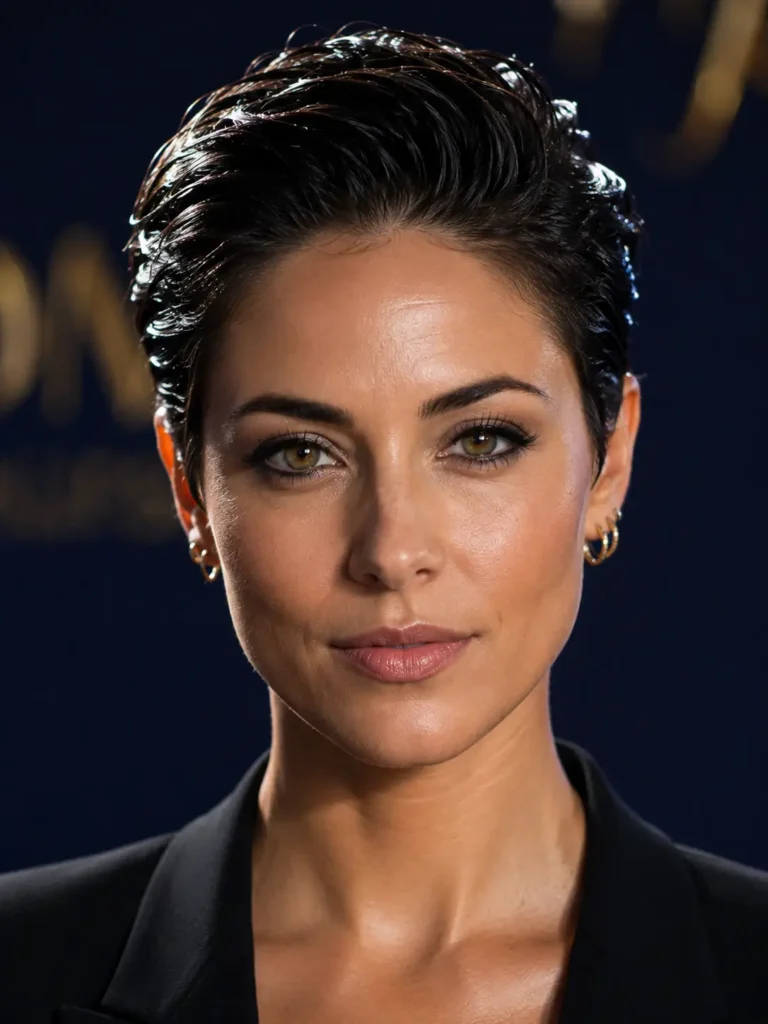
For a more polished, almost editorial finish, work a gel or lightweight wax through damp hair and comb everything straight back with no part. The first time I tried this before a dinner out, I used way too much product, and it looked stiff by the time we sat down — a pea-sized amount goes much further than it seems like it should.
10. Platinum Blonde
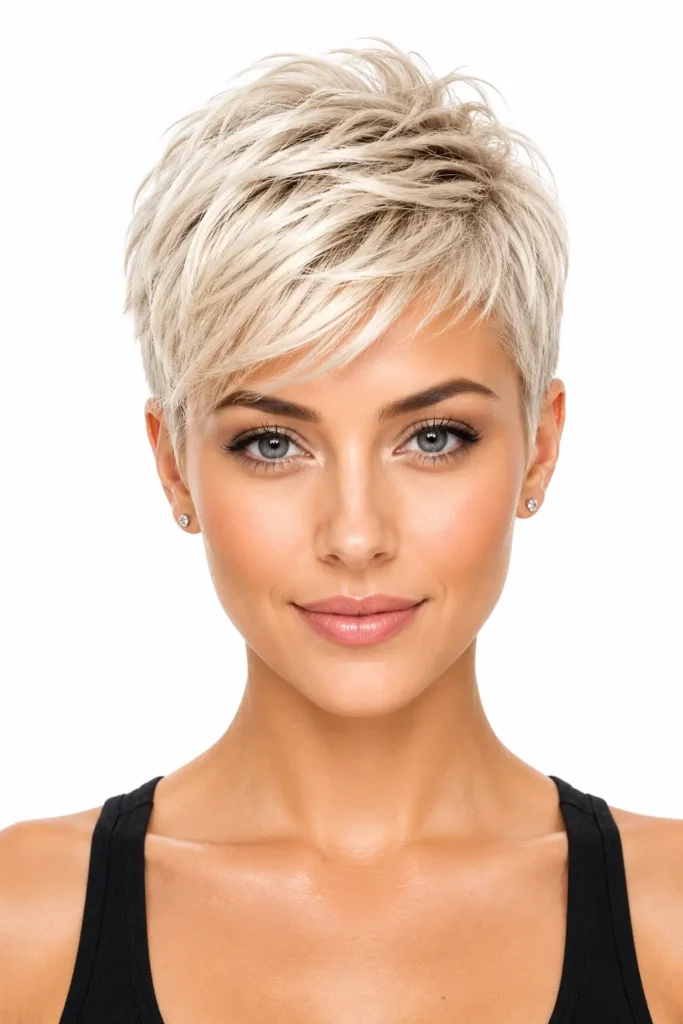
Platinum is dramatic and genuinely luxurious on a pixie, but it’s also the highest-commitment color on this entire list. My roots needed touch-ups every three to four weeks, and a bond-repair treatment became non-negotiable after the first bleach session left my ends noticeably drier. Budget for a purple shampoo too, or the tone shifts brassy within about a week.
11. Silver Grey
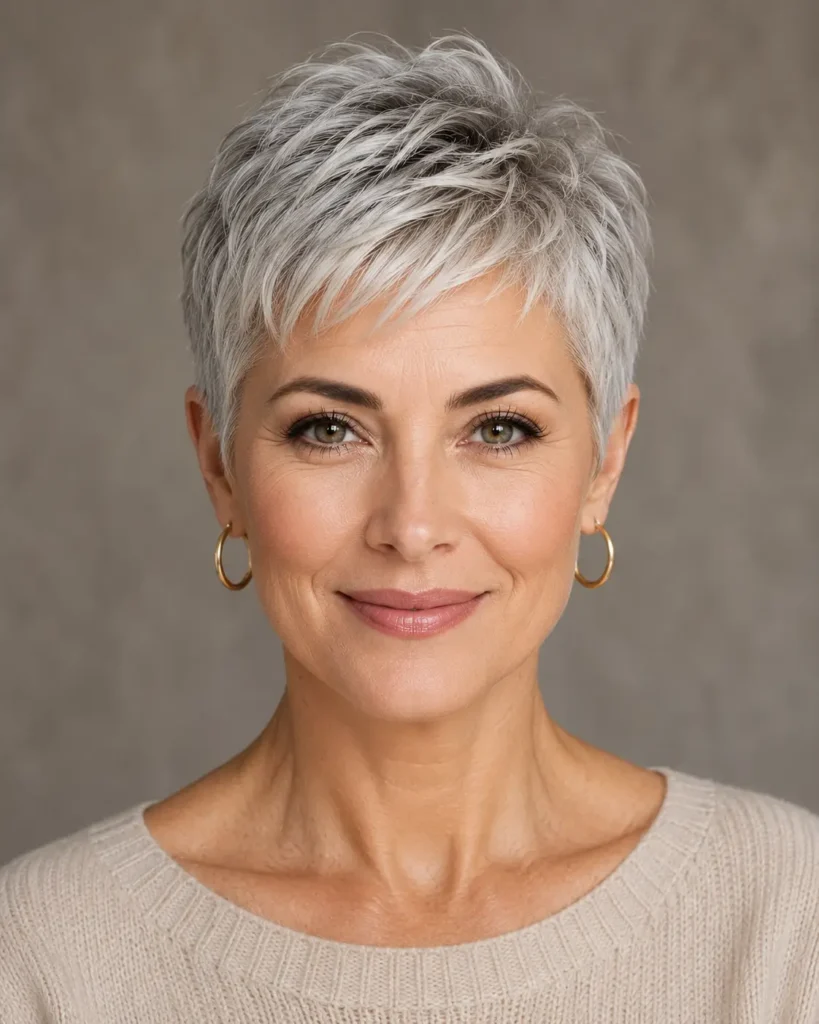
A silver or gray pixie, whether it’s natural or toned that way on purpose, looks genuinely luxurious against short layers — more like a deliberate, finished style than simply ‘going grey.’ Friends who’ve embraced this switch to a cool-toning shampoo to keep the shade fresh between salon visits, since it can warm up faster than people expect.
12. Balayage Highlighted
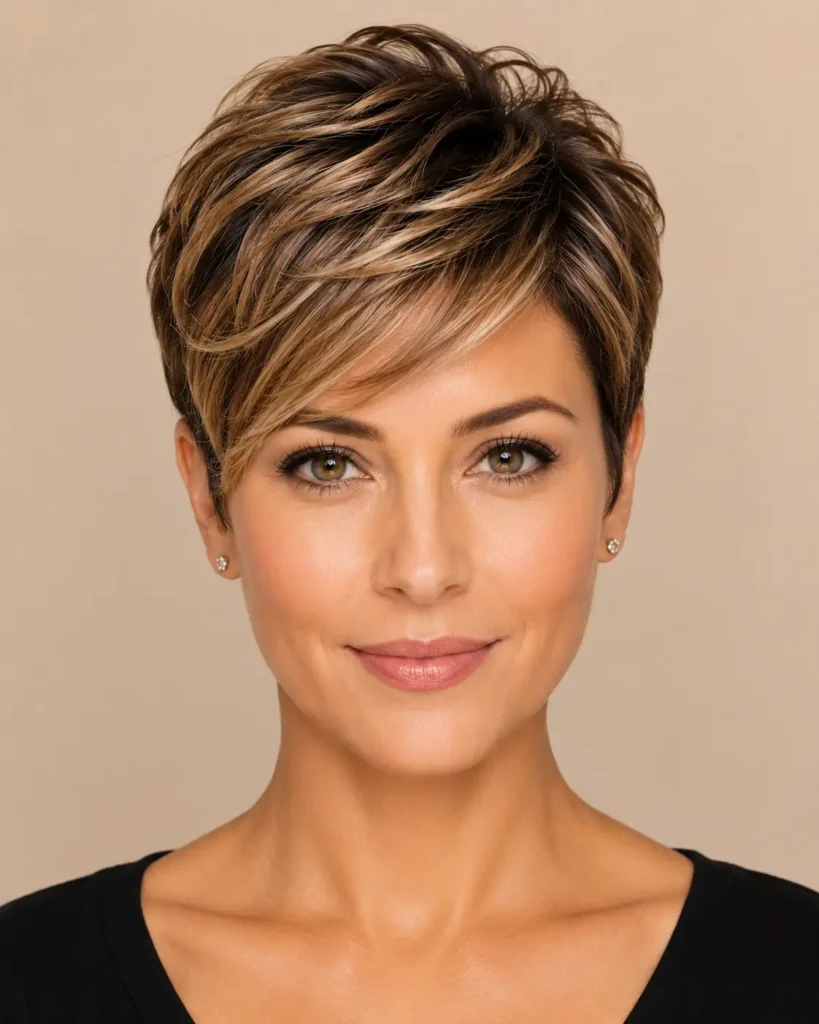
Hand-painted highlights on a pixie add dimension without the upkeep of full color, since the grow-out looks intentional rather than obviously regrown. My stylist focused the lightest pieces right around my part and crown, where light naturally hits first, instead of all over, and it made the cut look noticeably more expensive than it actually was.
13. French Gamine
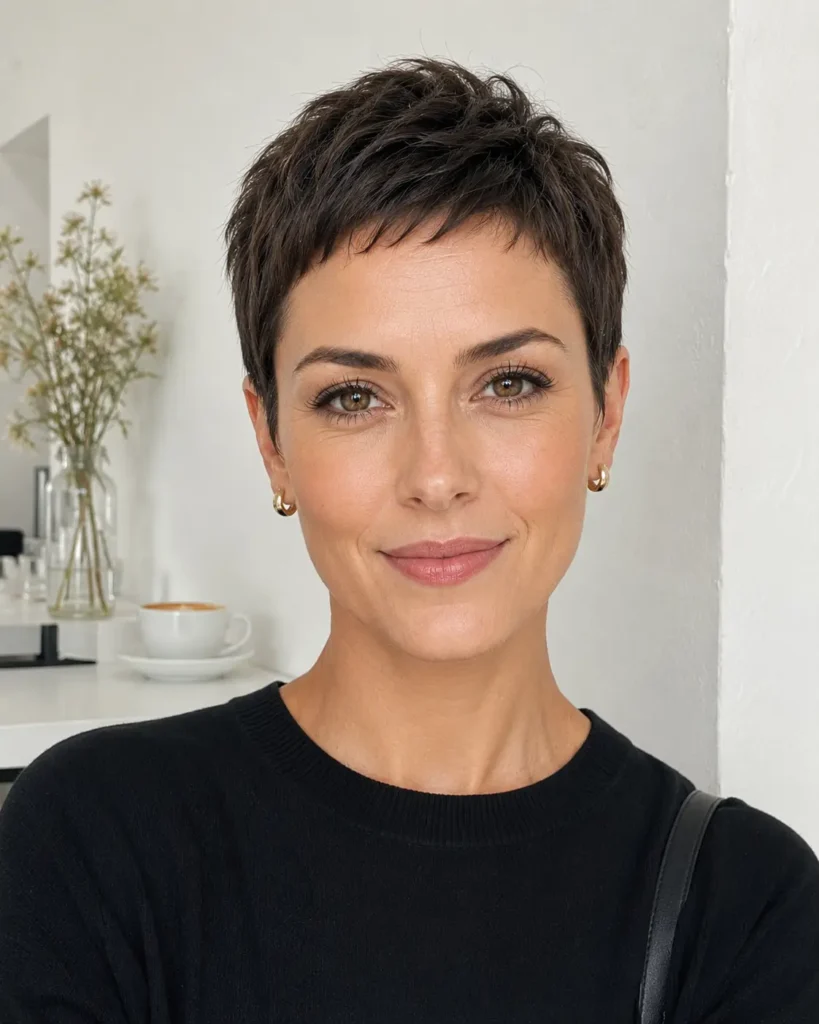
Think closely cropped, minimal styling, a little tousled rather than polished — a style popularized by short-haired film icons of the 1950s and ’60s. This is the version I recommend to anyone tired of spending fifteen minutes on their hair every morning, because it genuinely needs almost nothing besides a quick finger-comb and maybe a dab of product at the very ends.
14. Pixie Mullet
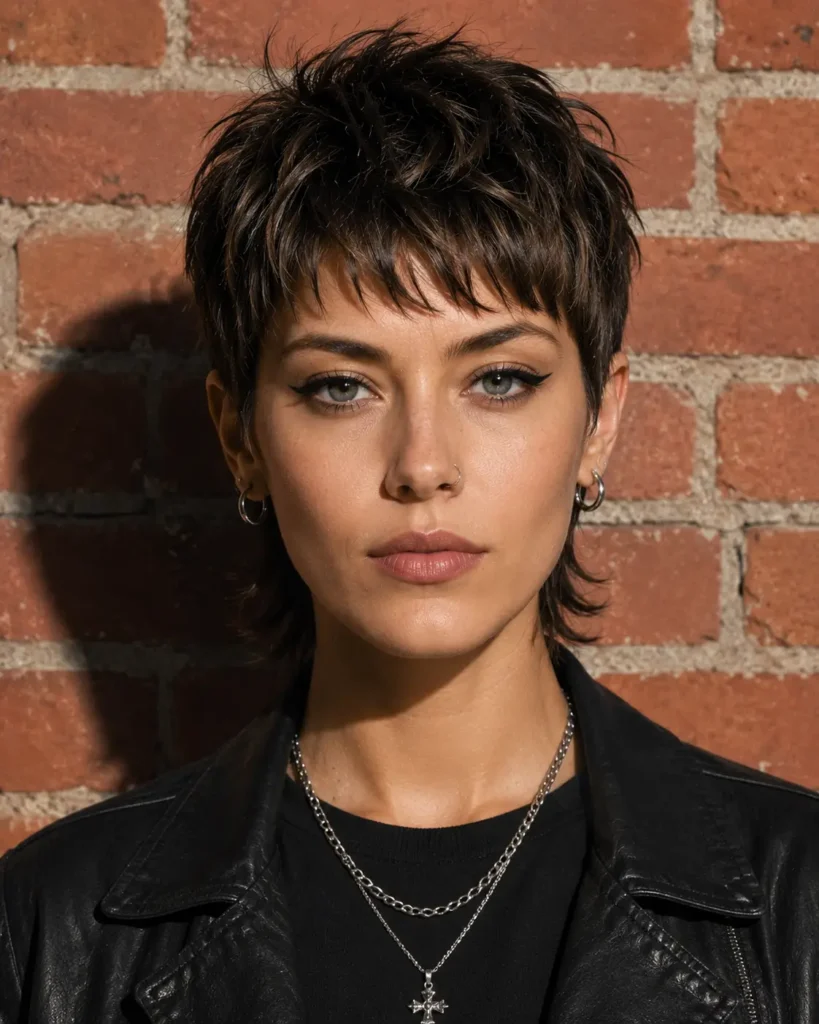
The pixie mullet blends short, cropped sides and top with slightly longer pieces left at the nape, and it’s easily the trendiest request I’ve heard stylists mention lately. Mine actually grew out from a regular undercut pixie almost by accident, and once I saw the shape forming, I asked my stylist to lean into it instead of cutting it back down to match.
15. Tapered Pixie for Thick Hair
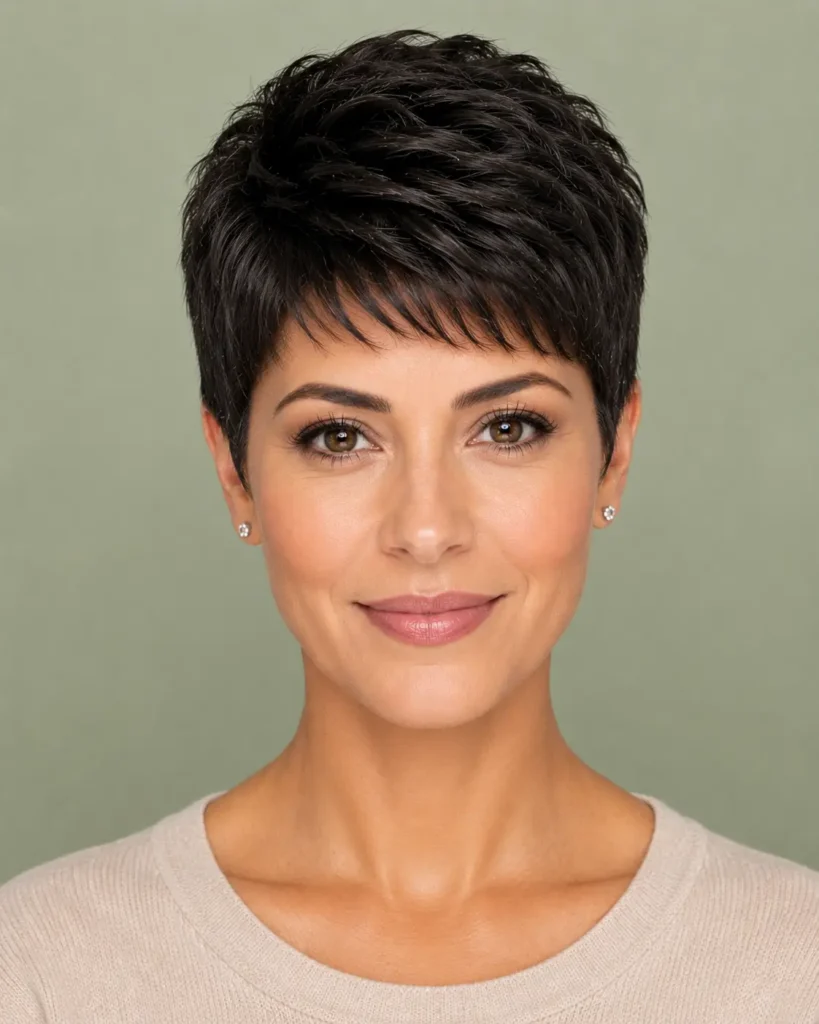
Thick hair needs serious tapering at the sides and back, or a pixie balloons outward instead of sitting close to the head. My first cut from a stylist who didn’t taper enough left me looking triangular by week two, once the weight settled. A proper taper with thinning shears fixes this and keeps the shape close and clean for much longer.
16. Volumizing Pixie for Fine Hair
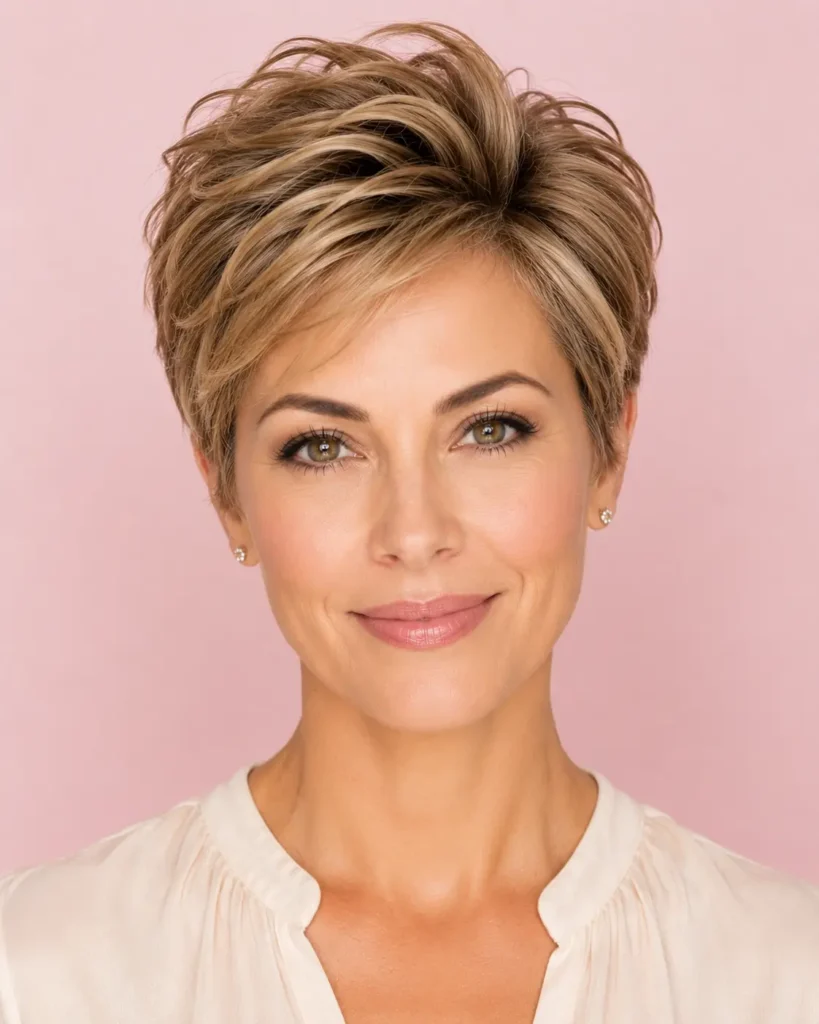
Fine hair has the opposite problem — a pixie can look flat and stick to the scalp without help. A few sprays of root-lifting spray before blow-drying upside down for thirty seconds gives noticeably more lift. It’s a small step that took my fine, limp pixie from looking thin to looking deliberately textured, with almost no extra time added to my morning.
17. Bold Color Pixie (Pink, Blue, or Red)
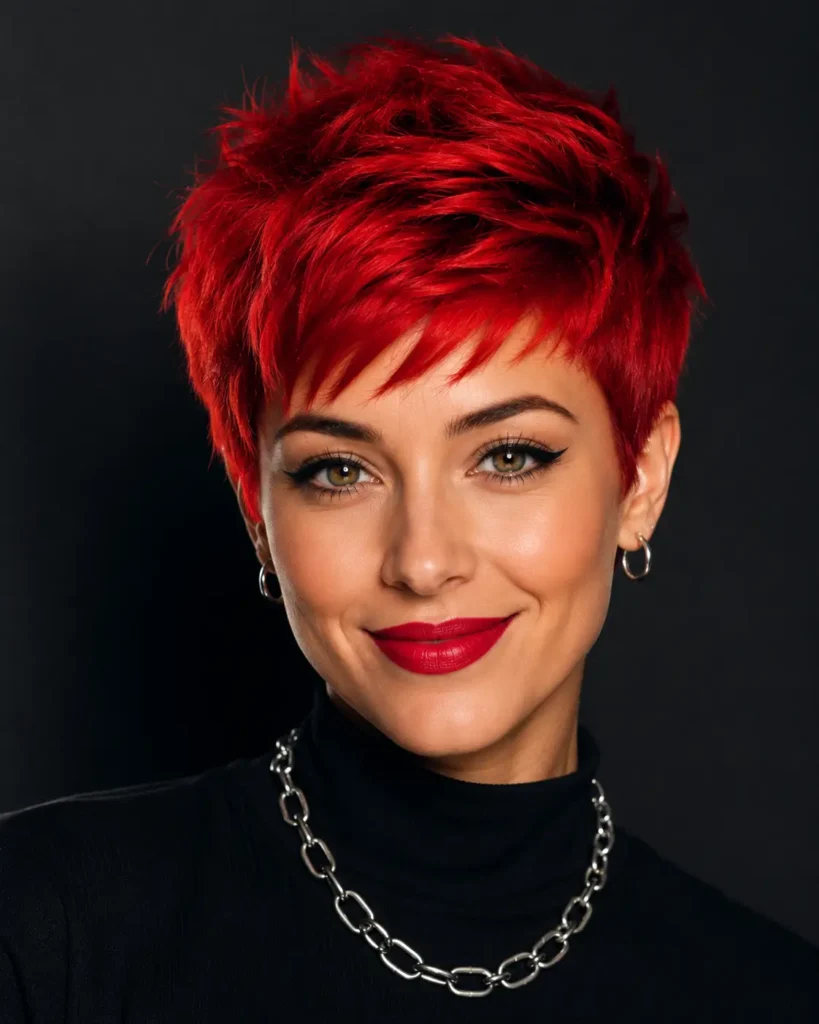
Short hair is genuinely the easiest length for bold, non-natural color, since there’s so much less of it to bleach and maintain. I went with a deep red semi-permanent dye, which faded gently into a soft coppery tone instead of an ugly orange, unlike a cheaper brand I’d tried on longer hair years before.
18. Buzzed Sides
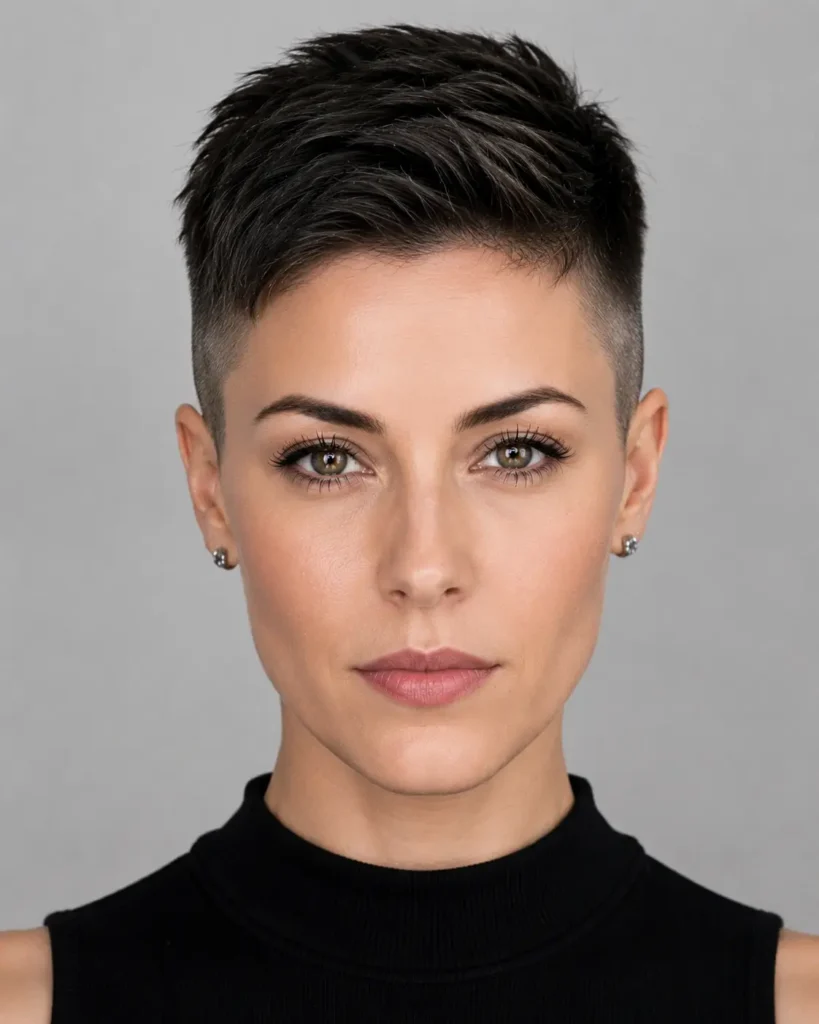
Going shorter than a standard undercut, with fully buzzed sides and a slightly longer top, reads more androgynous or masculine-leaning, depending on how you style it. I used a number 1 guard the first time and found it too short for my taste within a week; a number 3 gives a similar effect with much softer edges.
19. Curly Coily Natural
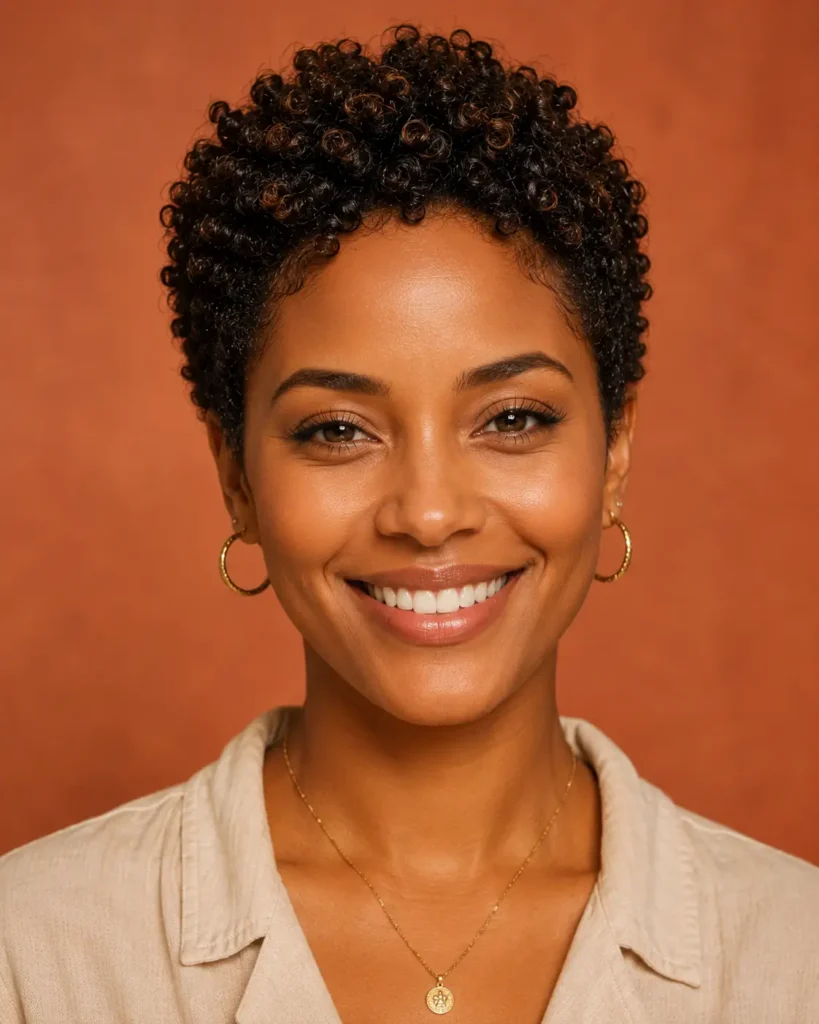
For coily, tightly curled natural hair, a pixie can shrink up significantly once it’s cut, which caught me off guard the first time — hair that looked shoulder-length stretched ended up barely covering my ears once it dried into its natural pattern. Ask your stylist to cut it stretched, in sections, so you both see the true finished length before more comes off.
20. Side-Part Voluminous
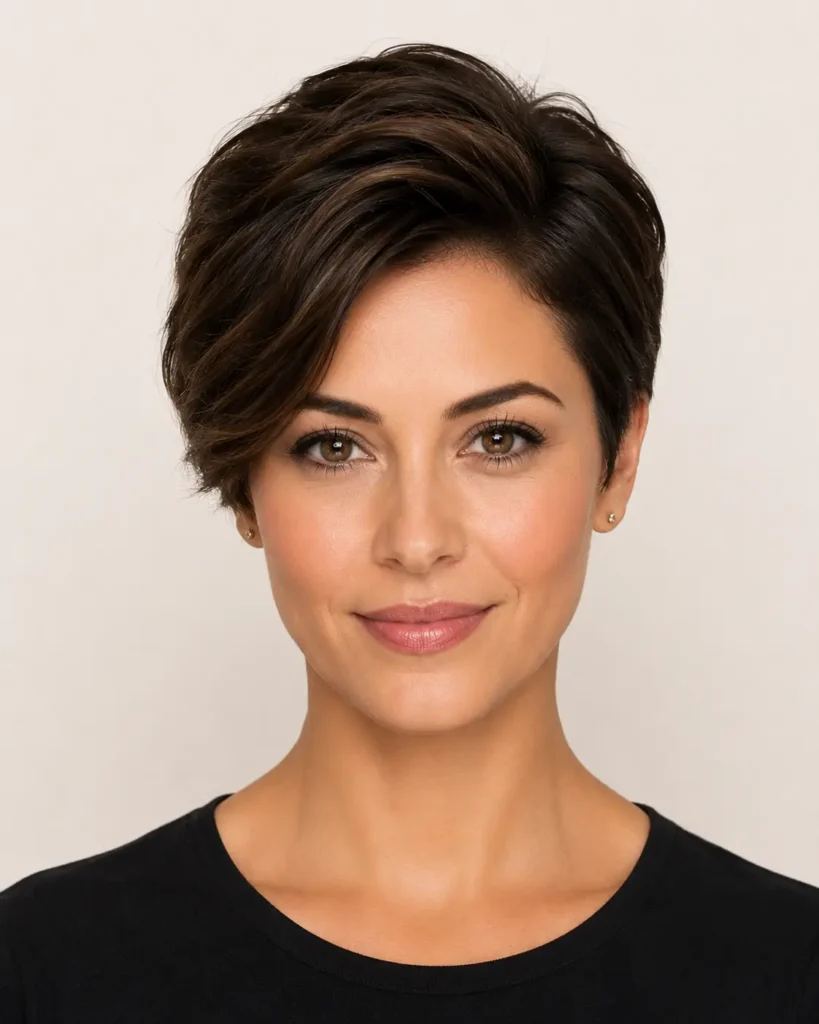
A deep side part adds instant volume and makes a pixie look fuller without any extra length. I comb mine while damp, blow-dry with a round brush lifting at the root on the heavier side, then set it with a light-hold spray. It’s the version I reach for on days I want to look more put-together without putting in much extra effort.
21. Glam Holiday Party
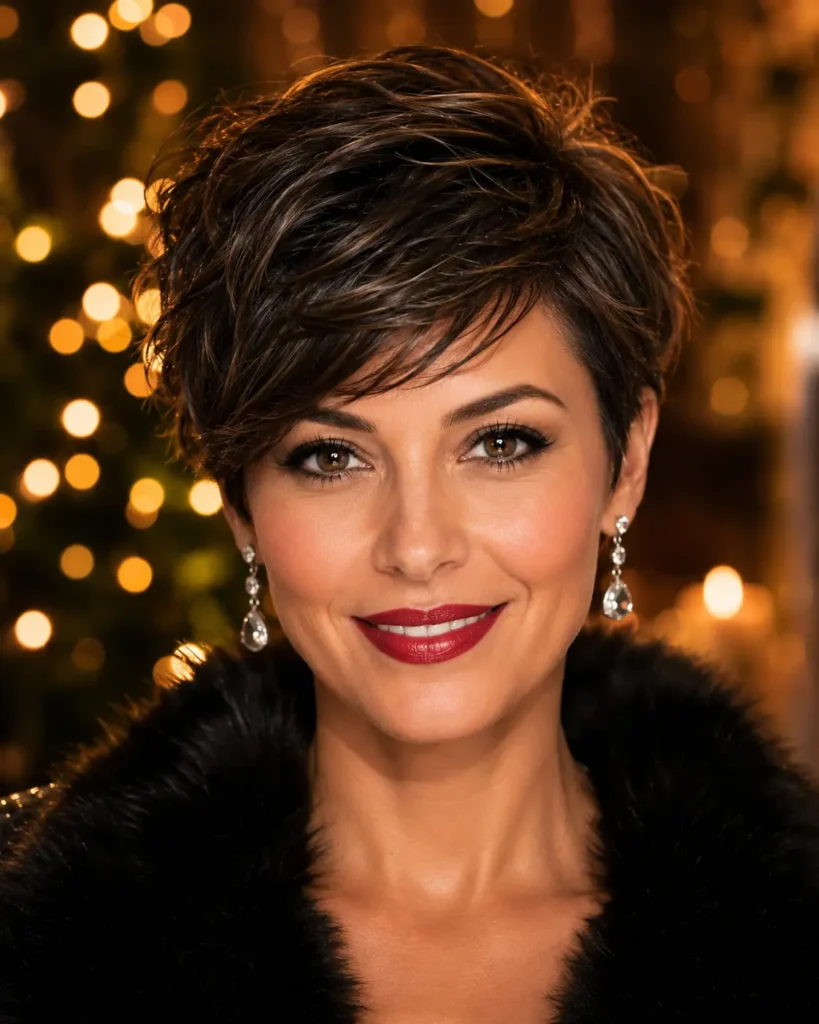
For colder months and parties, I push my regular pixie into something shinier and more finished — a glossing serum smoothed over the top, sides slicked slightly, maybe a small rhinestone clip pinned above one ear. It takes the same haircut from everyday to photo-ready in well under five minutes, which is the whole appeal during a busy season.
My Actual Morning Routine With a Pixie
- Wash every other day at most. I went through a stretch of daily washing and my pixie went limp by lunchtime every single afternoon.
- Towel-dry gently by squeezing, not rubbing. Rough drying shows up as frizz much faster on short layers than it ever did on long hair.
- Work a dime-size amount of texturizing paste or spray into damp hair before any heat tool touches it.
- Blow-dry upside down at the roots for ten to fifteen seconds for lift, then flip back up and finger-style the top.
- Finish with a light-hold spray, not a stiff-hold one. Heavy hold makes a textured pixie look frozen instead of natural.
Whichever One You Pick
Twenty-one is a lot of options, but that’s kind of the point — a pixie isn’t one haircut, it’s a whole category, and the version that suits your face shape, hair texture, and actual morning routine might be completely different from the one your friend swears by. I’d rather you walk into a salon with two or three specific references and a clear sense of maintenance than a single vague screenshot. Whatever you choose, give it a full two weeks before judging it. Pixies always settle and soften once the initial shock grows out a little, and most of the ones on this list end up looking better at week three than they did walking out of the chair.

Sarah Williams
Hi, I’m Sarah Williams — the founder of HerStyleNest, where beauty meets modern style. I share trendy hairstyles, chic nail designs, and fashion inspiration for women who love staying stylish every season. From everyday elegance to viral beauty trends, HerStyleNest is your go-to destination for effortless fashion and beauty ideas.



Pingback: Edgy Choppy Pixie Haircuts For Women Over 50
Pingback: 22 Almond Nail Designs For Fall 2026 (You'll Want Them All)
Pingback: 21 Hairstyles For Thin, Fine Grey Hair That Flatter
Pingback: Undercut Hairstyles For Thin Fine Hair
Pingback: 23 Warm Caramel Balayage With Honey Highlights Ideas For A Stunning Look